Project 1 Fabric and form
Exercise 1. Drawing fabric using line and tone
My first drawing was completed using 0.8 pen.
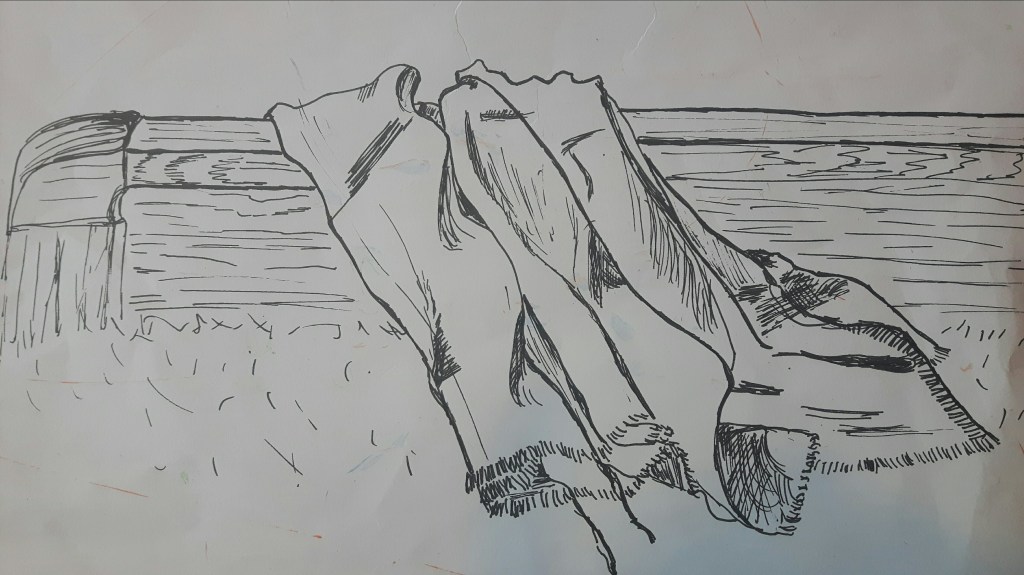

It was much easier to create a sense of depth using tone than just line.
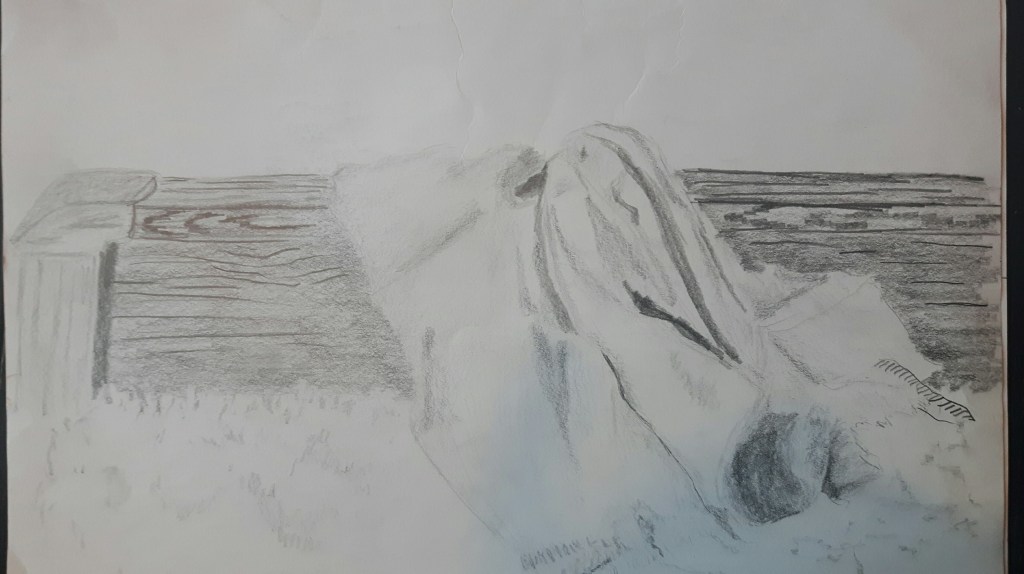

Using line only was more difficult however it gave me the impression of delicacy. Still, probably using tone was a bit more successful this time because the fabric looks soft and fluffy. (As it was in reality.)
Exercise 2 Emphasising form with cloth
Seated figure wearing a plain and pale coloured shawl. I couldn’t find anybody to sit for me at this time so I found a suitable picture online. I used 2B-3B pencil and black Inktense for this drawing.
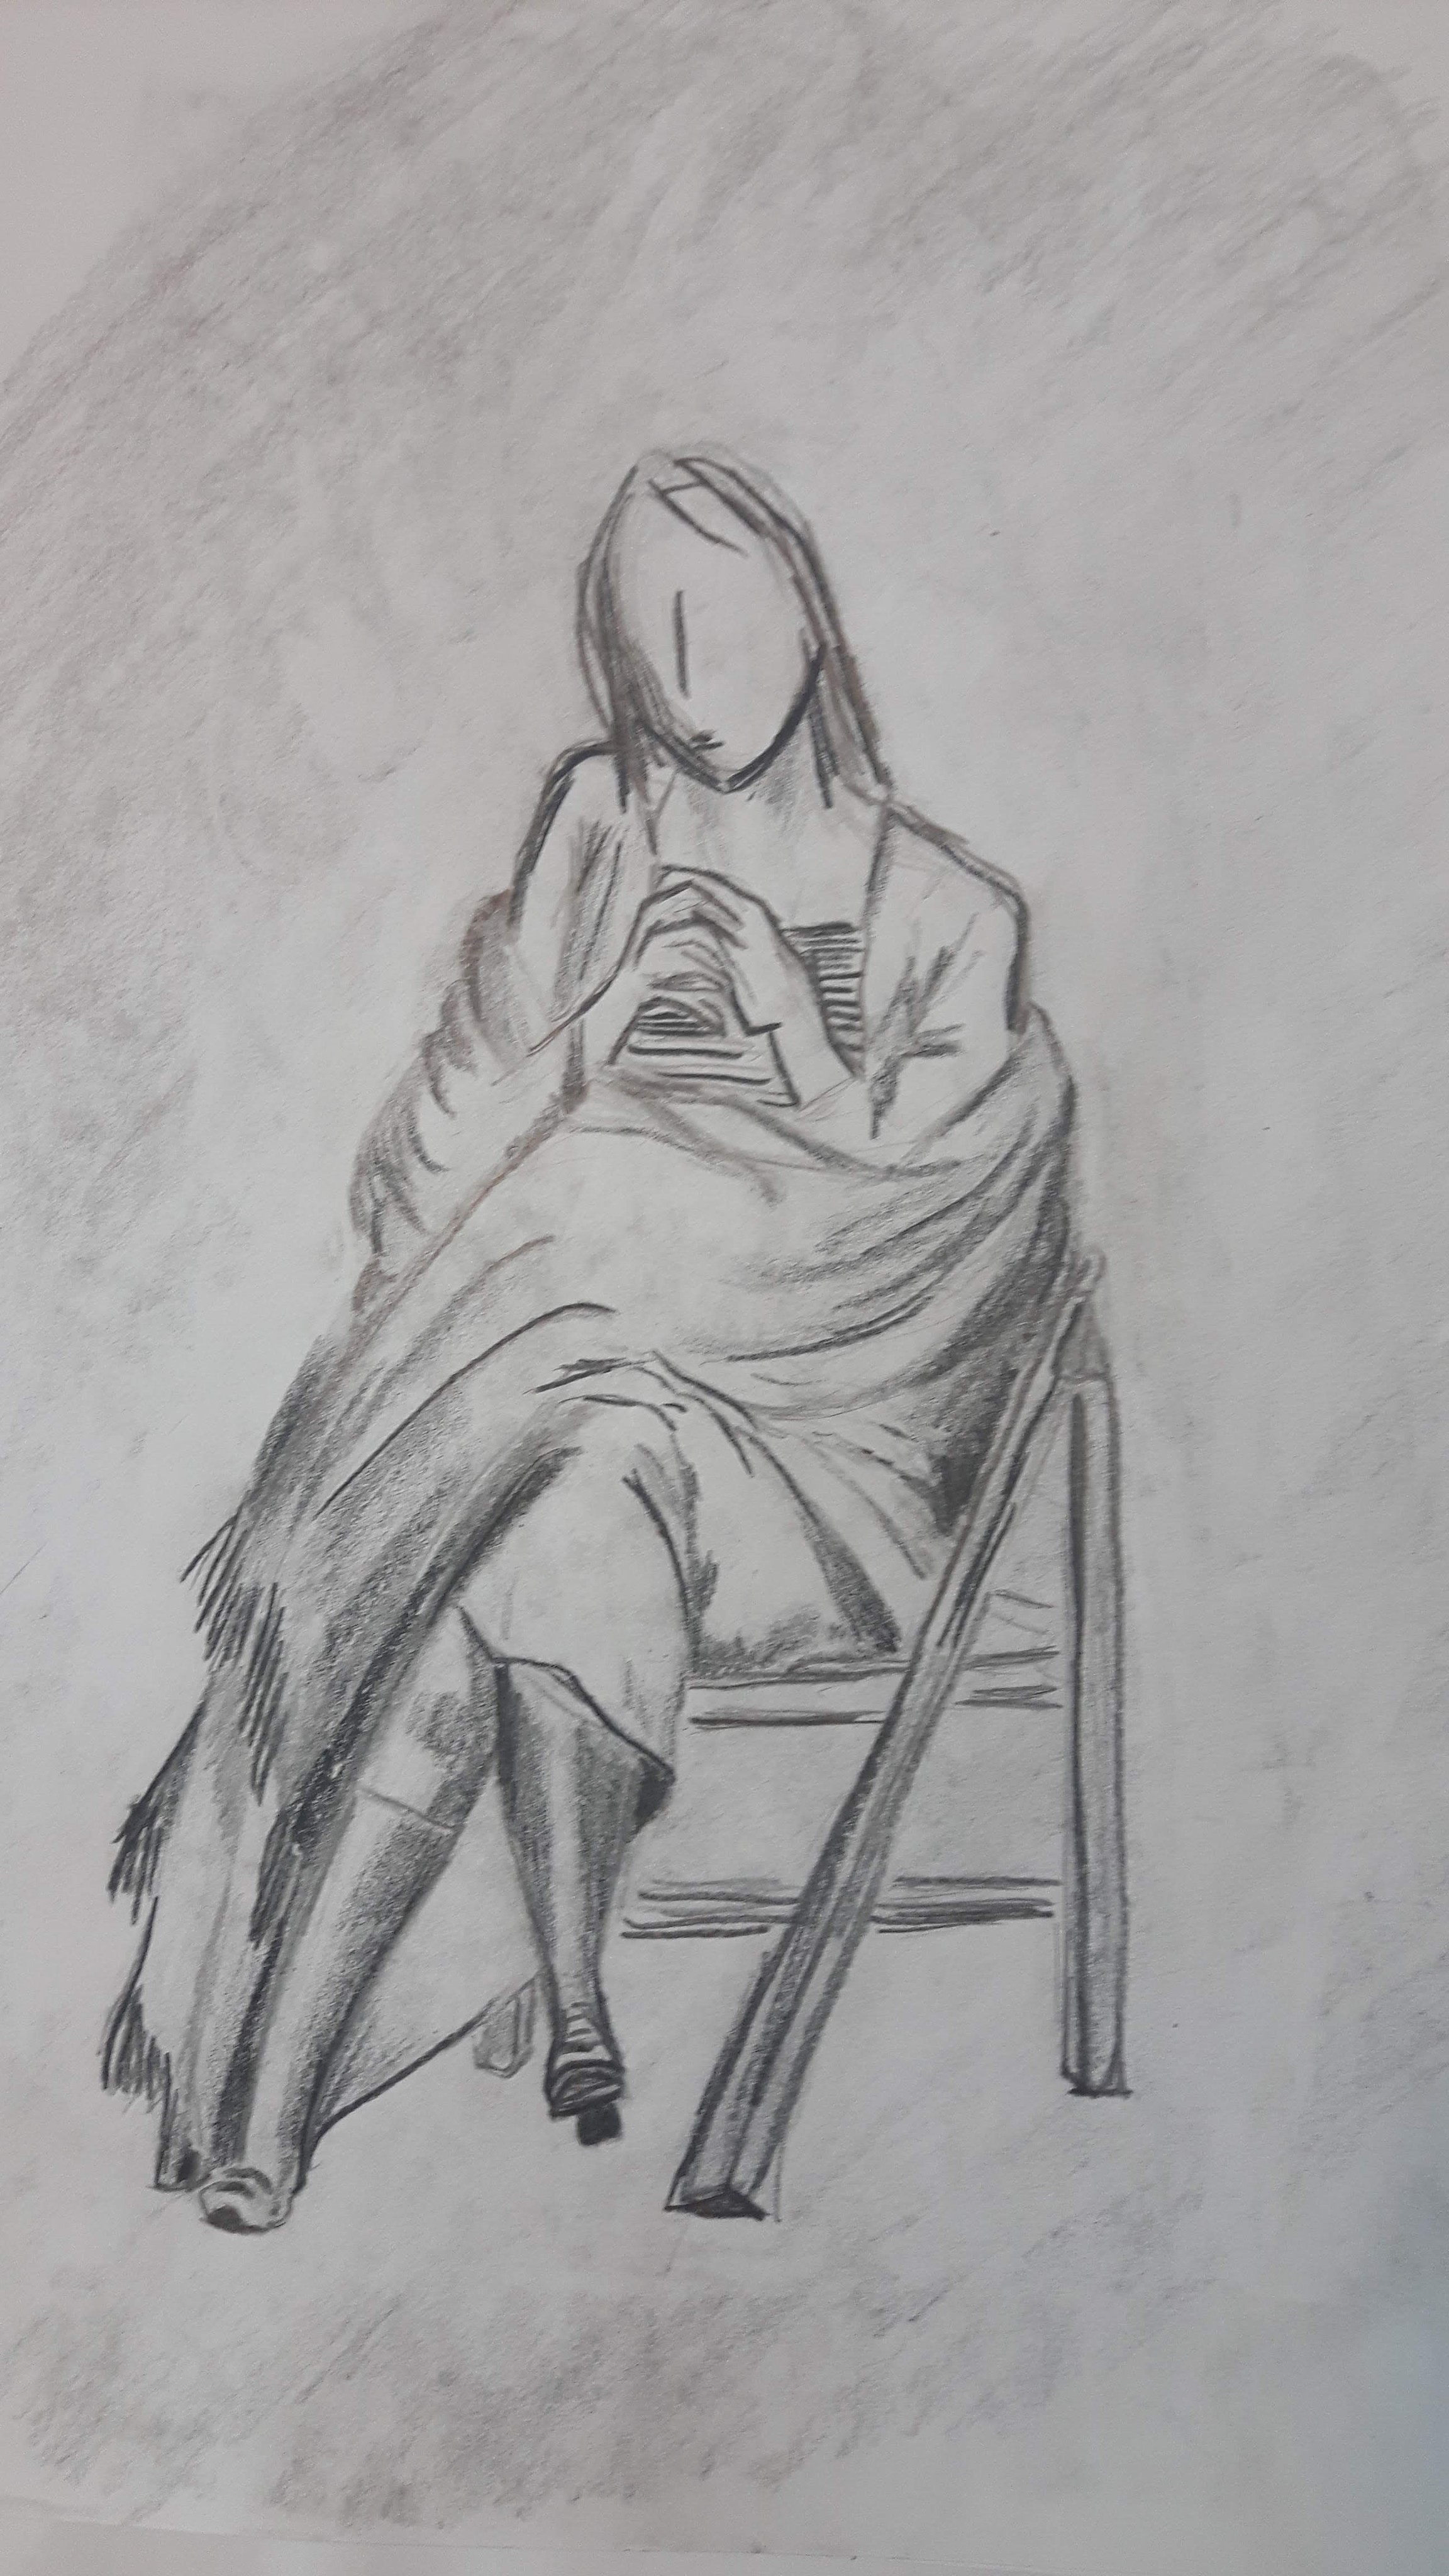
I didn’t go into much detail with the head and the hands, tried to focus on how the shawl folds. She became a bit shapeless due to the fabric being loose, I could have done better with the middle part.
Project 2 Exercise 1 Quick studies
In this exercise I have to draw a model in a comfortable position. I chose a seated position for my model.
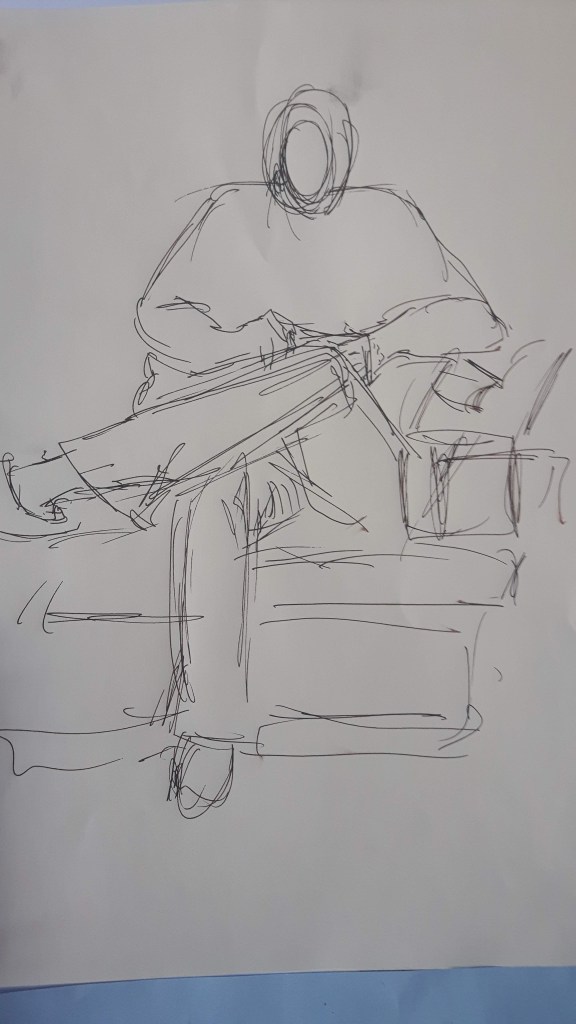

The first two 1-minute sketches are really out of proportion. Arms too long, head too small. The third one was finished under 10 minutes, maybe it’s a bit better but the left arm is wrong. (The face is all wrong too, but I did not really pay attention to this part in this exercise.)
This is a twenty-minutes drawing. The head is too small and the torso looks unnaturally rectangular however the legs are not too bad.
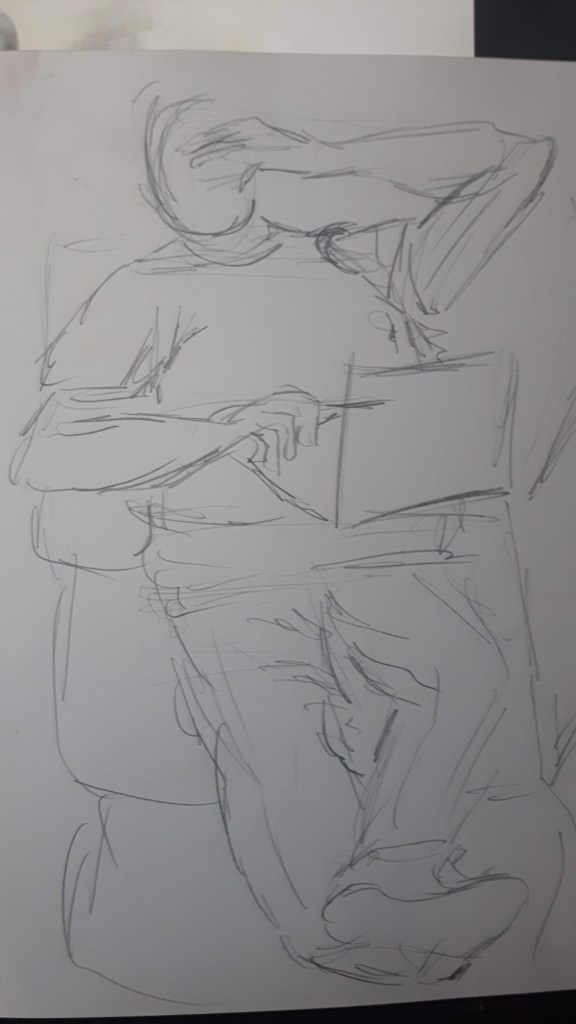
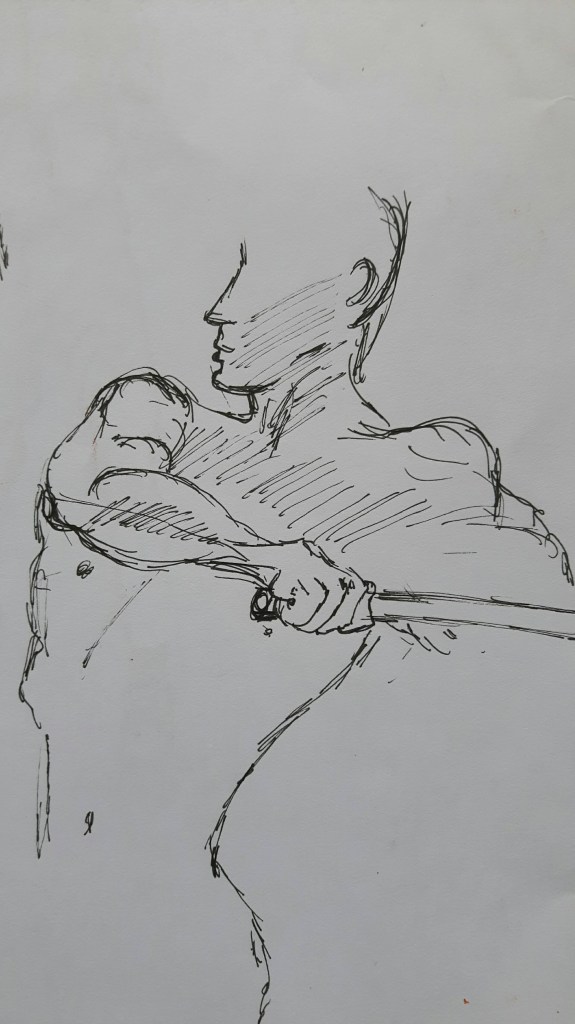
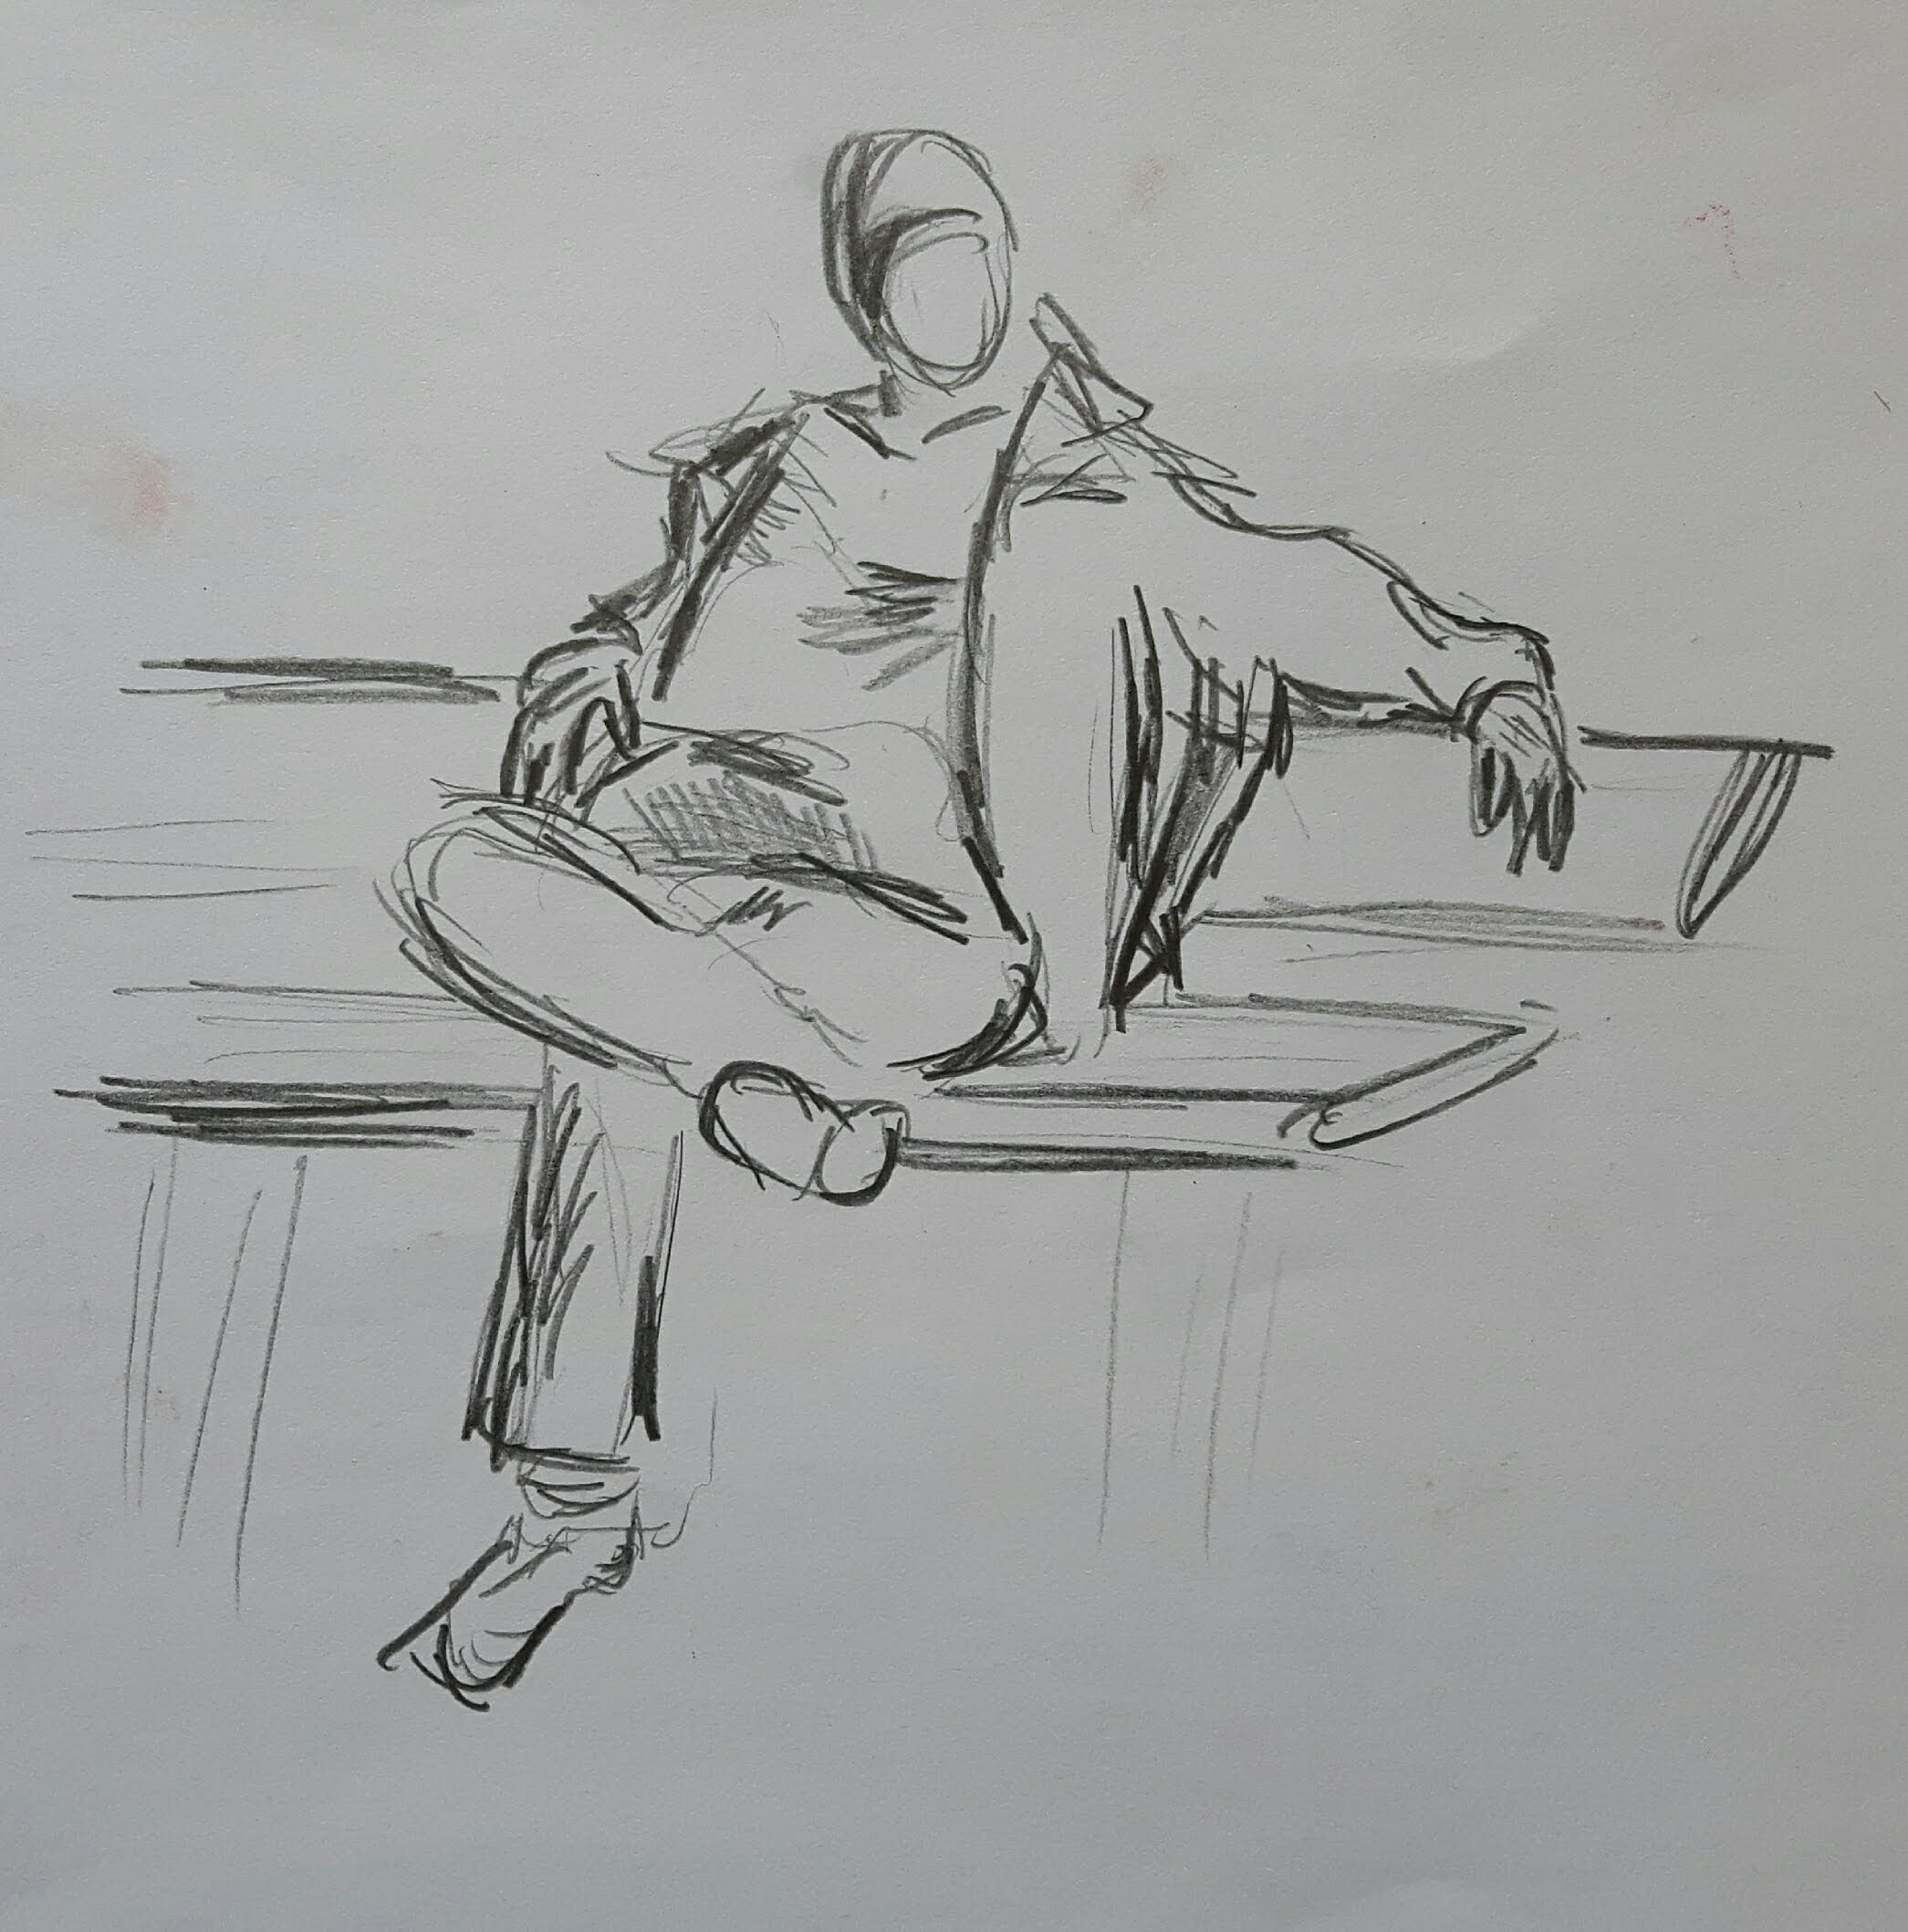
Exercise 2 A longer study
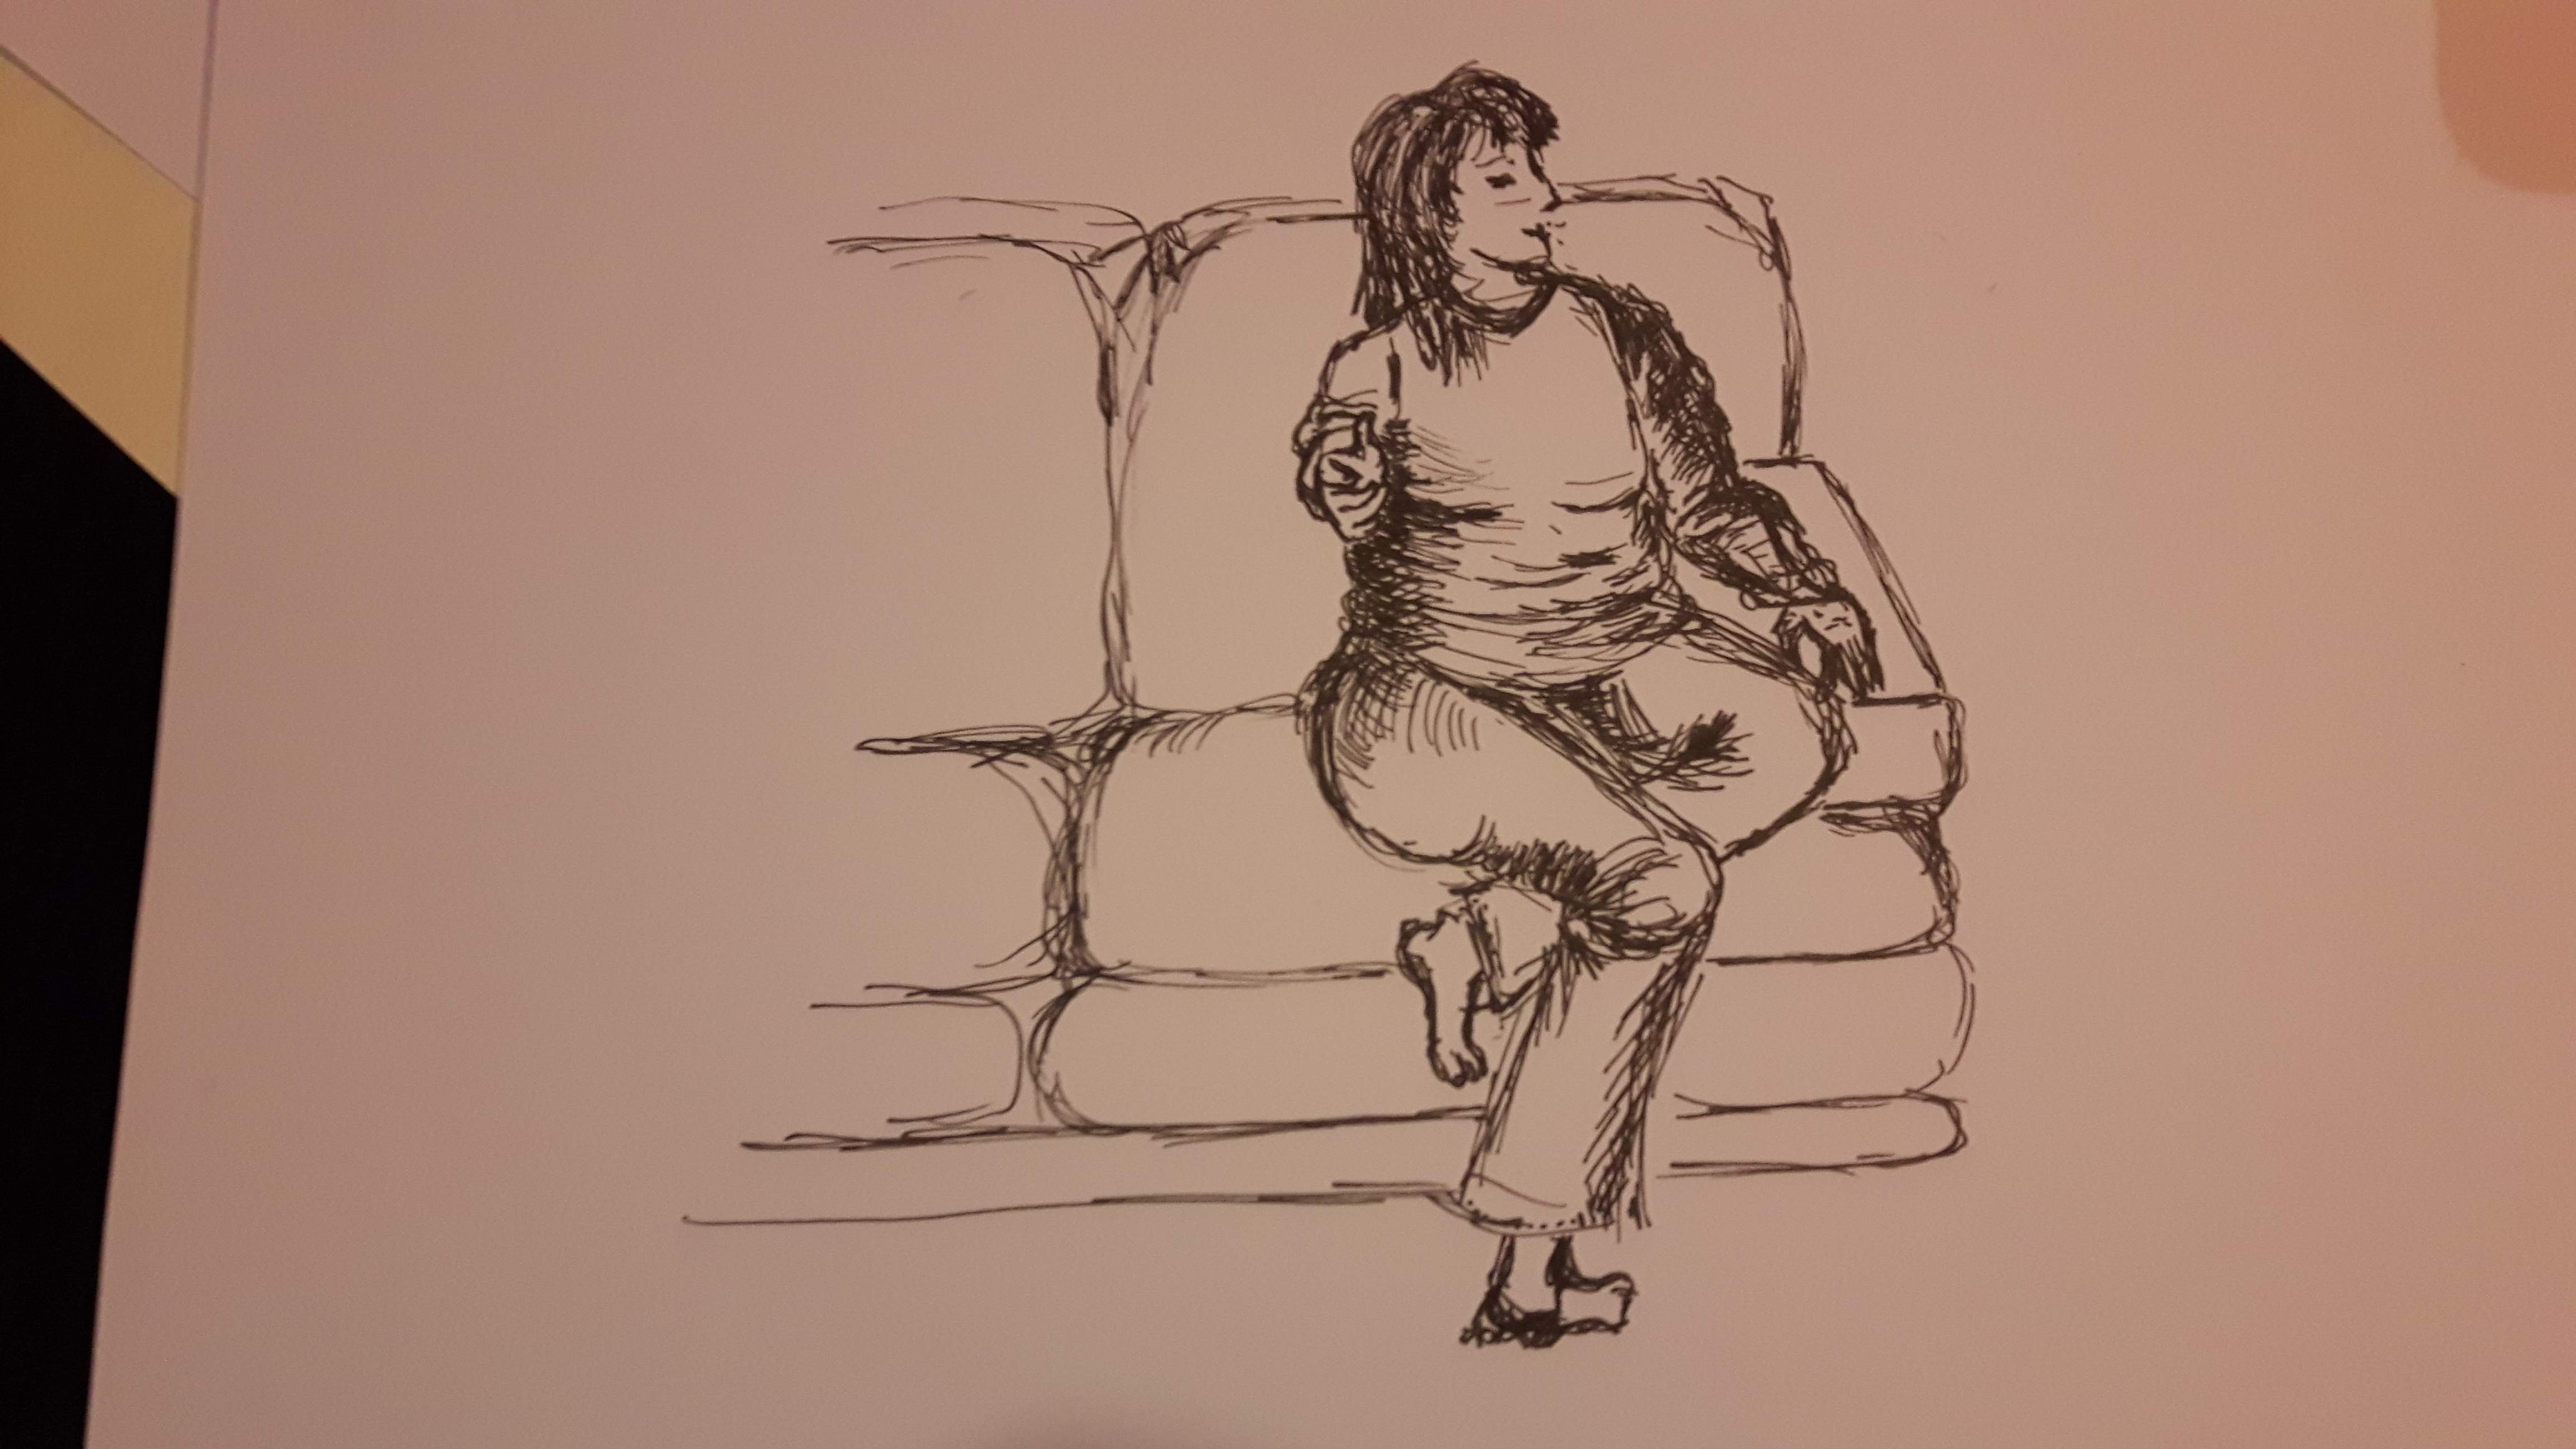
My model is seated, holding a small cup of water.
The model seems to be quite stiff but somehow I only noticed it when I came back to see this drawing after a couple of hours. Probably the upper part of the body is slightly long also the left hand is too short.
Research point Foreshortening
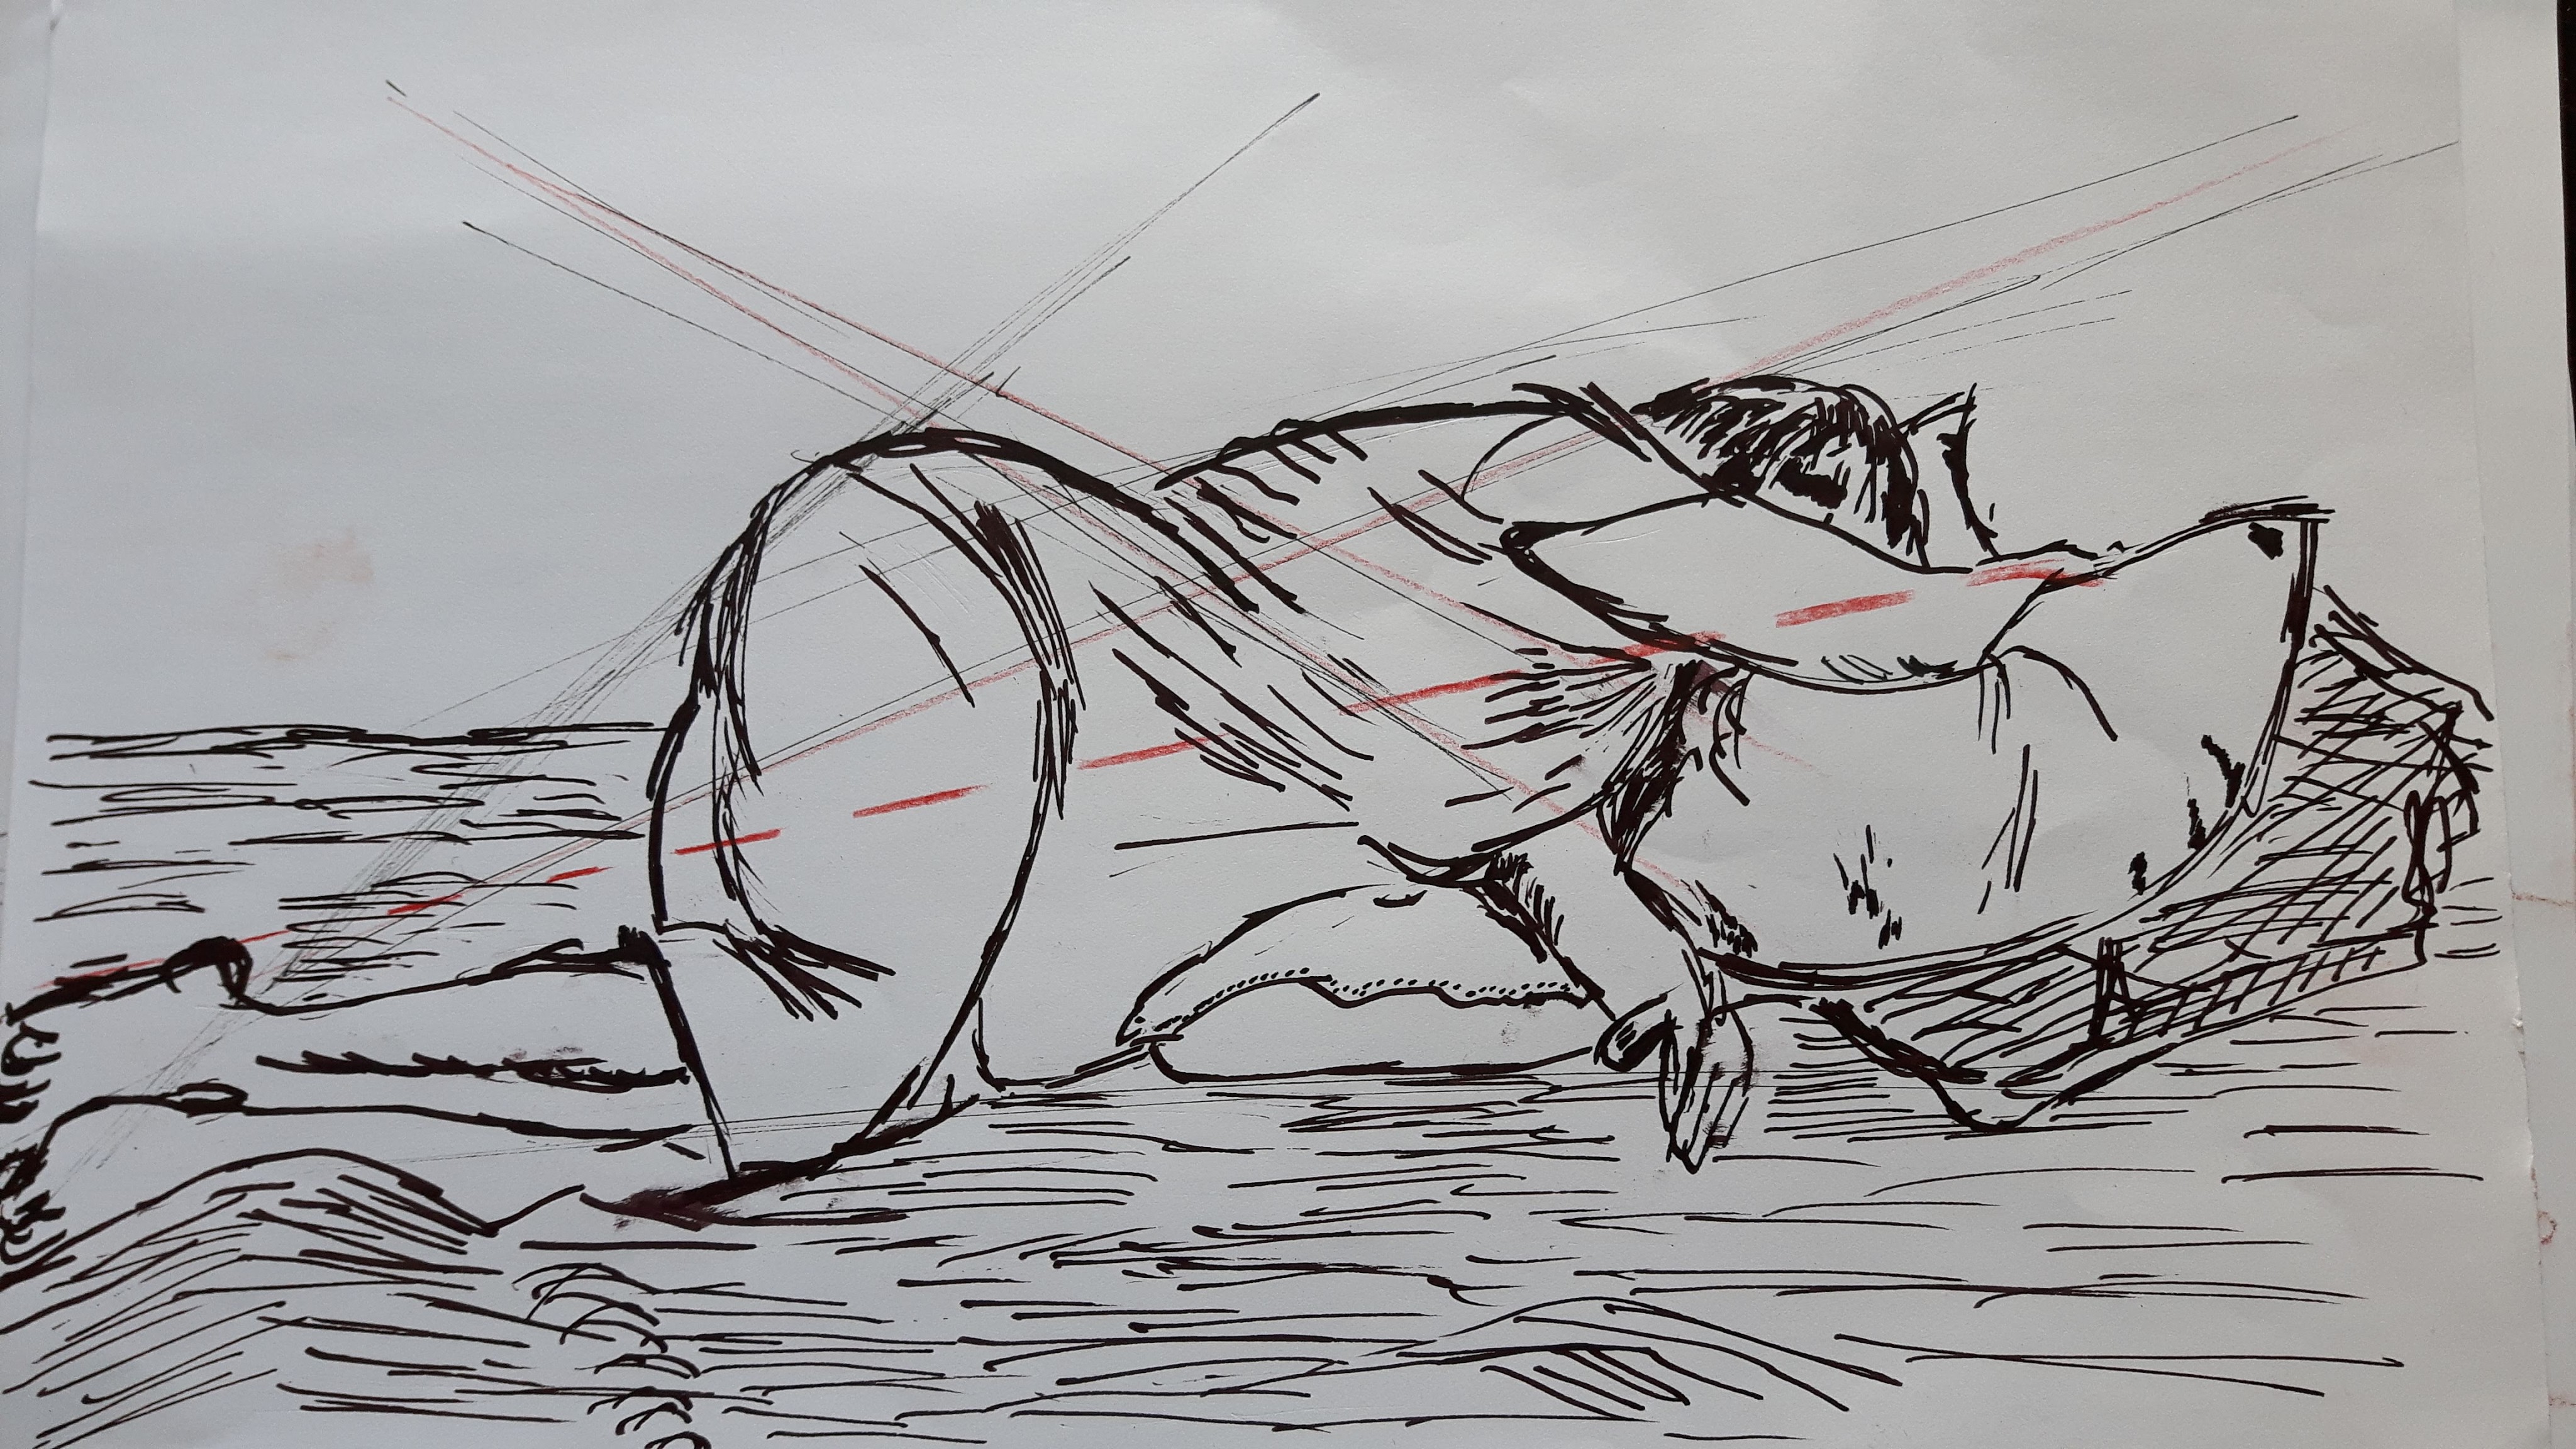
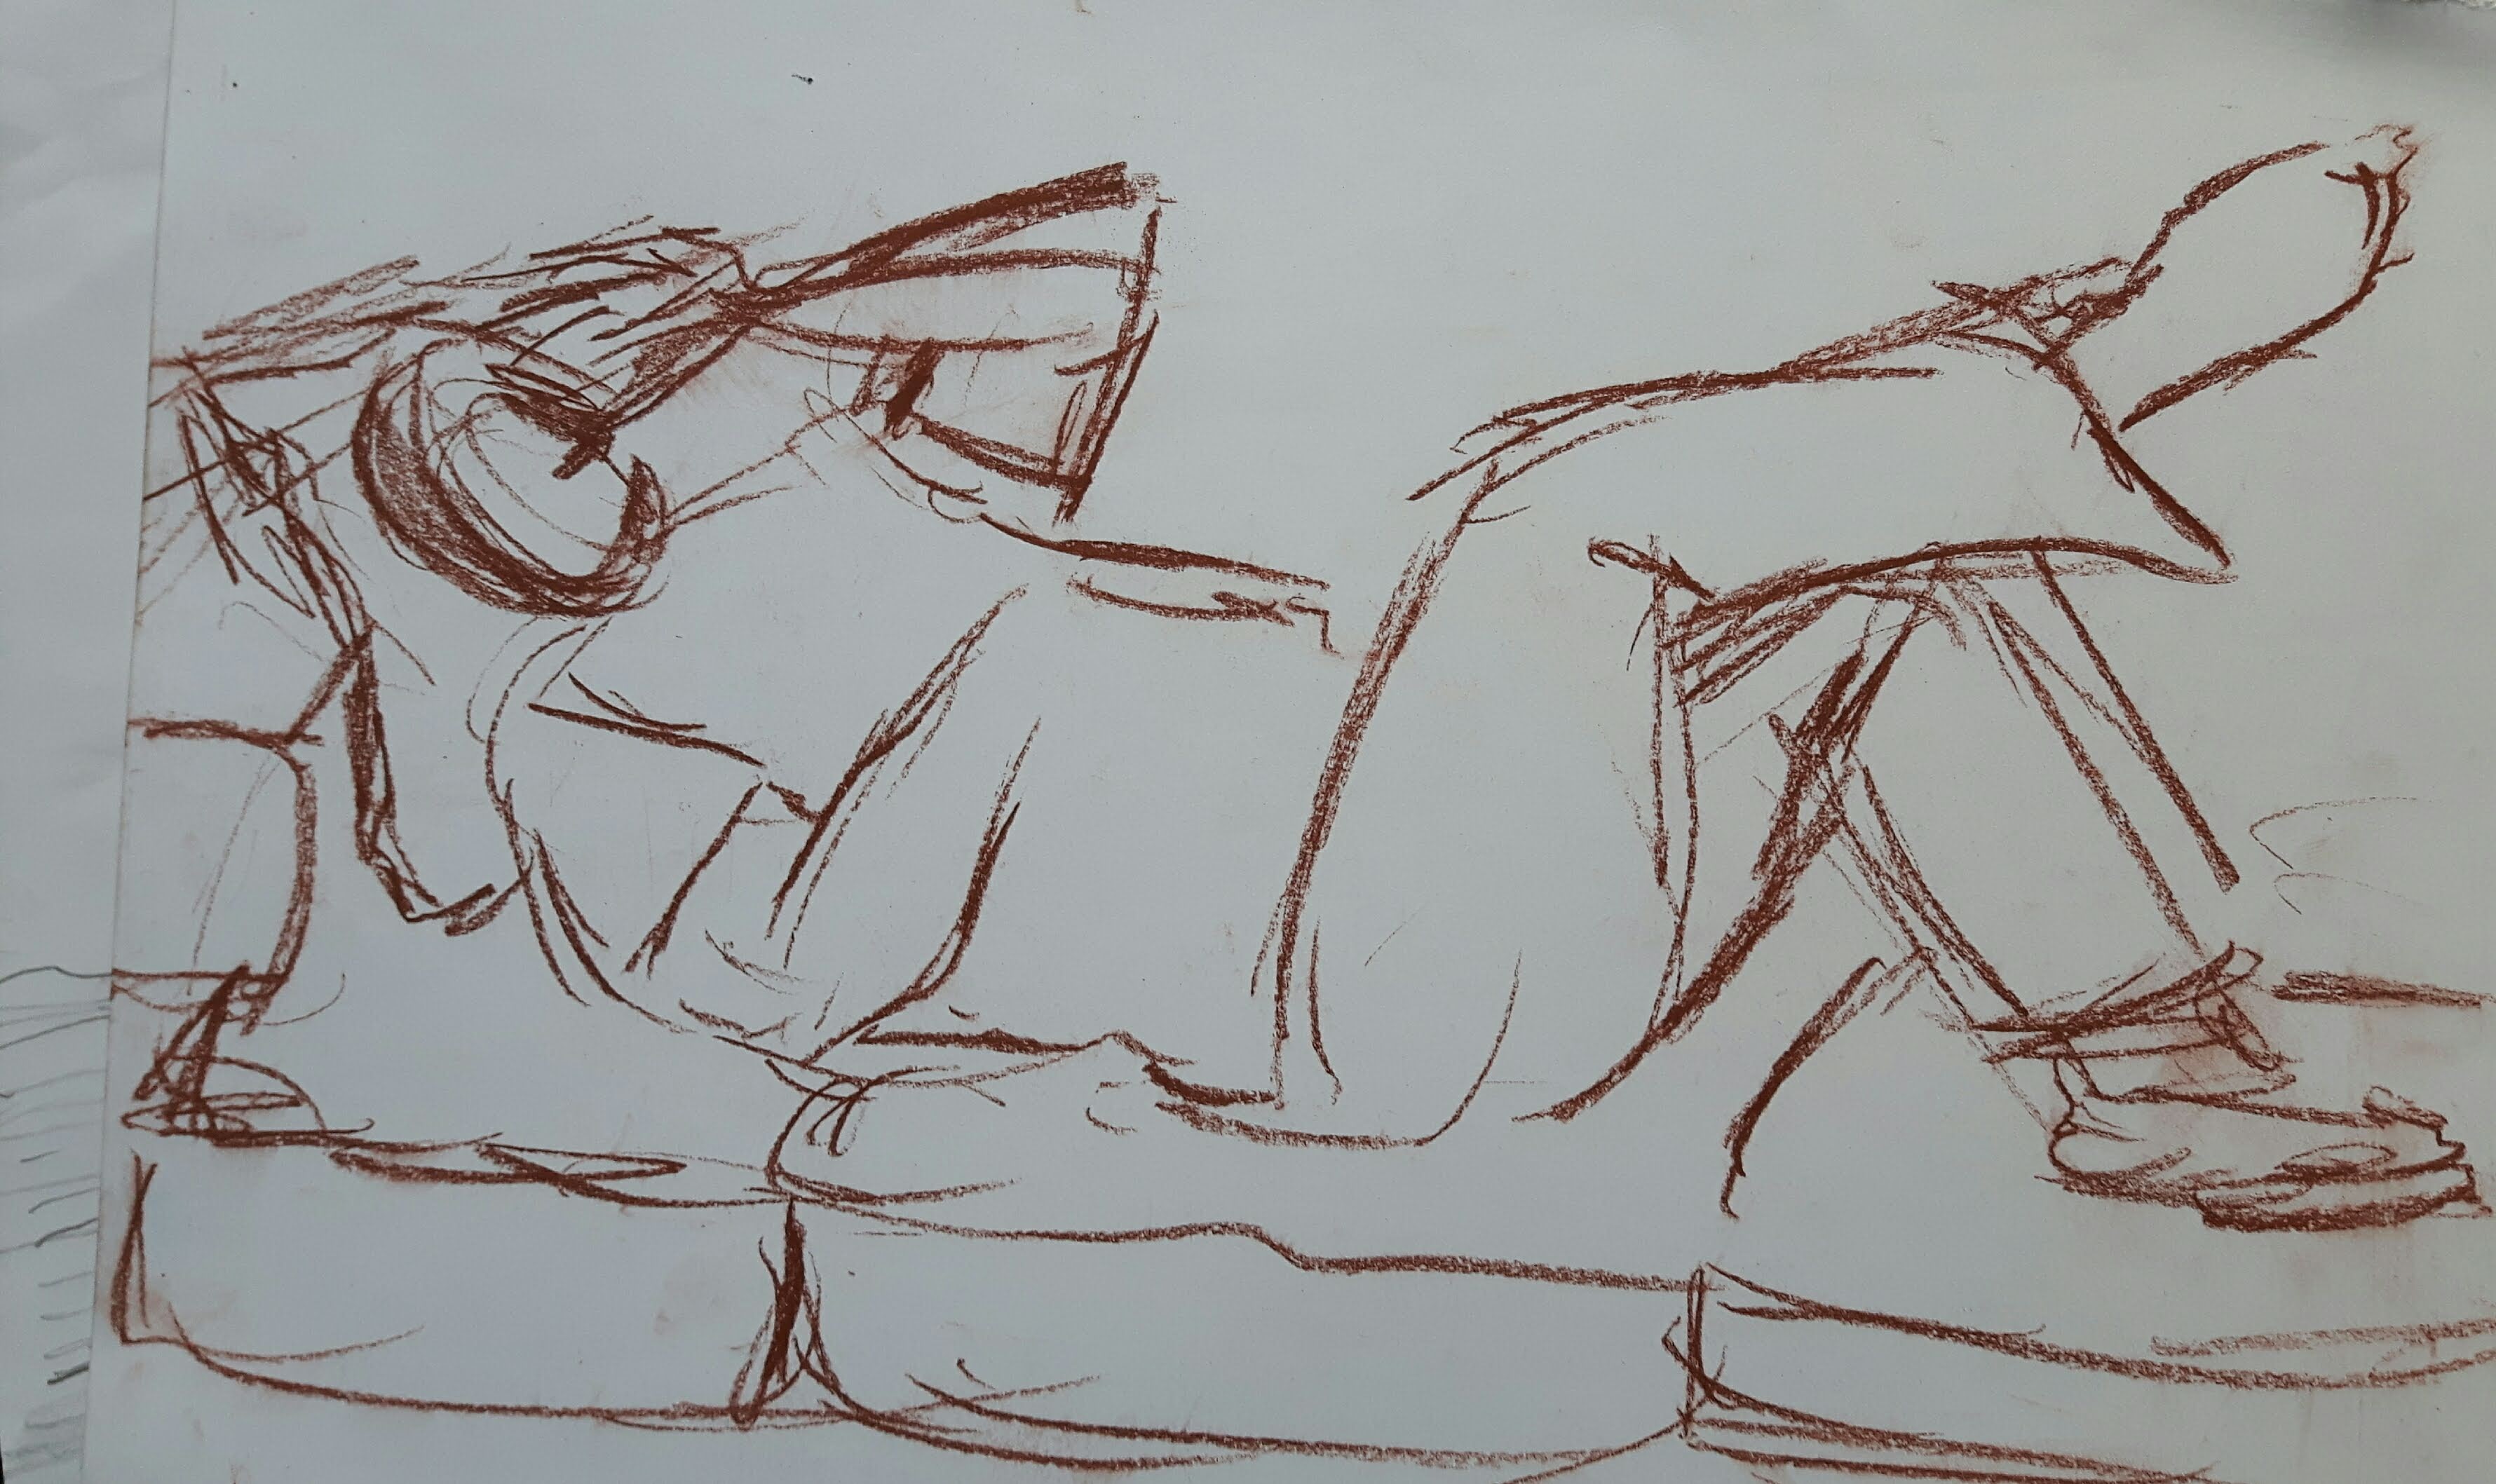
Lounge on a couch with a mirror facing me from the foot end. I have never drawn like this before but ever since I saw the Lamentation of Christ by Mantegna many years ago I always wanted to try it..

This piece is probably the most famous example of foreshortening. It’s not a typical religious painting, the wounds, the discoloured body and the dramatic perspective is not something we get used to in Renaissance art.
I asked somebody to make a photo of me in this position.
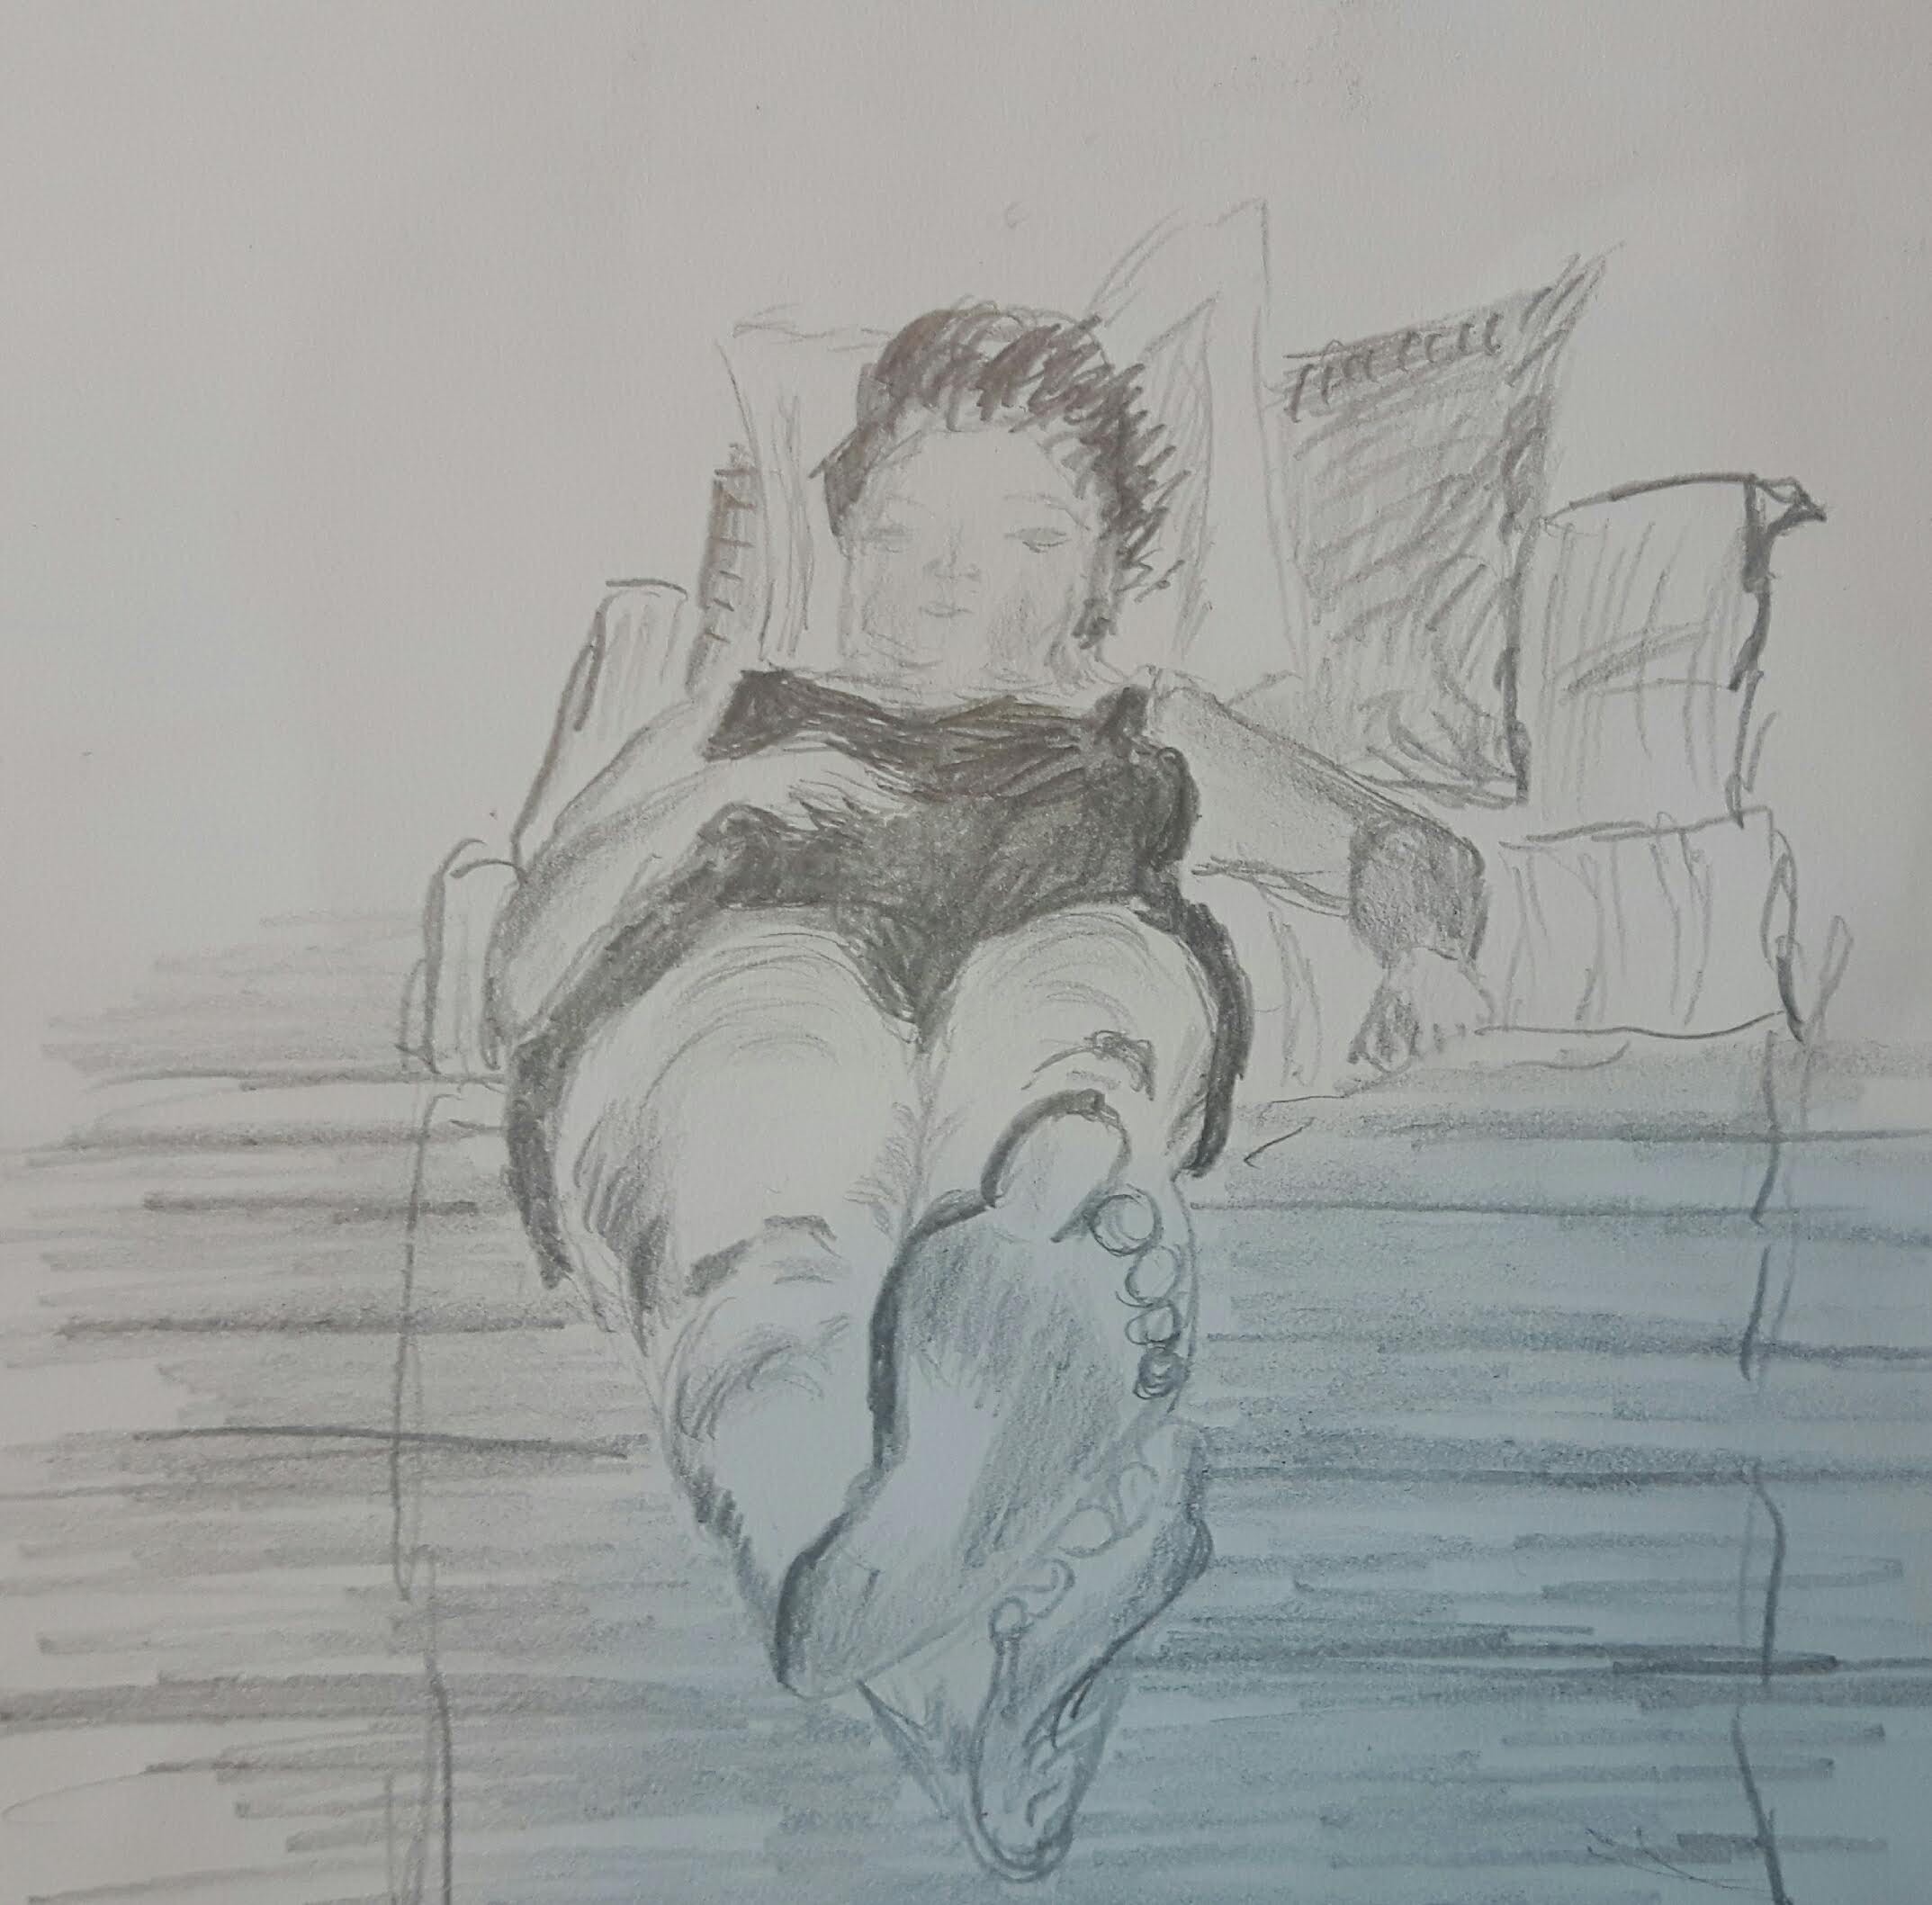
It was very challenging but also somehow very exciting as well. It took less than ten minutes to finish and apart from my left arm I am quite happy to achieve this convincing image in short time.
Project 3 Form
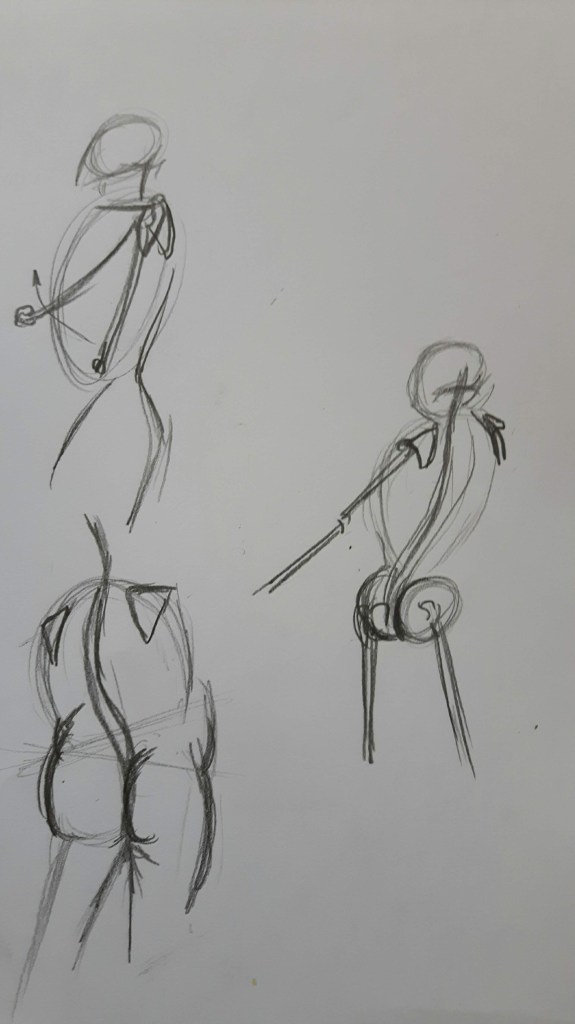
Exercise 1 Basic shapes
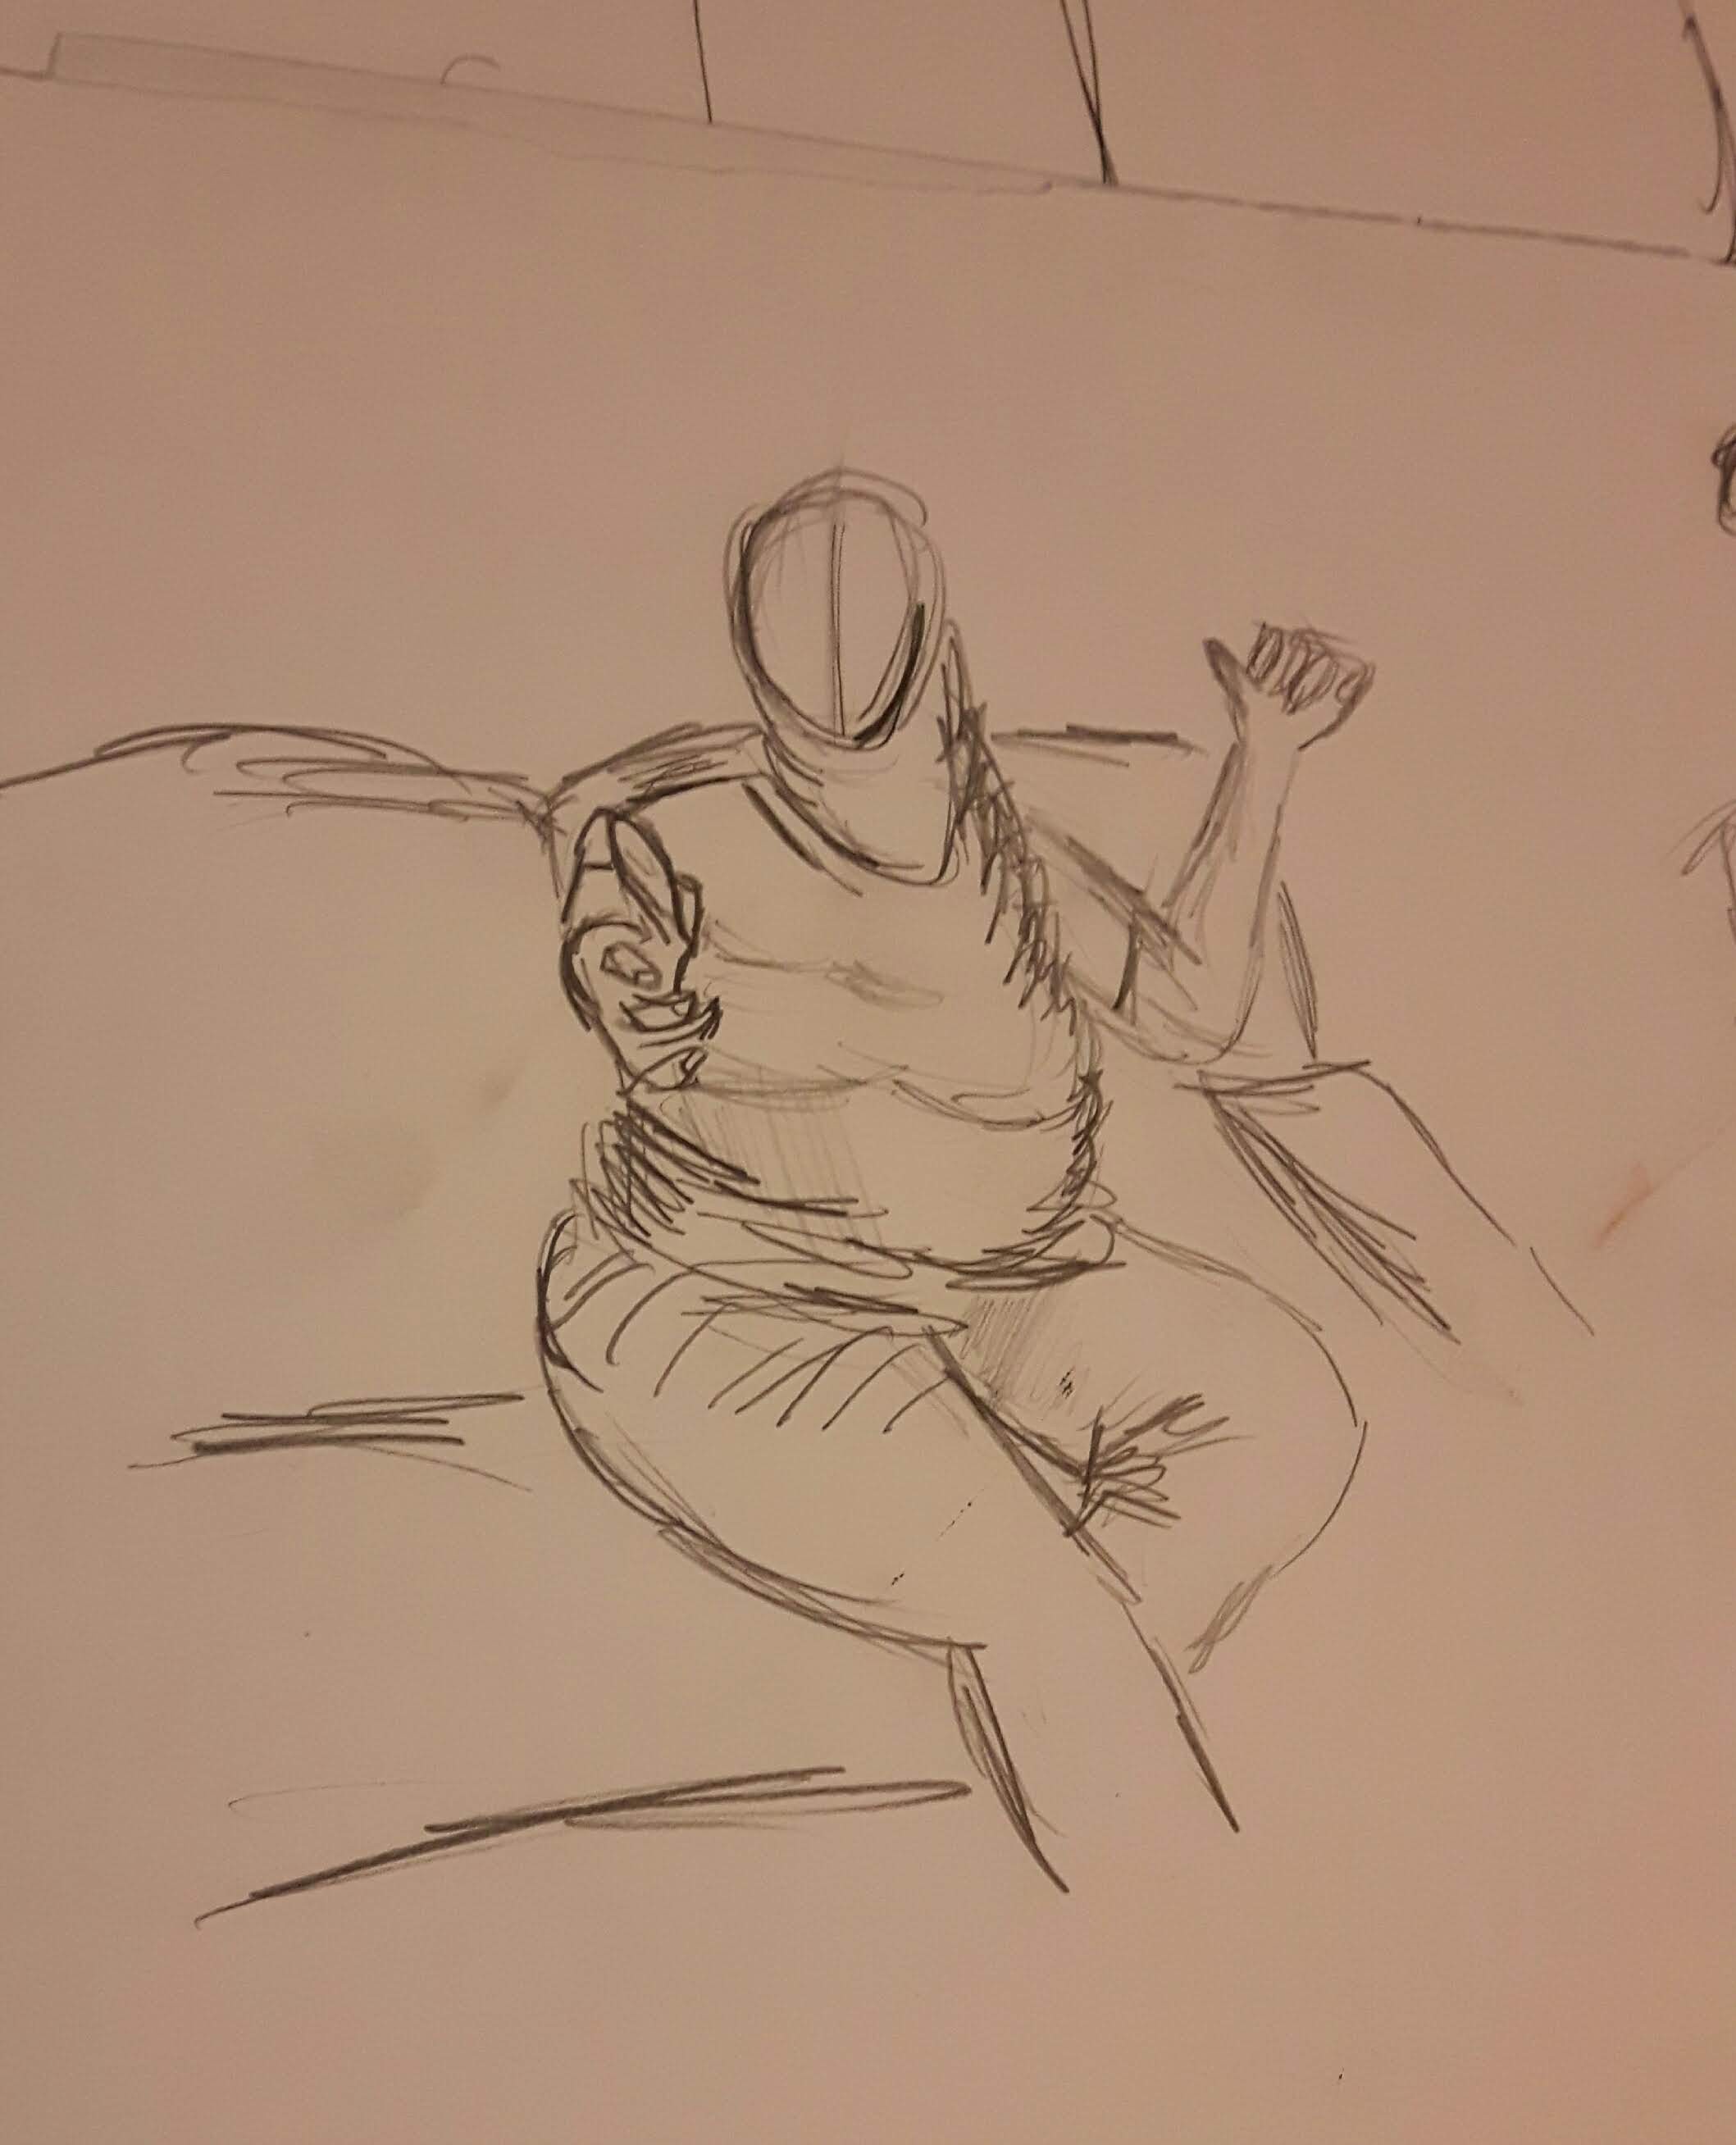
Seated model at a slight angle in a chair. The central axis obviously not only a straight line towards the floor but the line about which a rotating body turns therefore it is moving constantly as you’re changing position. I tried to reduce the form to its basic geometrical shape – square, sphere, cuboid. My model’s right arm is a good example for foreshortening. I tried to build up this two-minutes sketch starting with the torso.
Then I made a ten-minutes sketch.
Meanwhile she changed her position. Unfortunately this one became a little distorted, the upper body is facing us but the legs are in slight angle which looks awkward. Overall, the proposition is not bad, but – apart from the right hand – the foreshortening is clearly something to work on.
Exercise 2 Essential elements
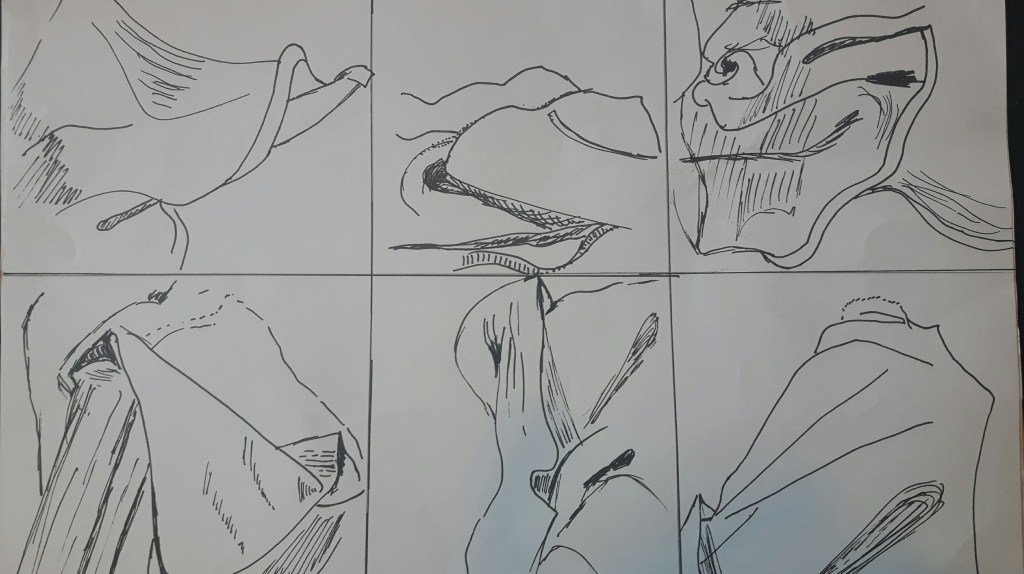
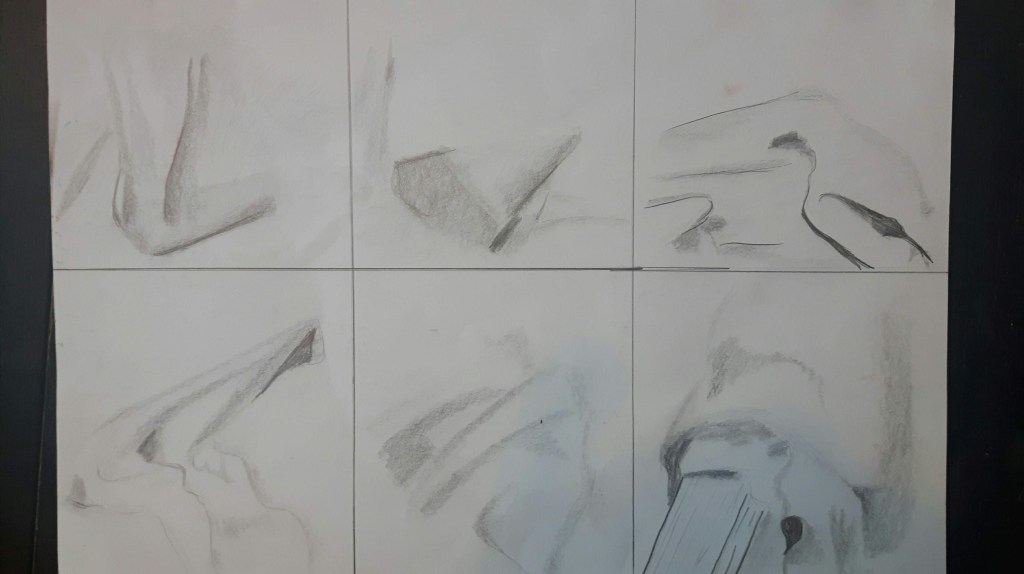
This time draw a sequence of six different poses lasting ten minutes each. I found a willing model – my son – but he wasn’t prepared to stay in pose for ten minutes each time. More like 2-5 and I finished them from my memory.
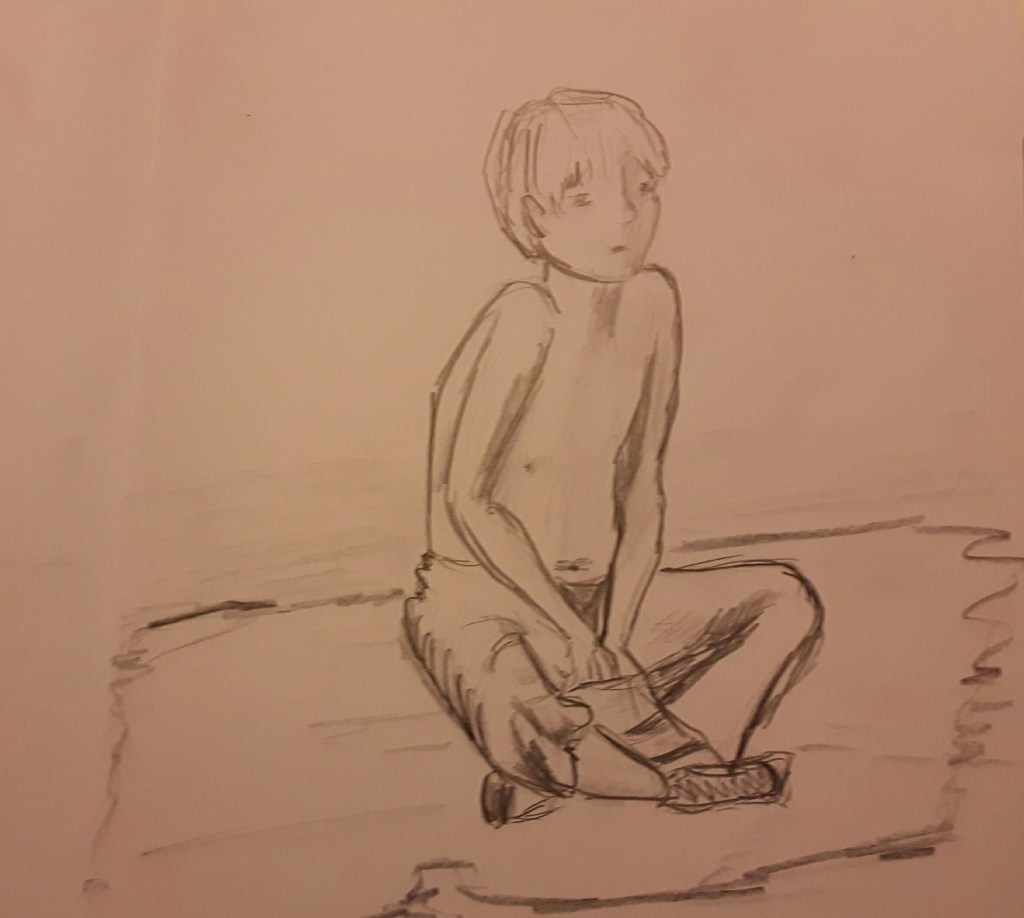
I think I created a sense of weight in pictures 3. and 4. The arms too long in 3. and 4. was tricky to draw (but somehow the most enjoyable) then he moved quickly (no power on Earth could move him back to the same position) so I couldn’t reproduce the shoulder part well. I kept erasing but each time it got worse and I gave it up. But still that was the best position because the figure is expressing playfulness.
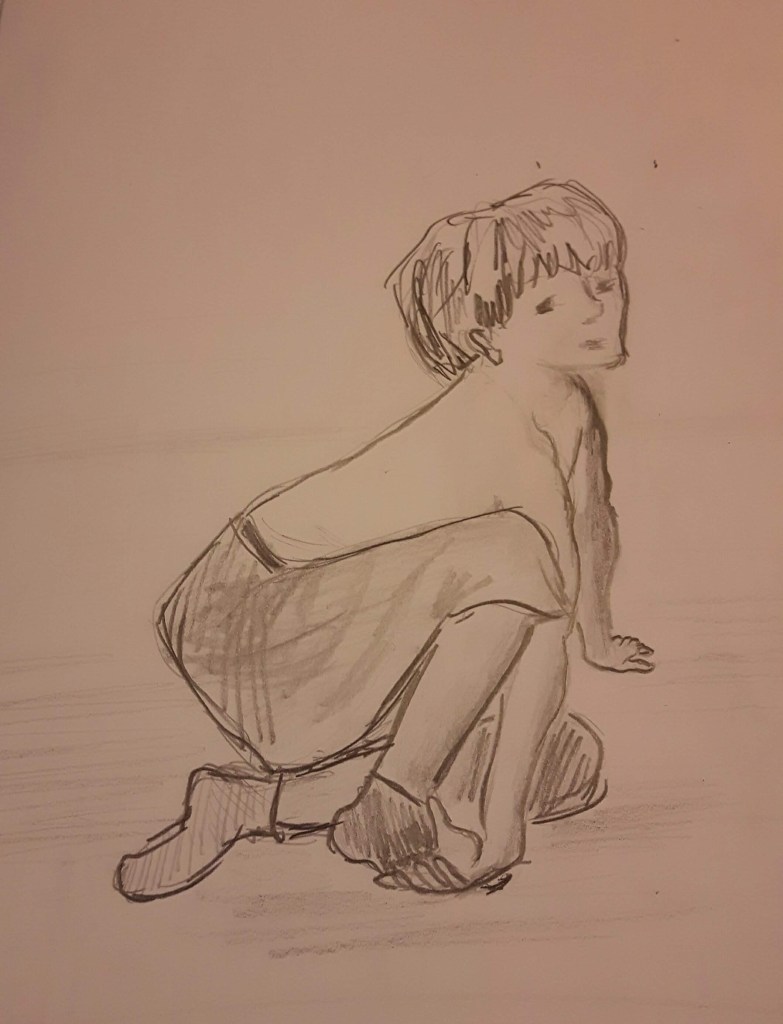
Exercise 3 Stance
With my first sketches I tried to focus on the central axis and how the weight or mass are shifting with body movement.
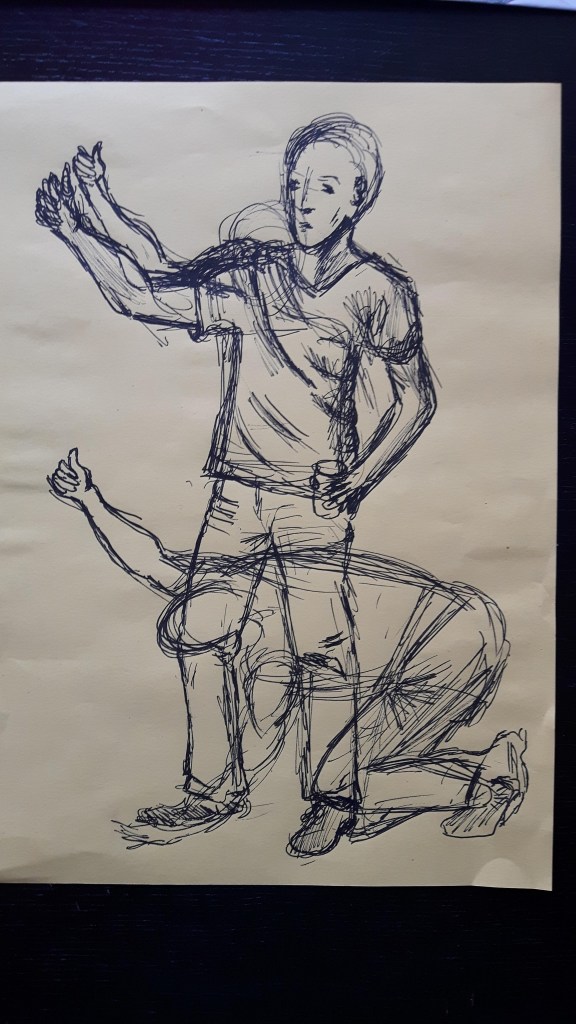
The next one took a bit longer, I tried to be more precise with proportion.

I think I got the proportion right however the head was too big first.
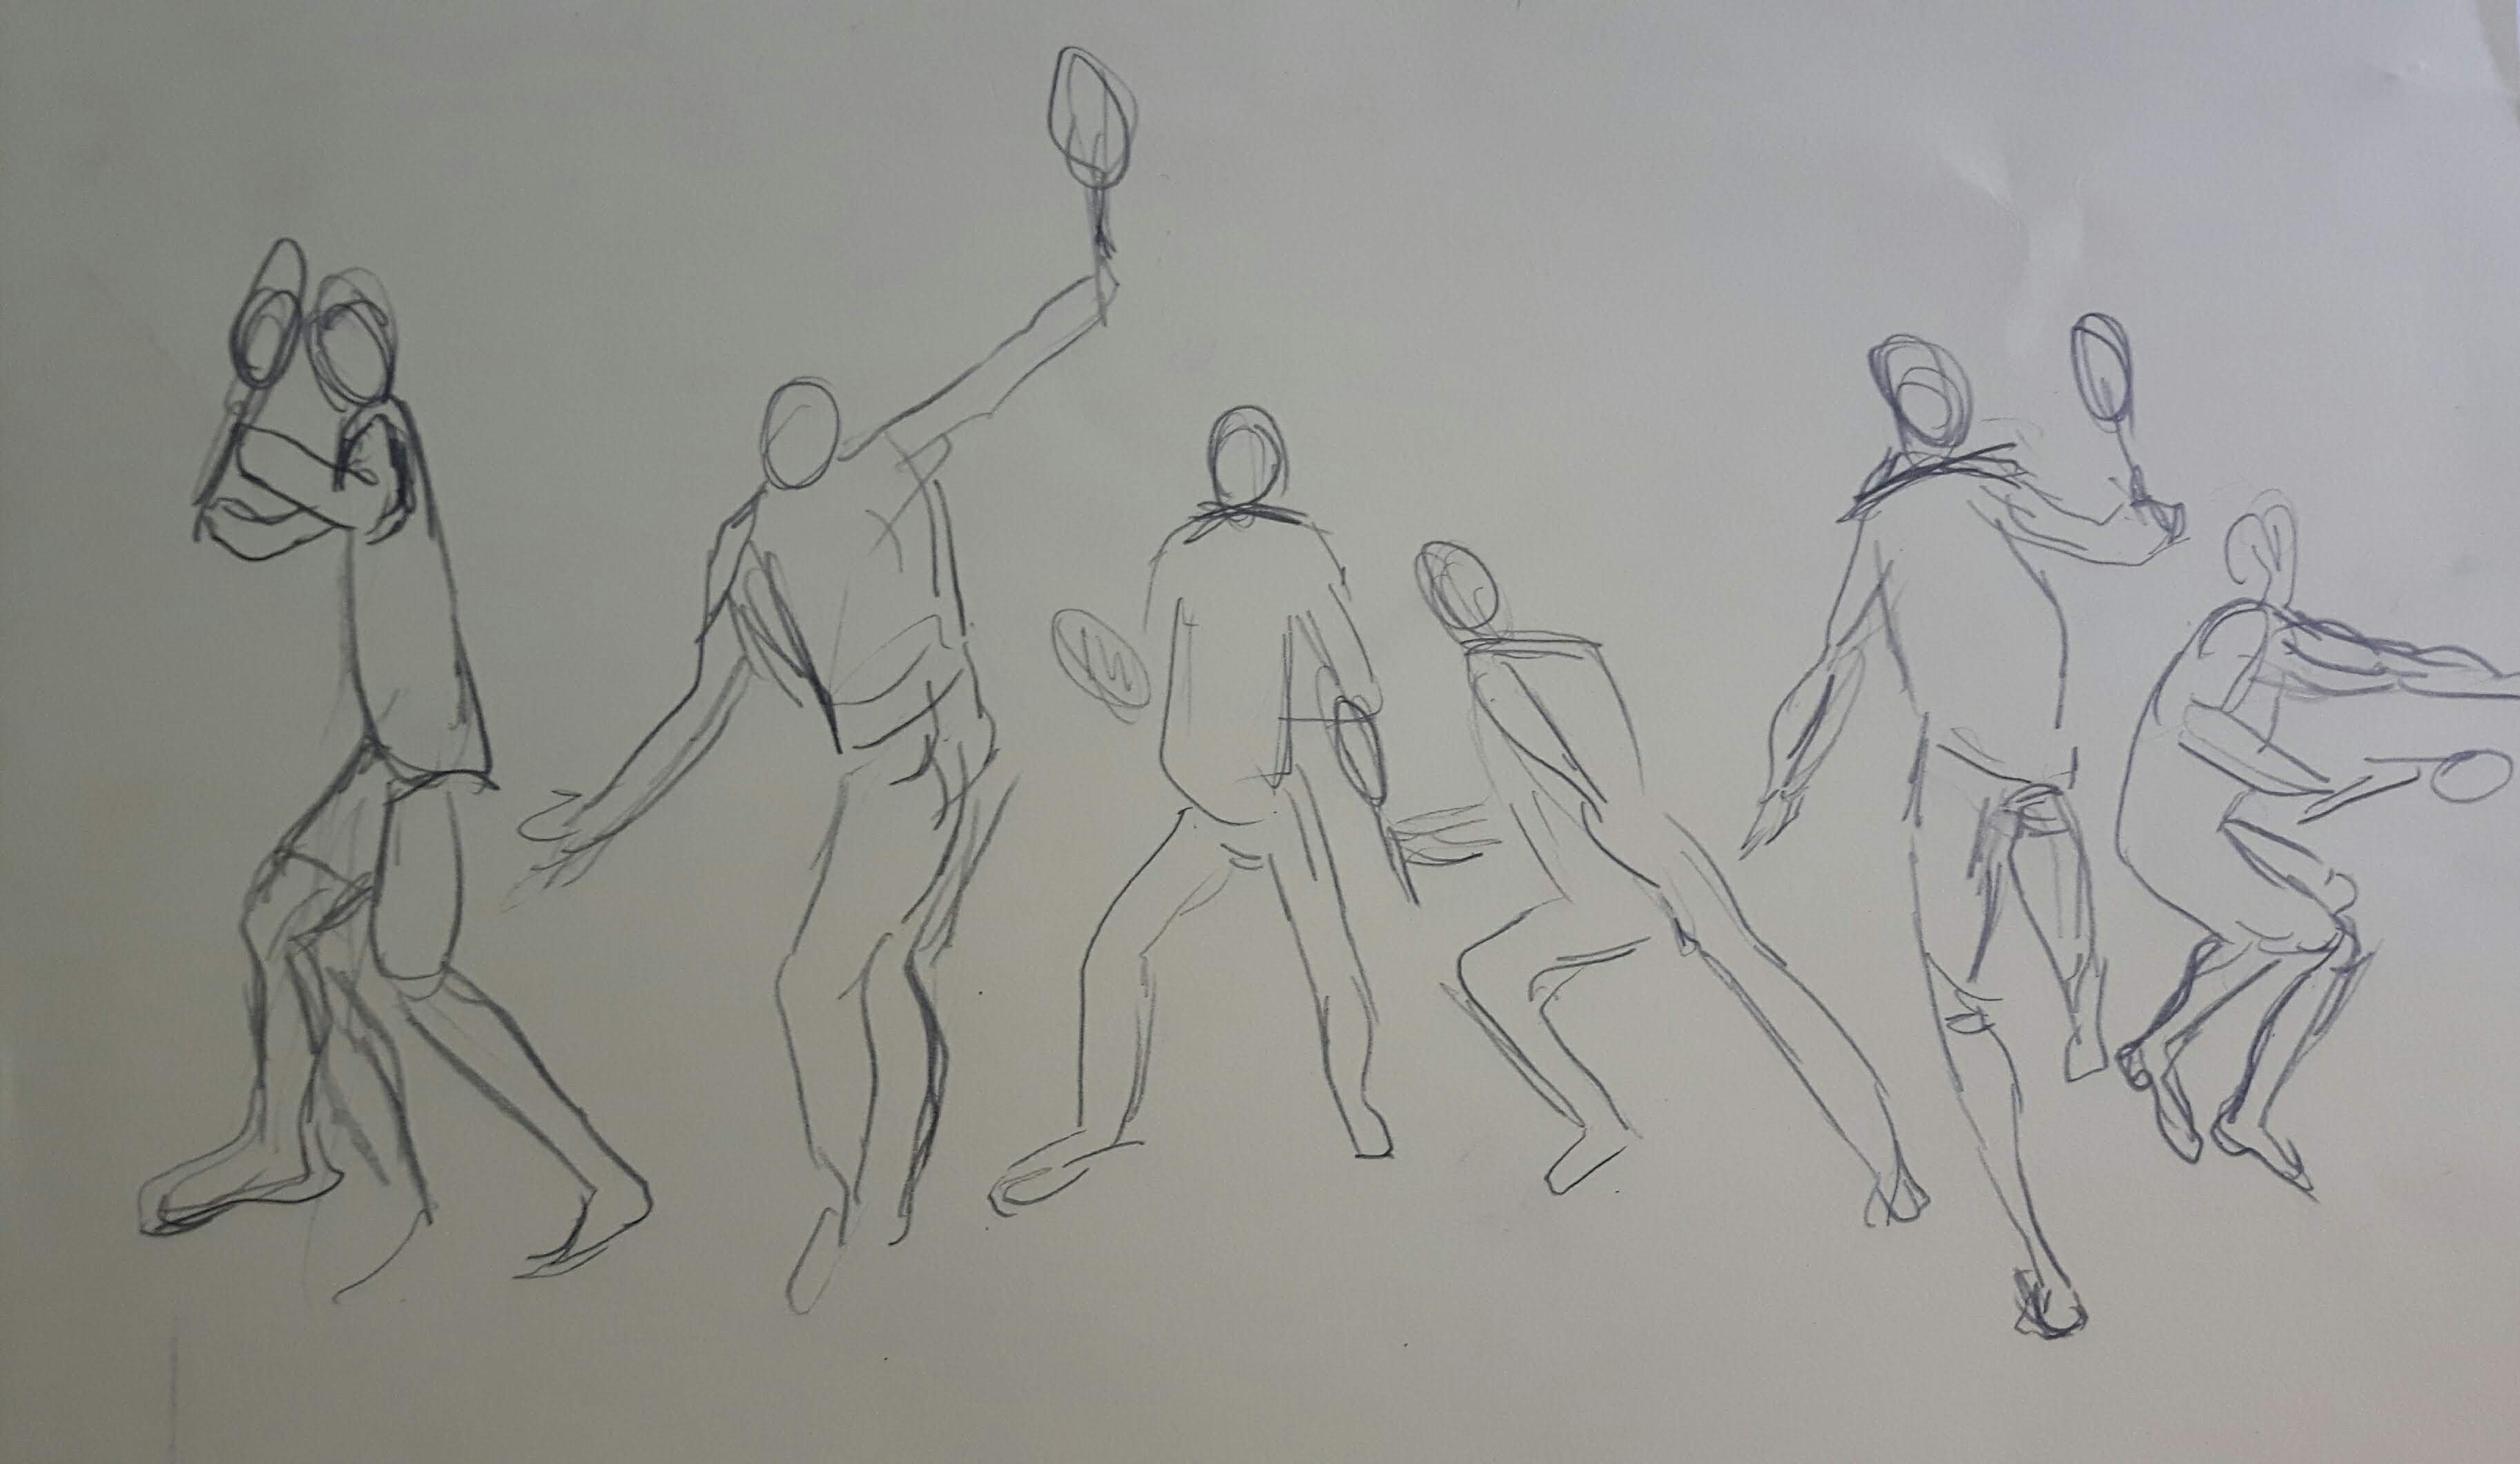
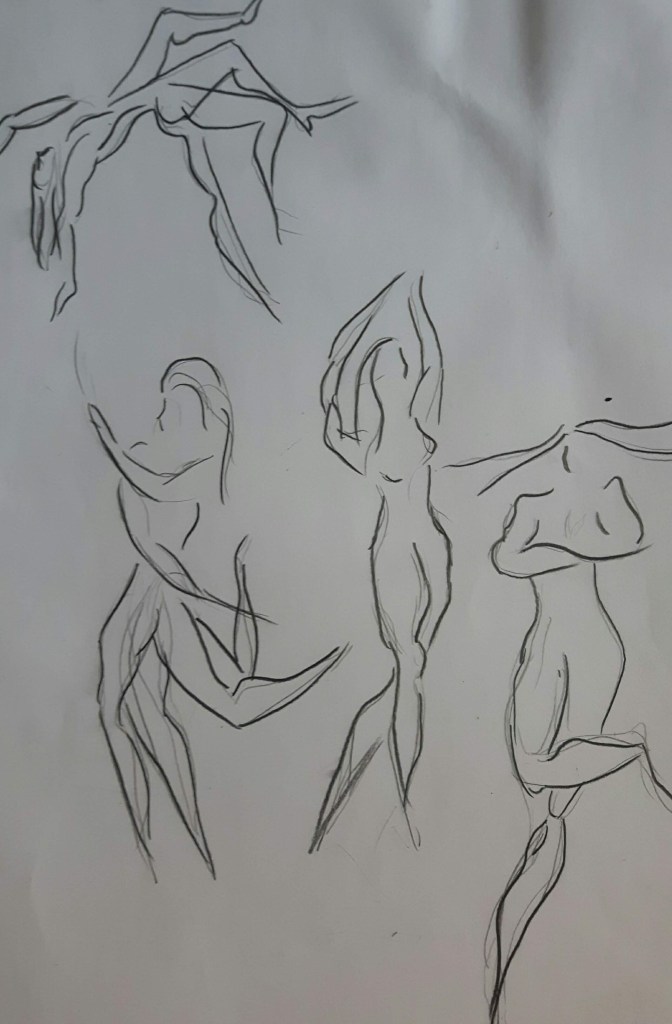
Exercise 4 Energy
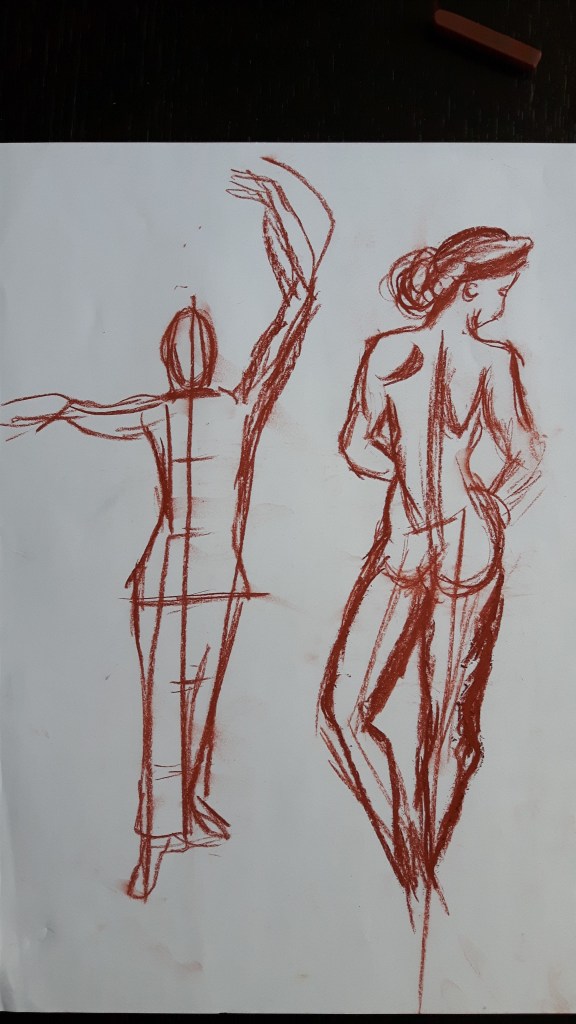
Ask a model to adopt a dynamic position. I found some interesting pictures from holidays, also I have to include some sketches of ballet dancers – it is truly fascinating to draw them!
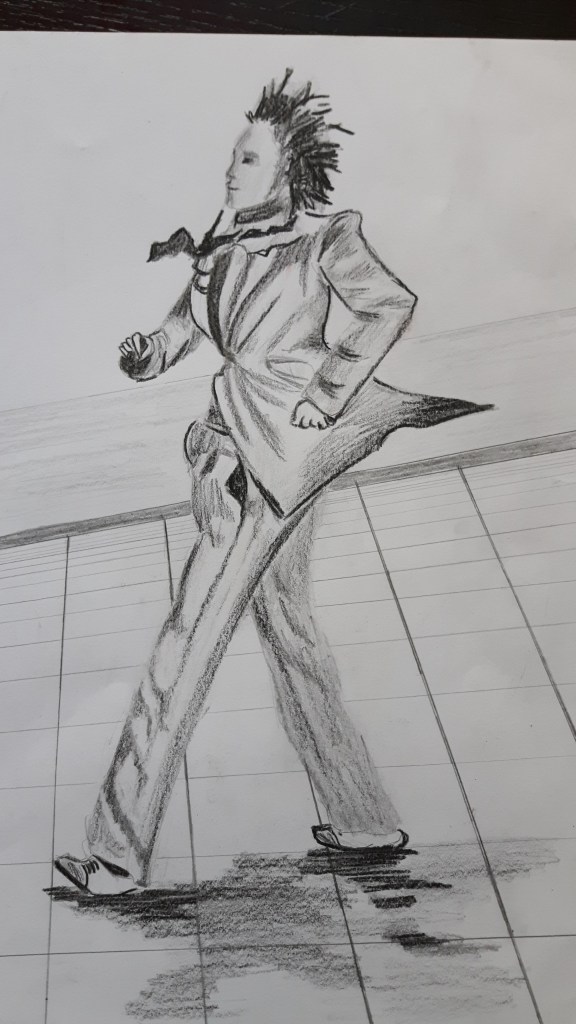
This street artist is staying in a frozen, uncomfortable position for a long time, his flickering tie and the back of his jacket supported with a thin, invisible metal rod to give even better impression of flowing movement.

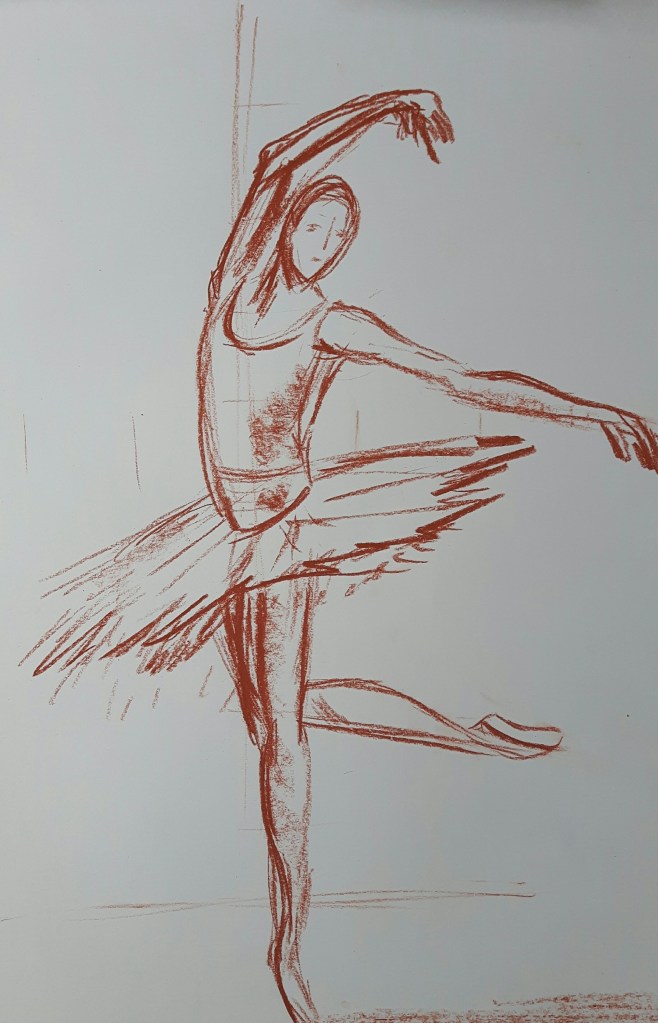
Those were quick sketches only, legs are not great but I think I have just grasped the endless passion of Edgar Degas for drawing dancers (approximately 1500 depictions…). I will definitely come back to this for a longer study.
Project 4 Structure
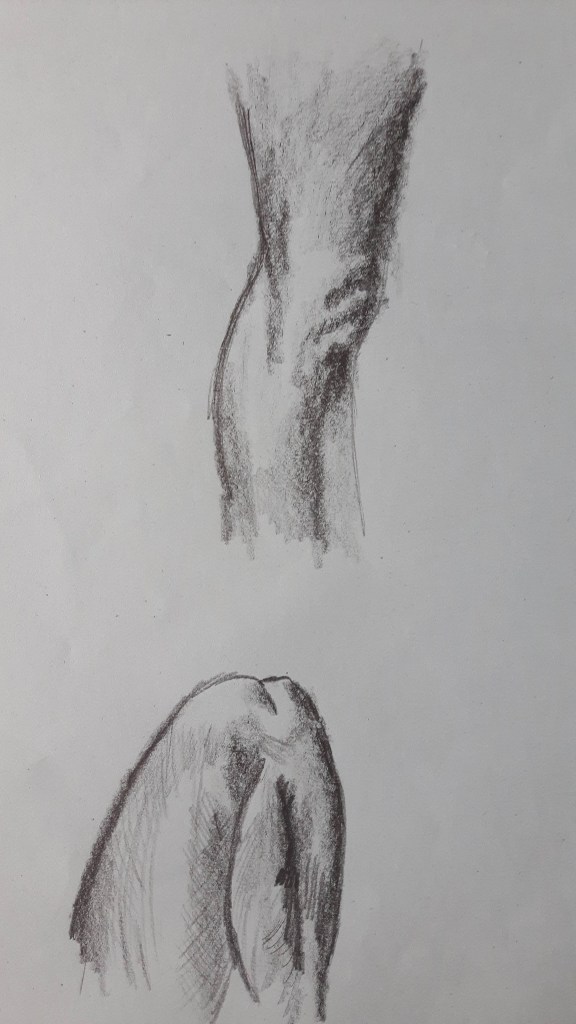
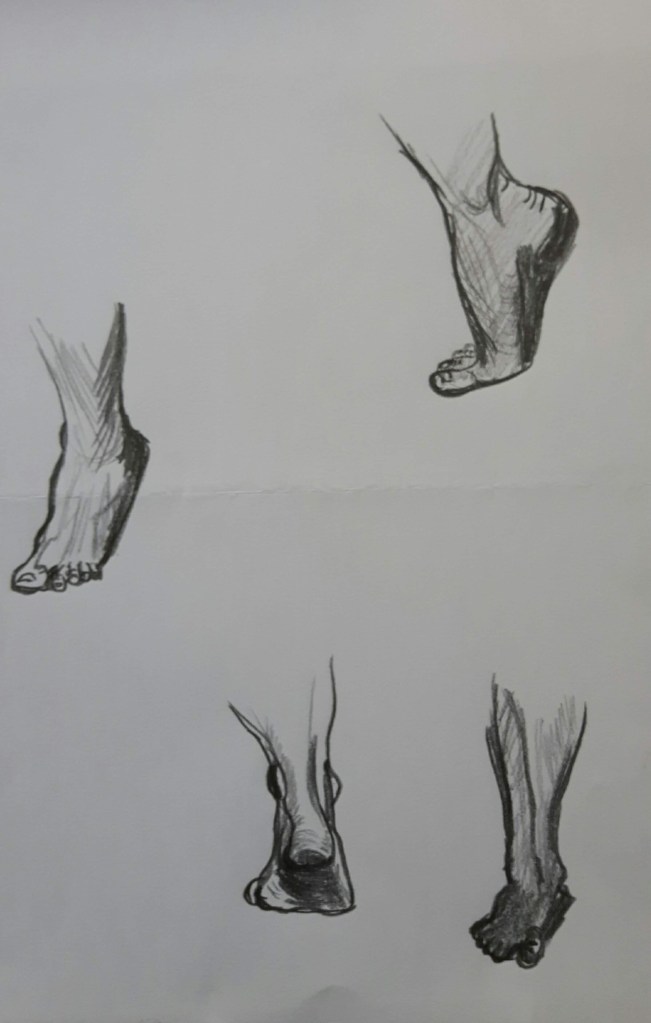
Exercise 1 Structure of the human body
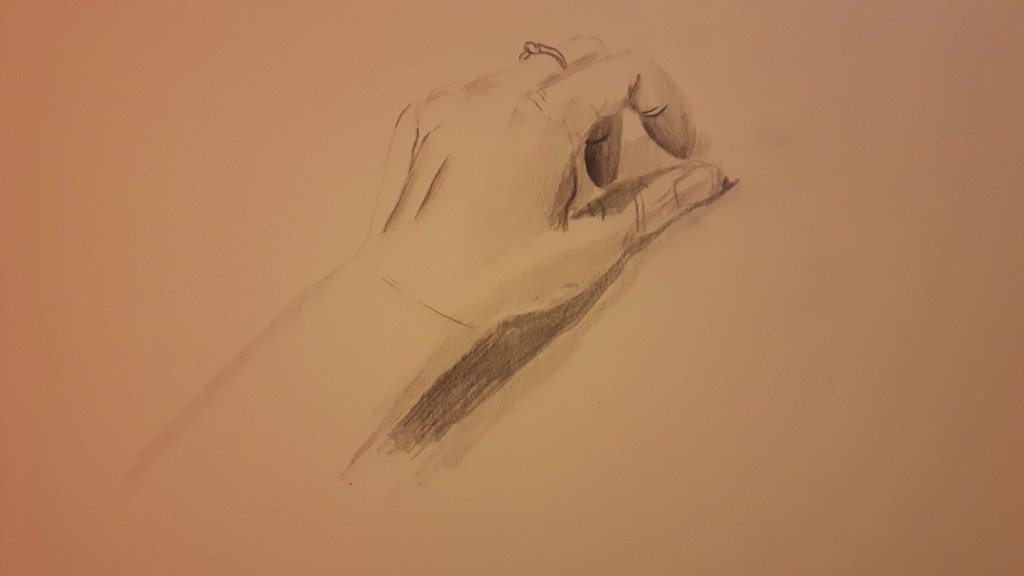
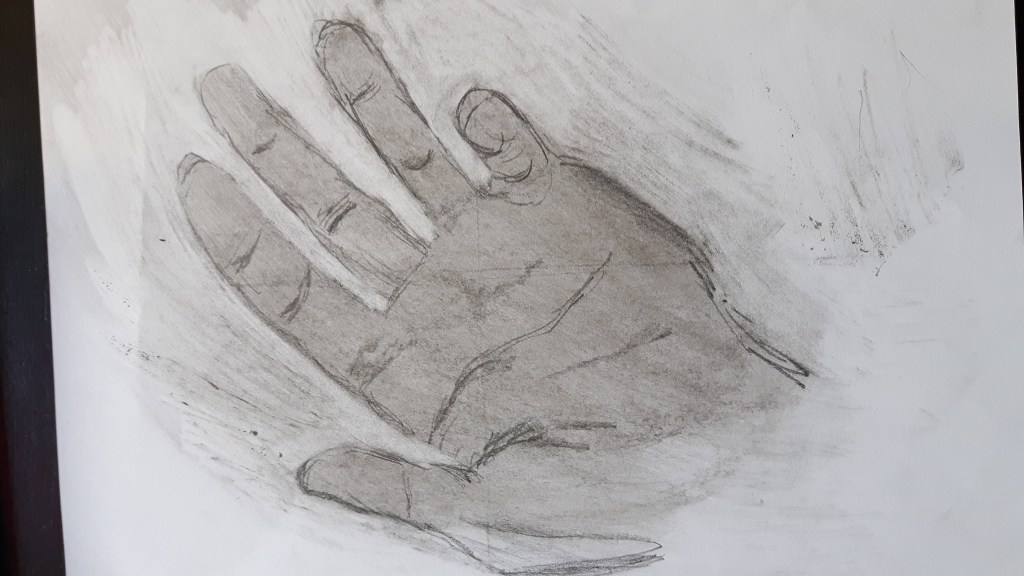
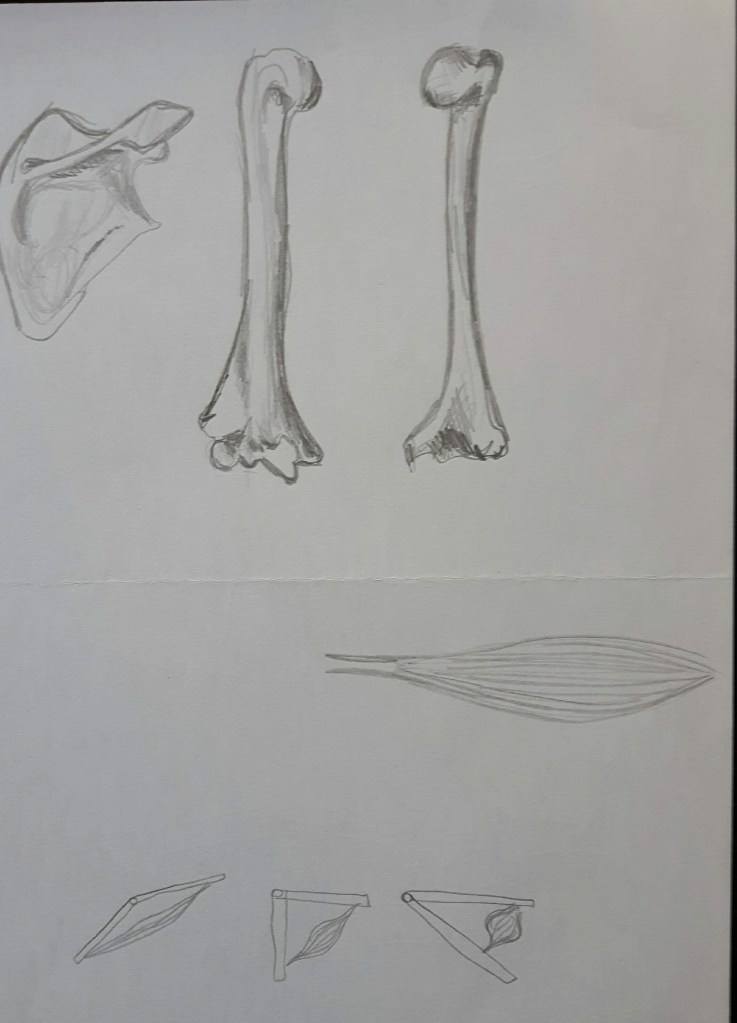
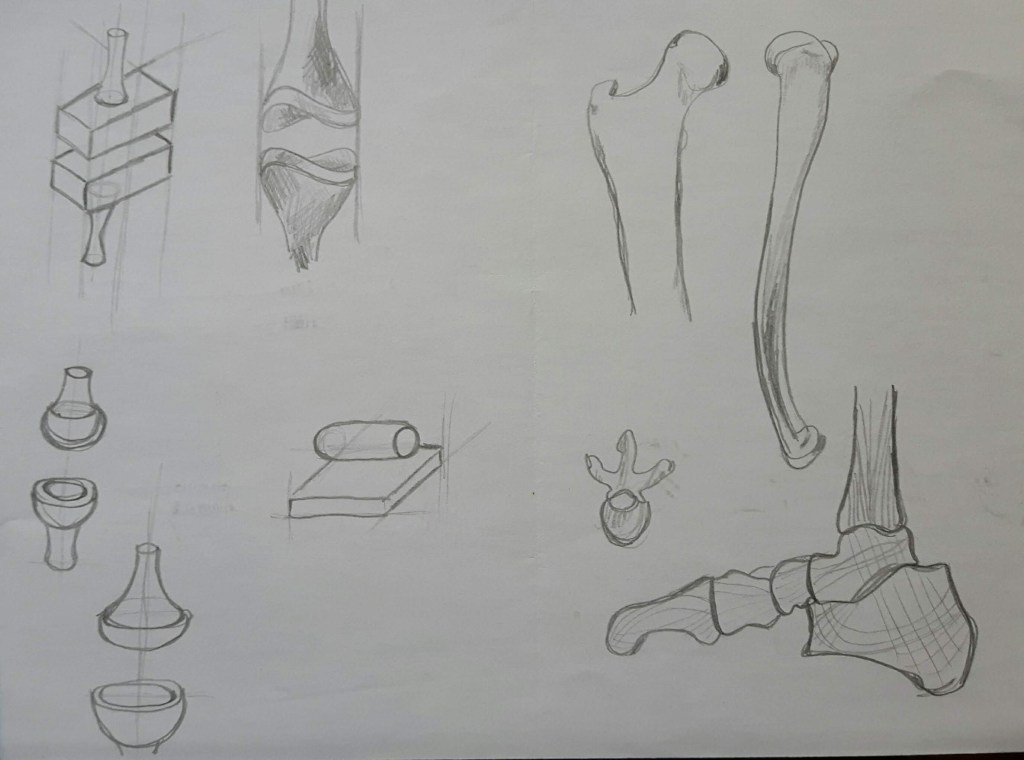
Loosely sketch some of the structures that make up the human body. For this exercise I drew various body parts, muscles and bones too to understand body structure and movement better.

Exercise 2 Three figure drawings
Using different tools, materials and supports, work on three drawings of your model.
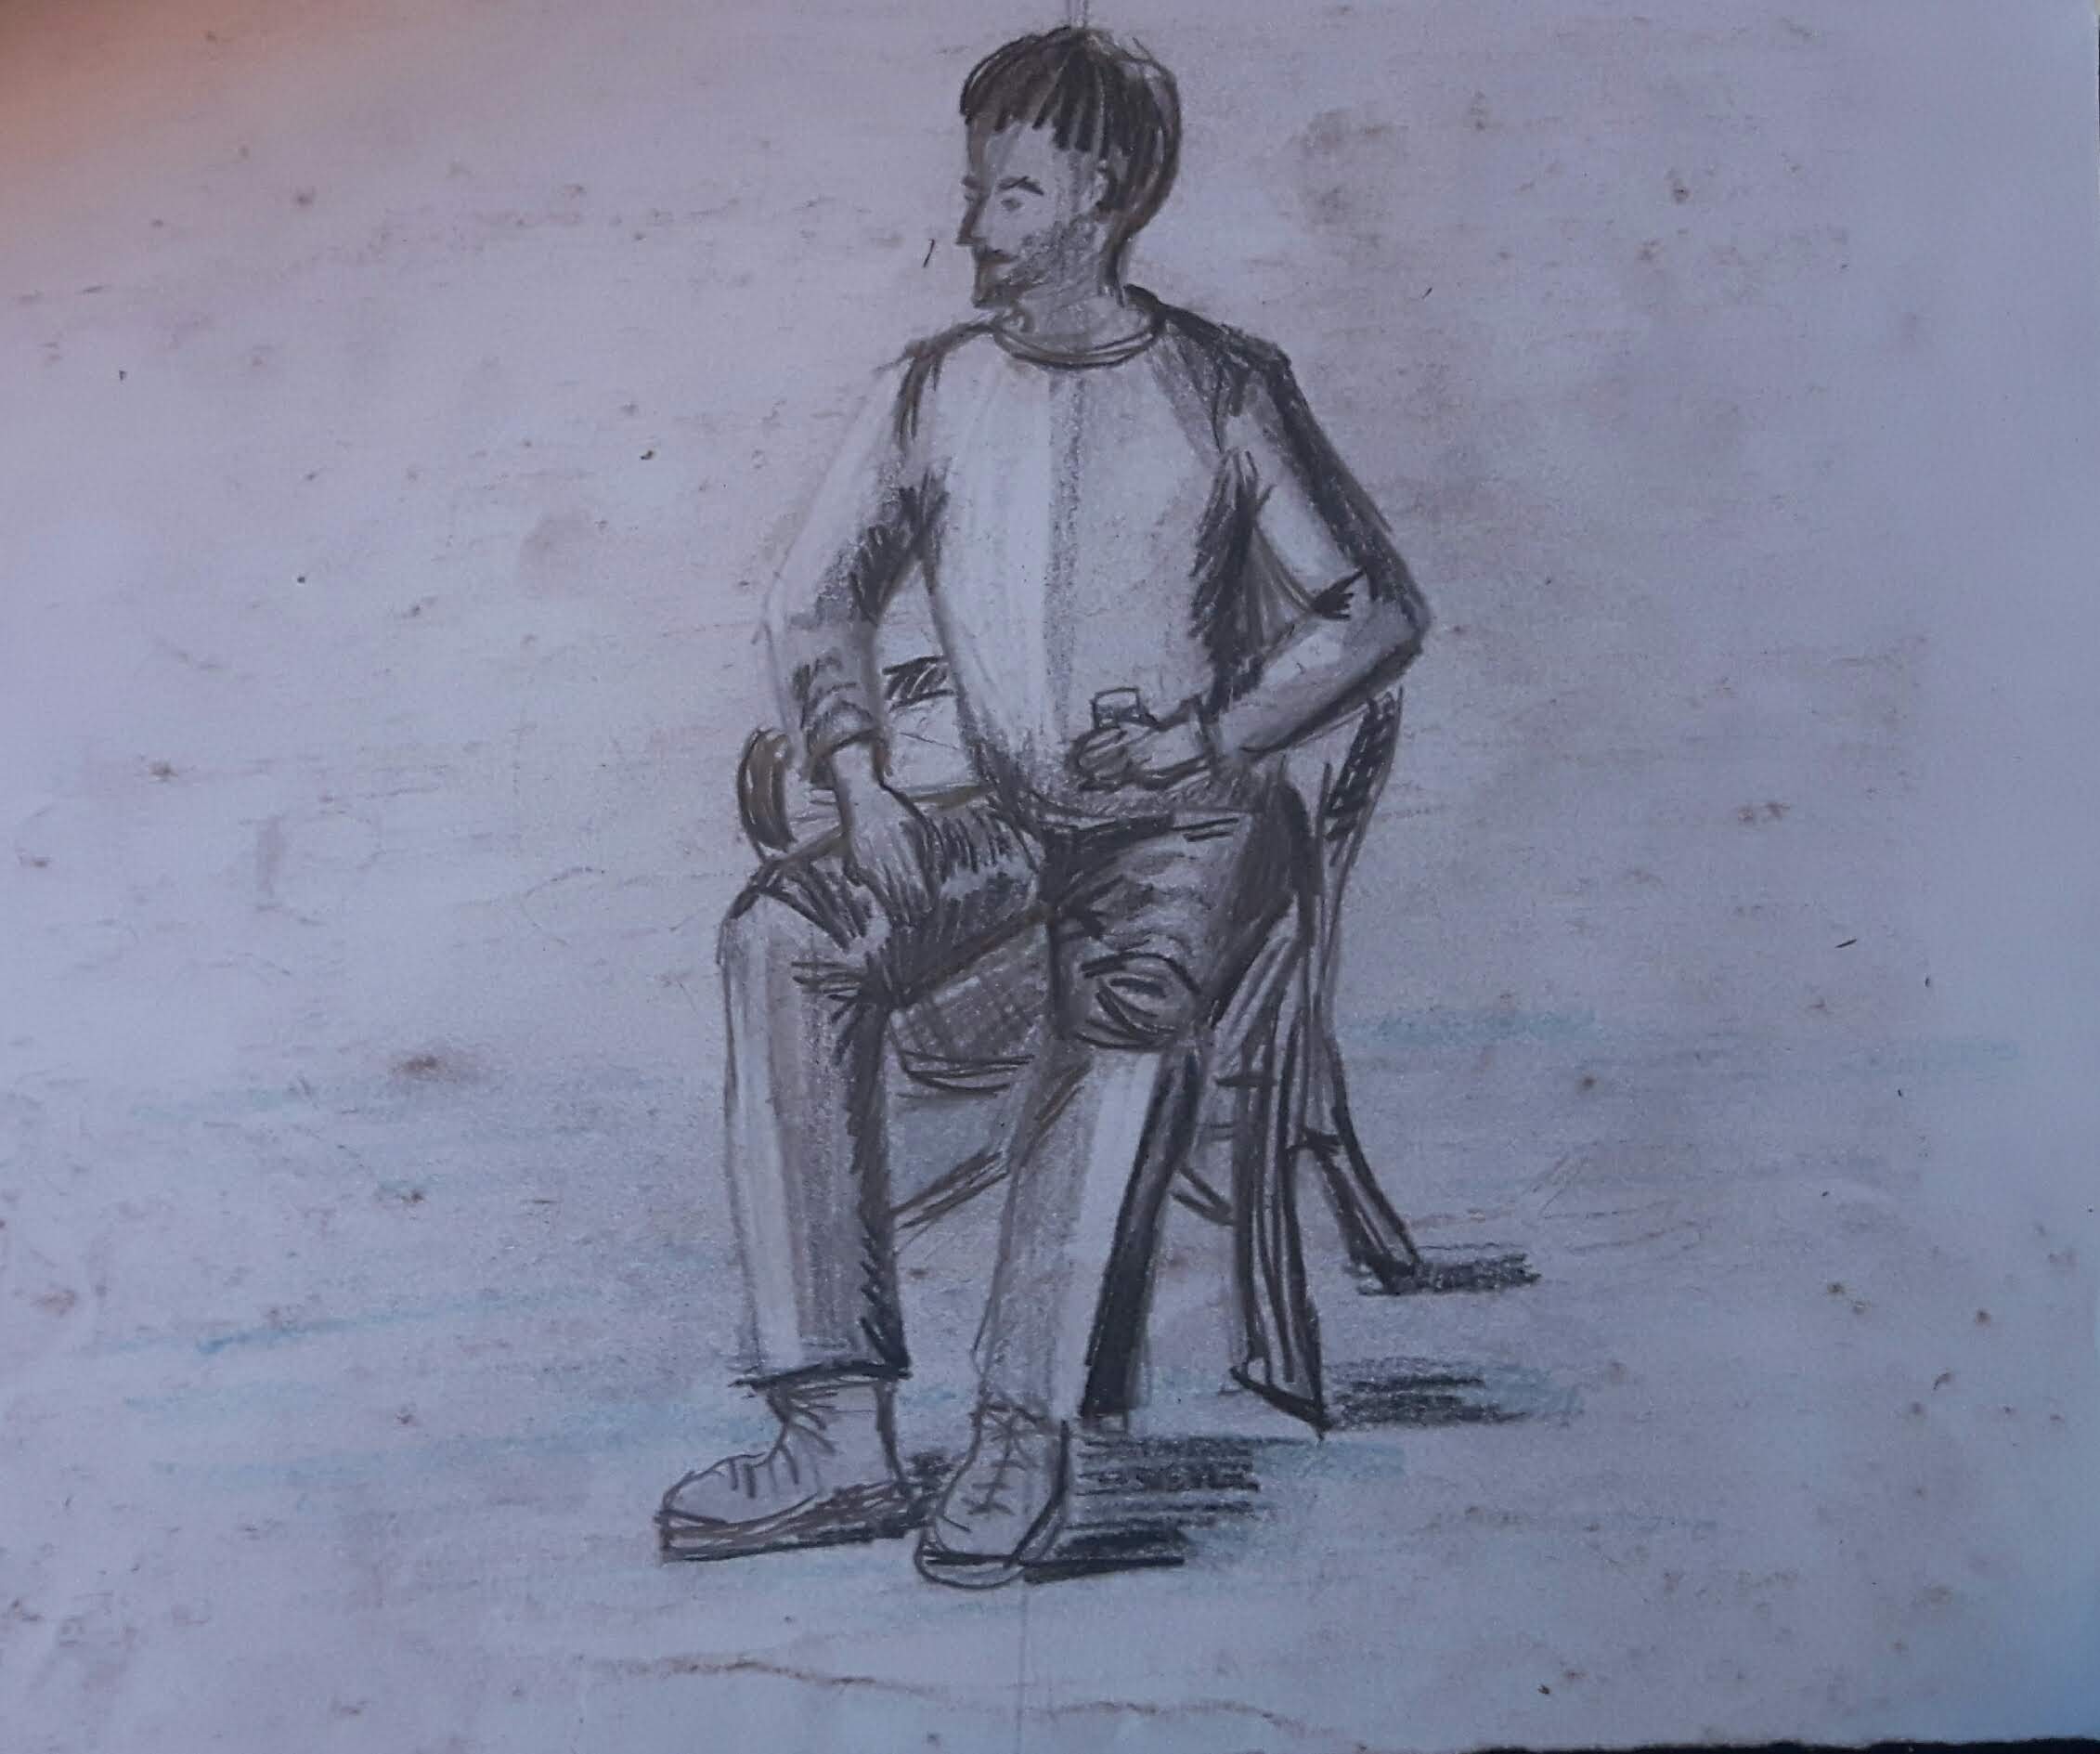
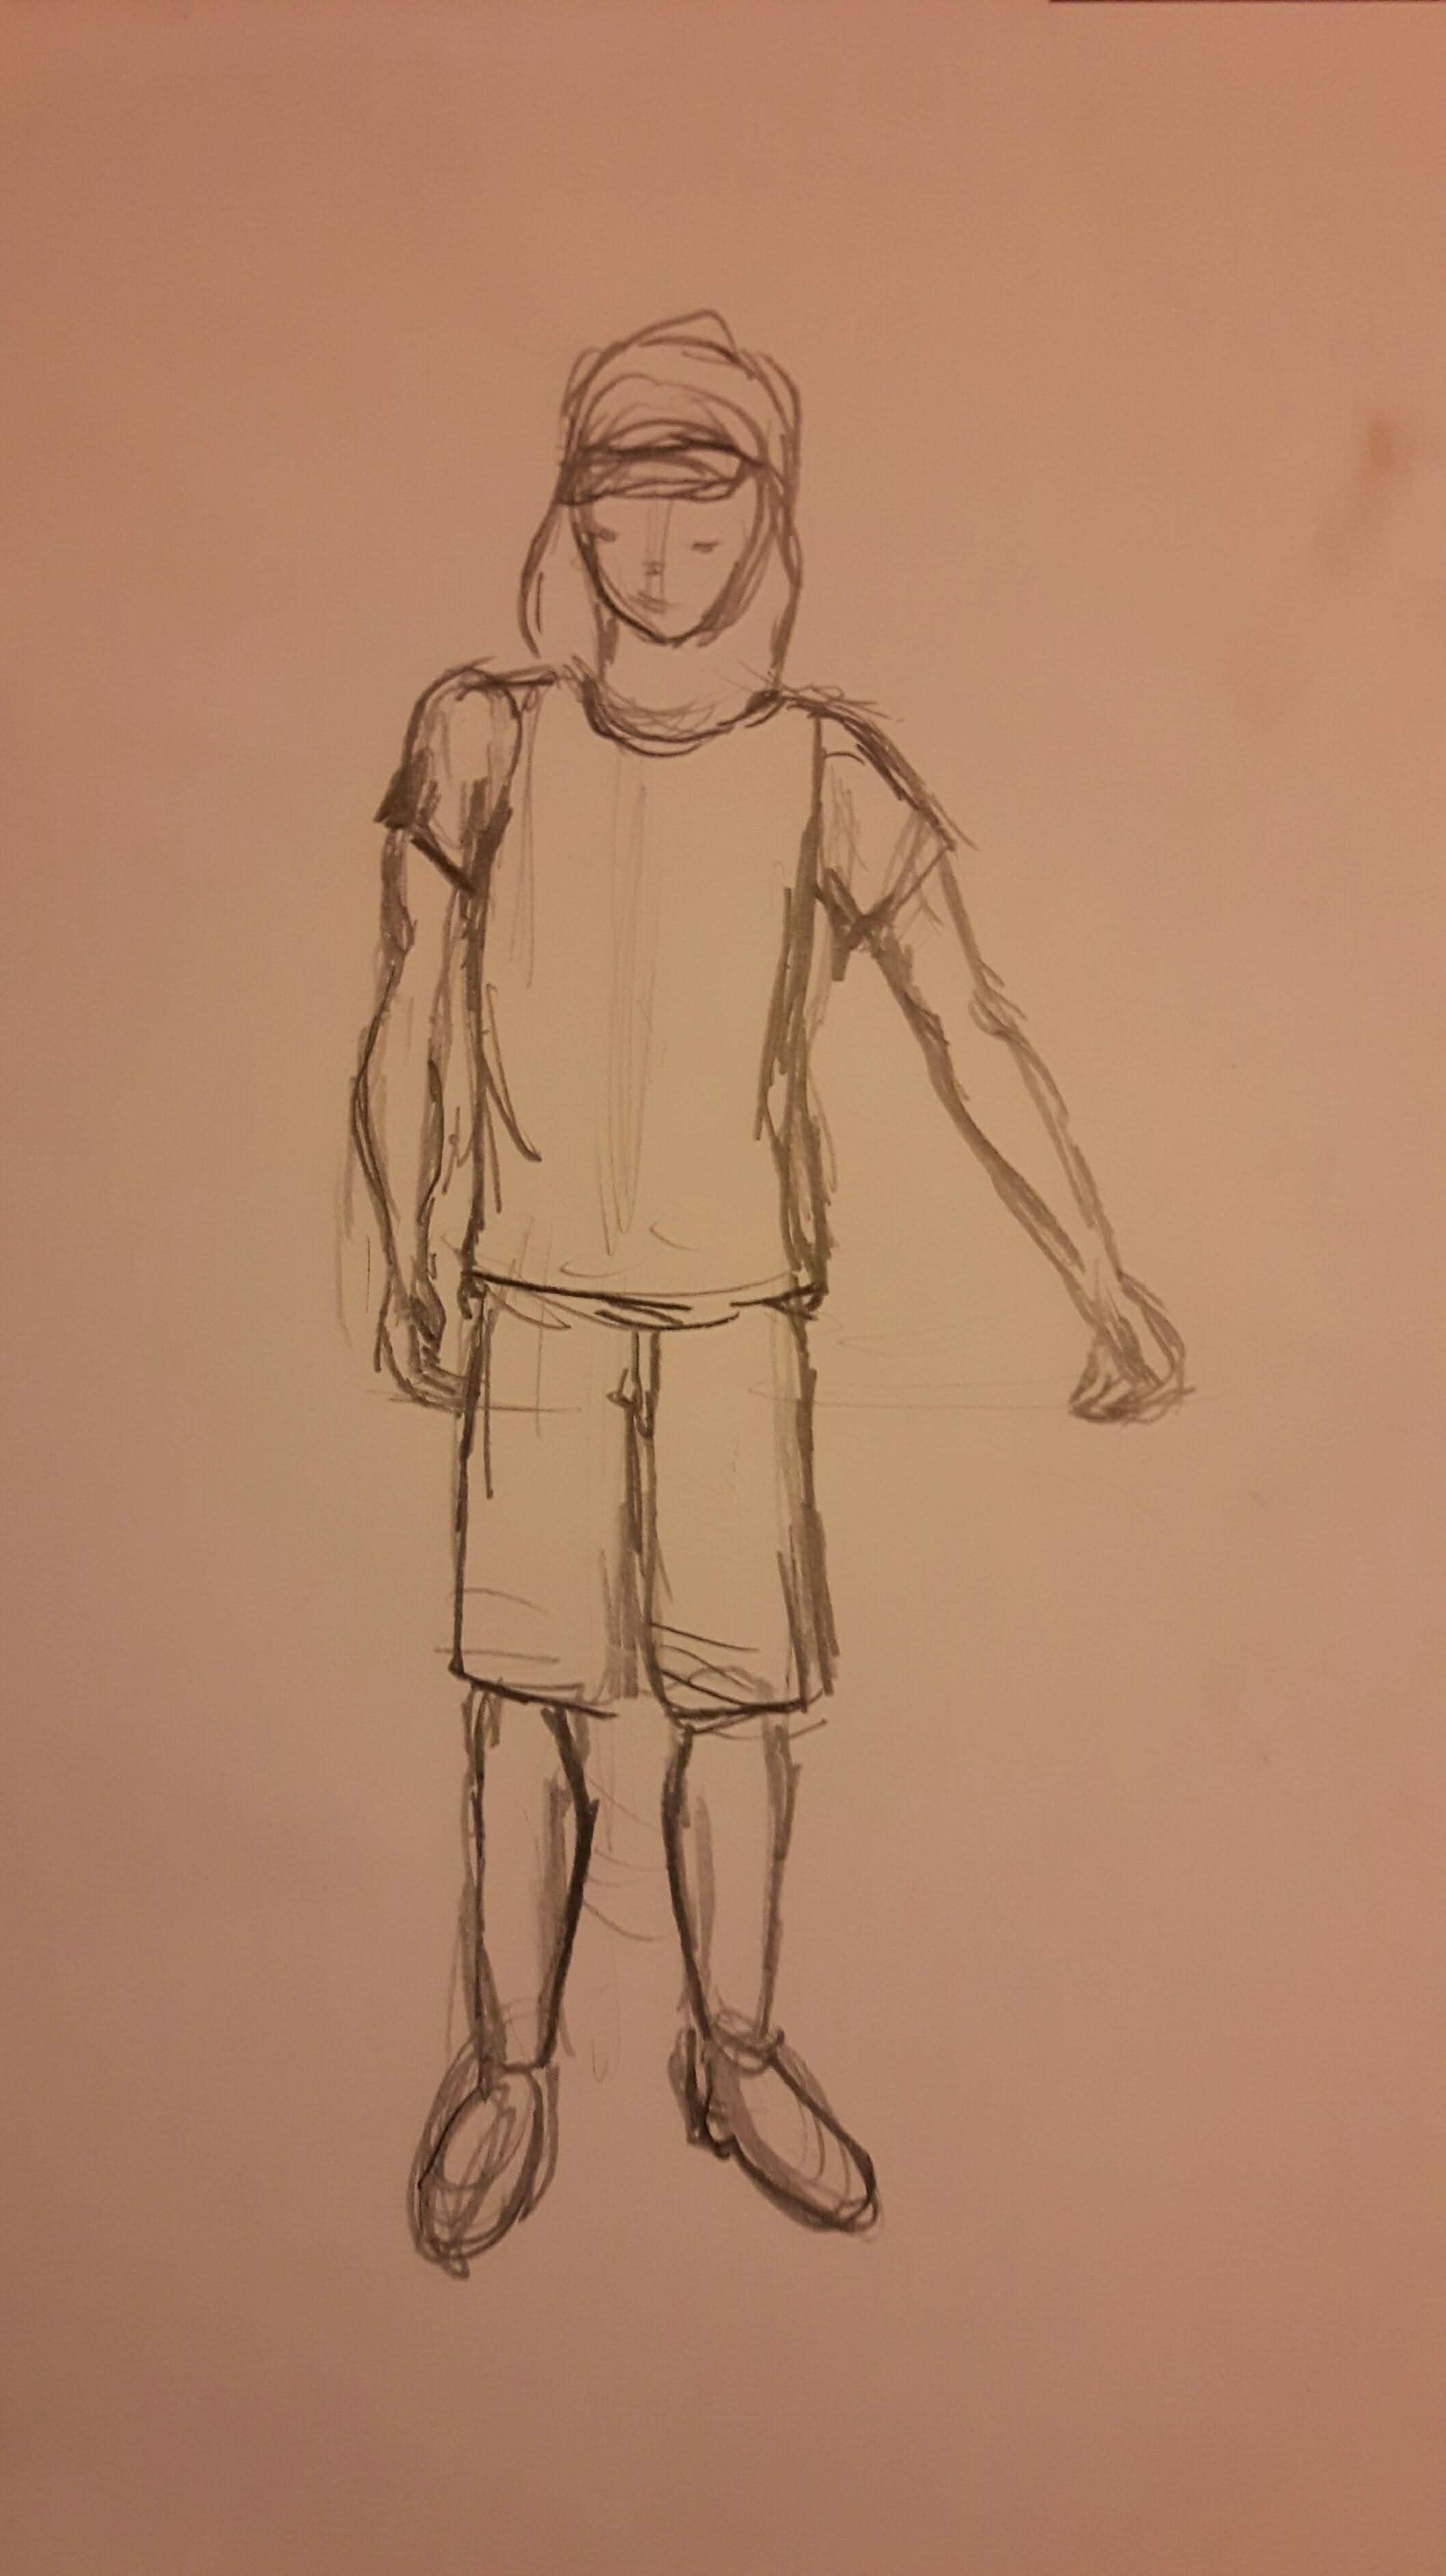
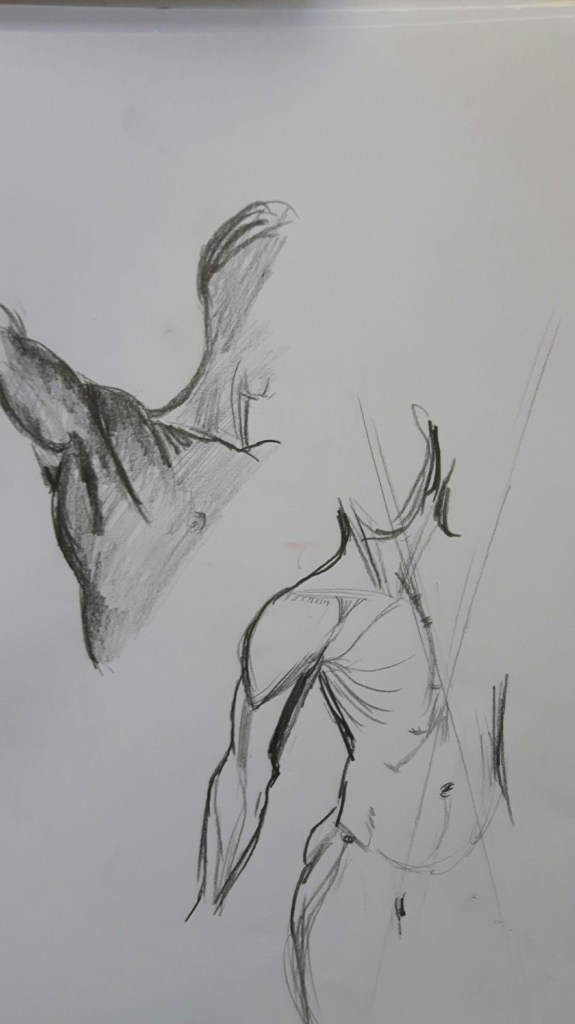
Standing
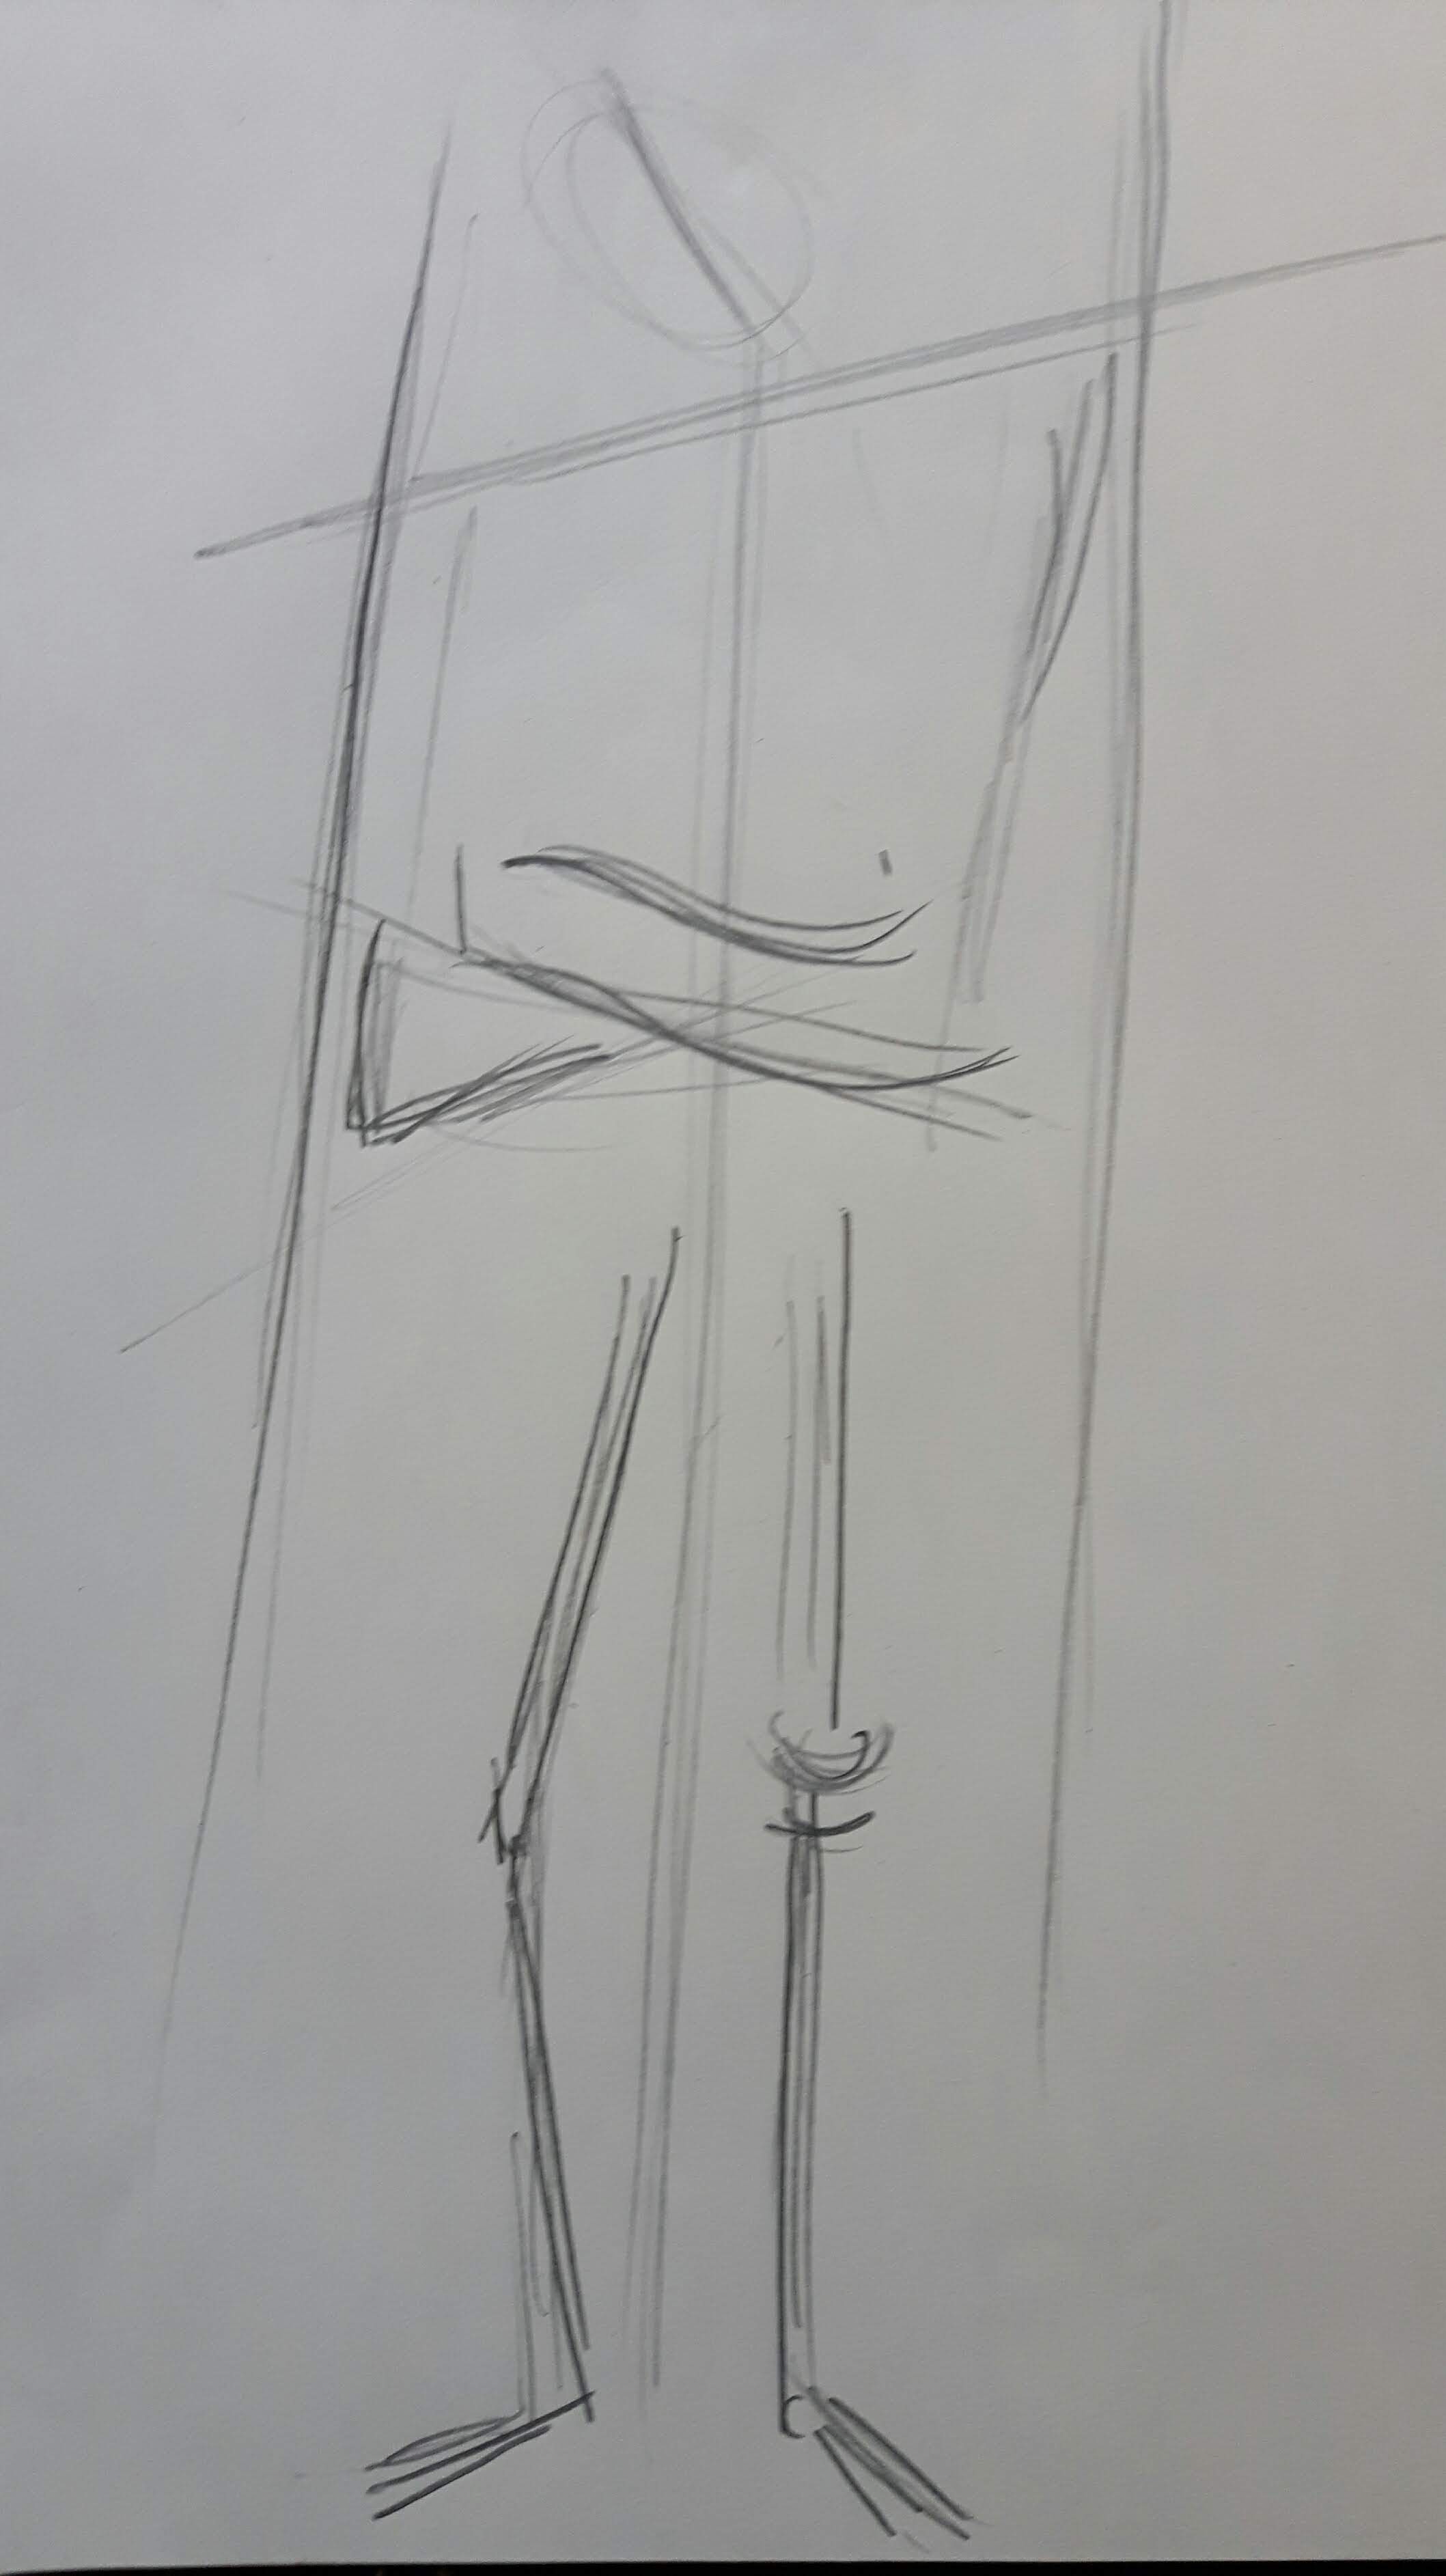
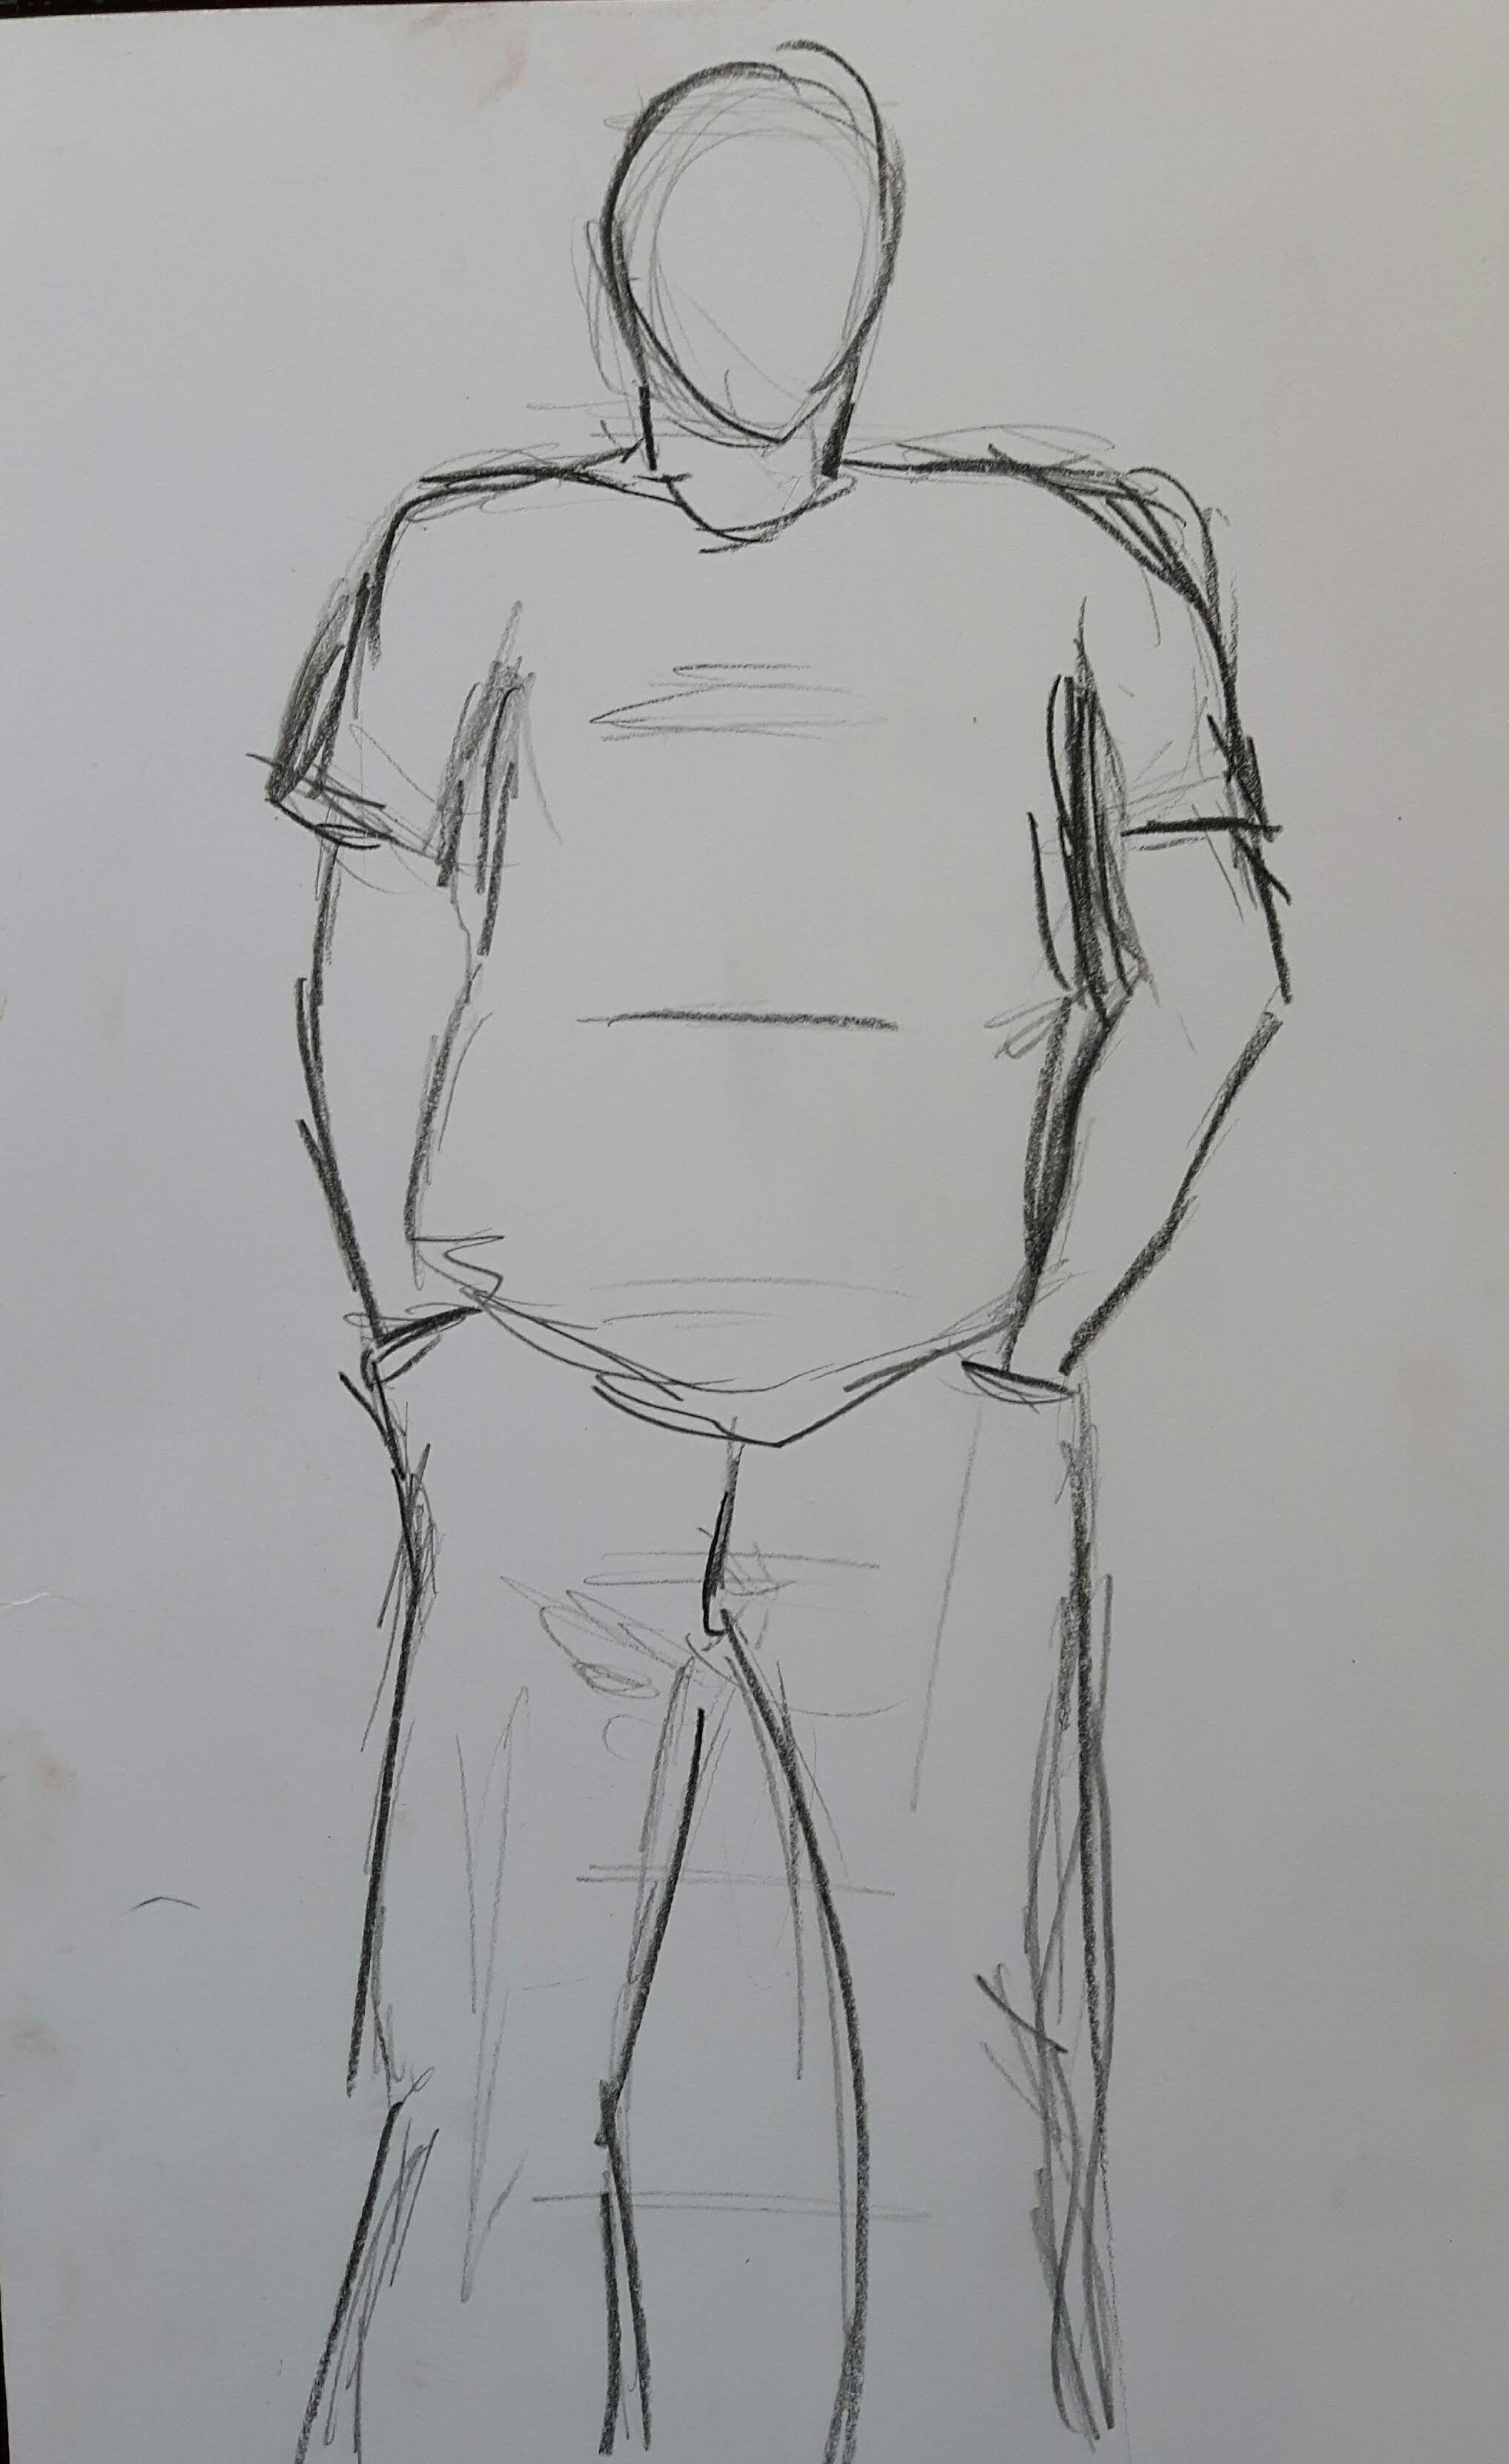
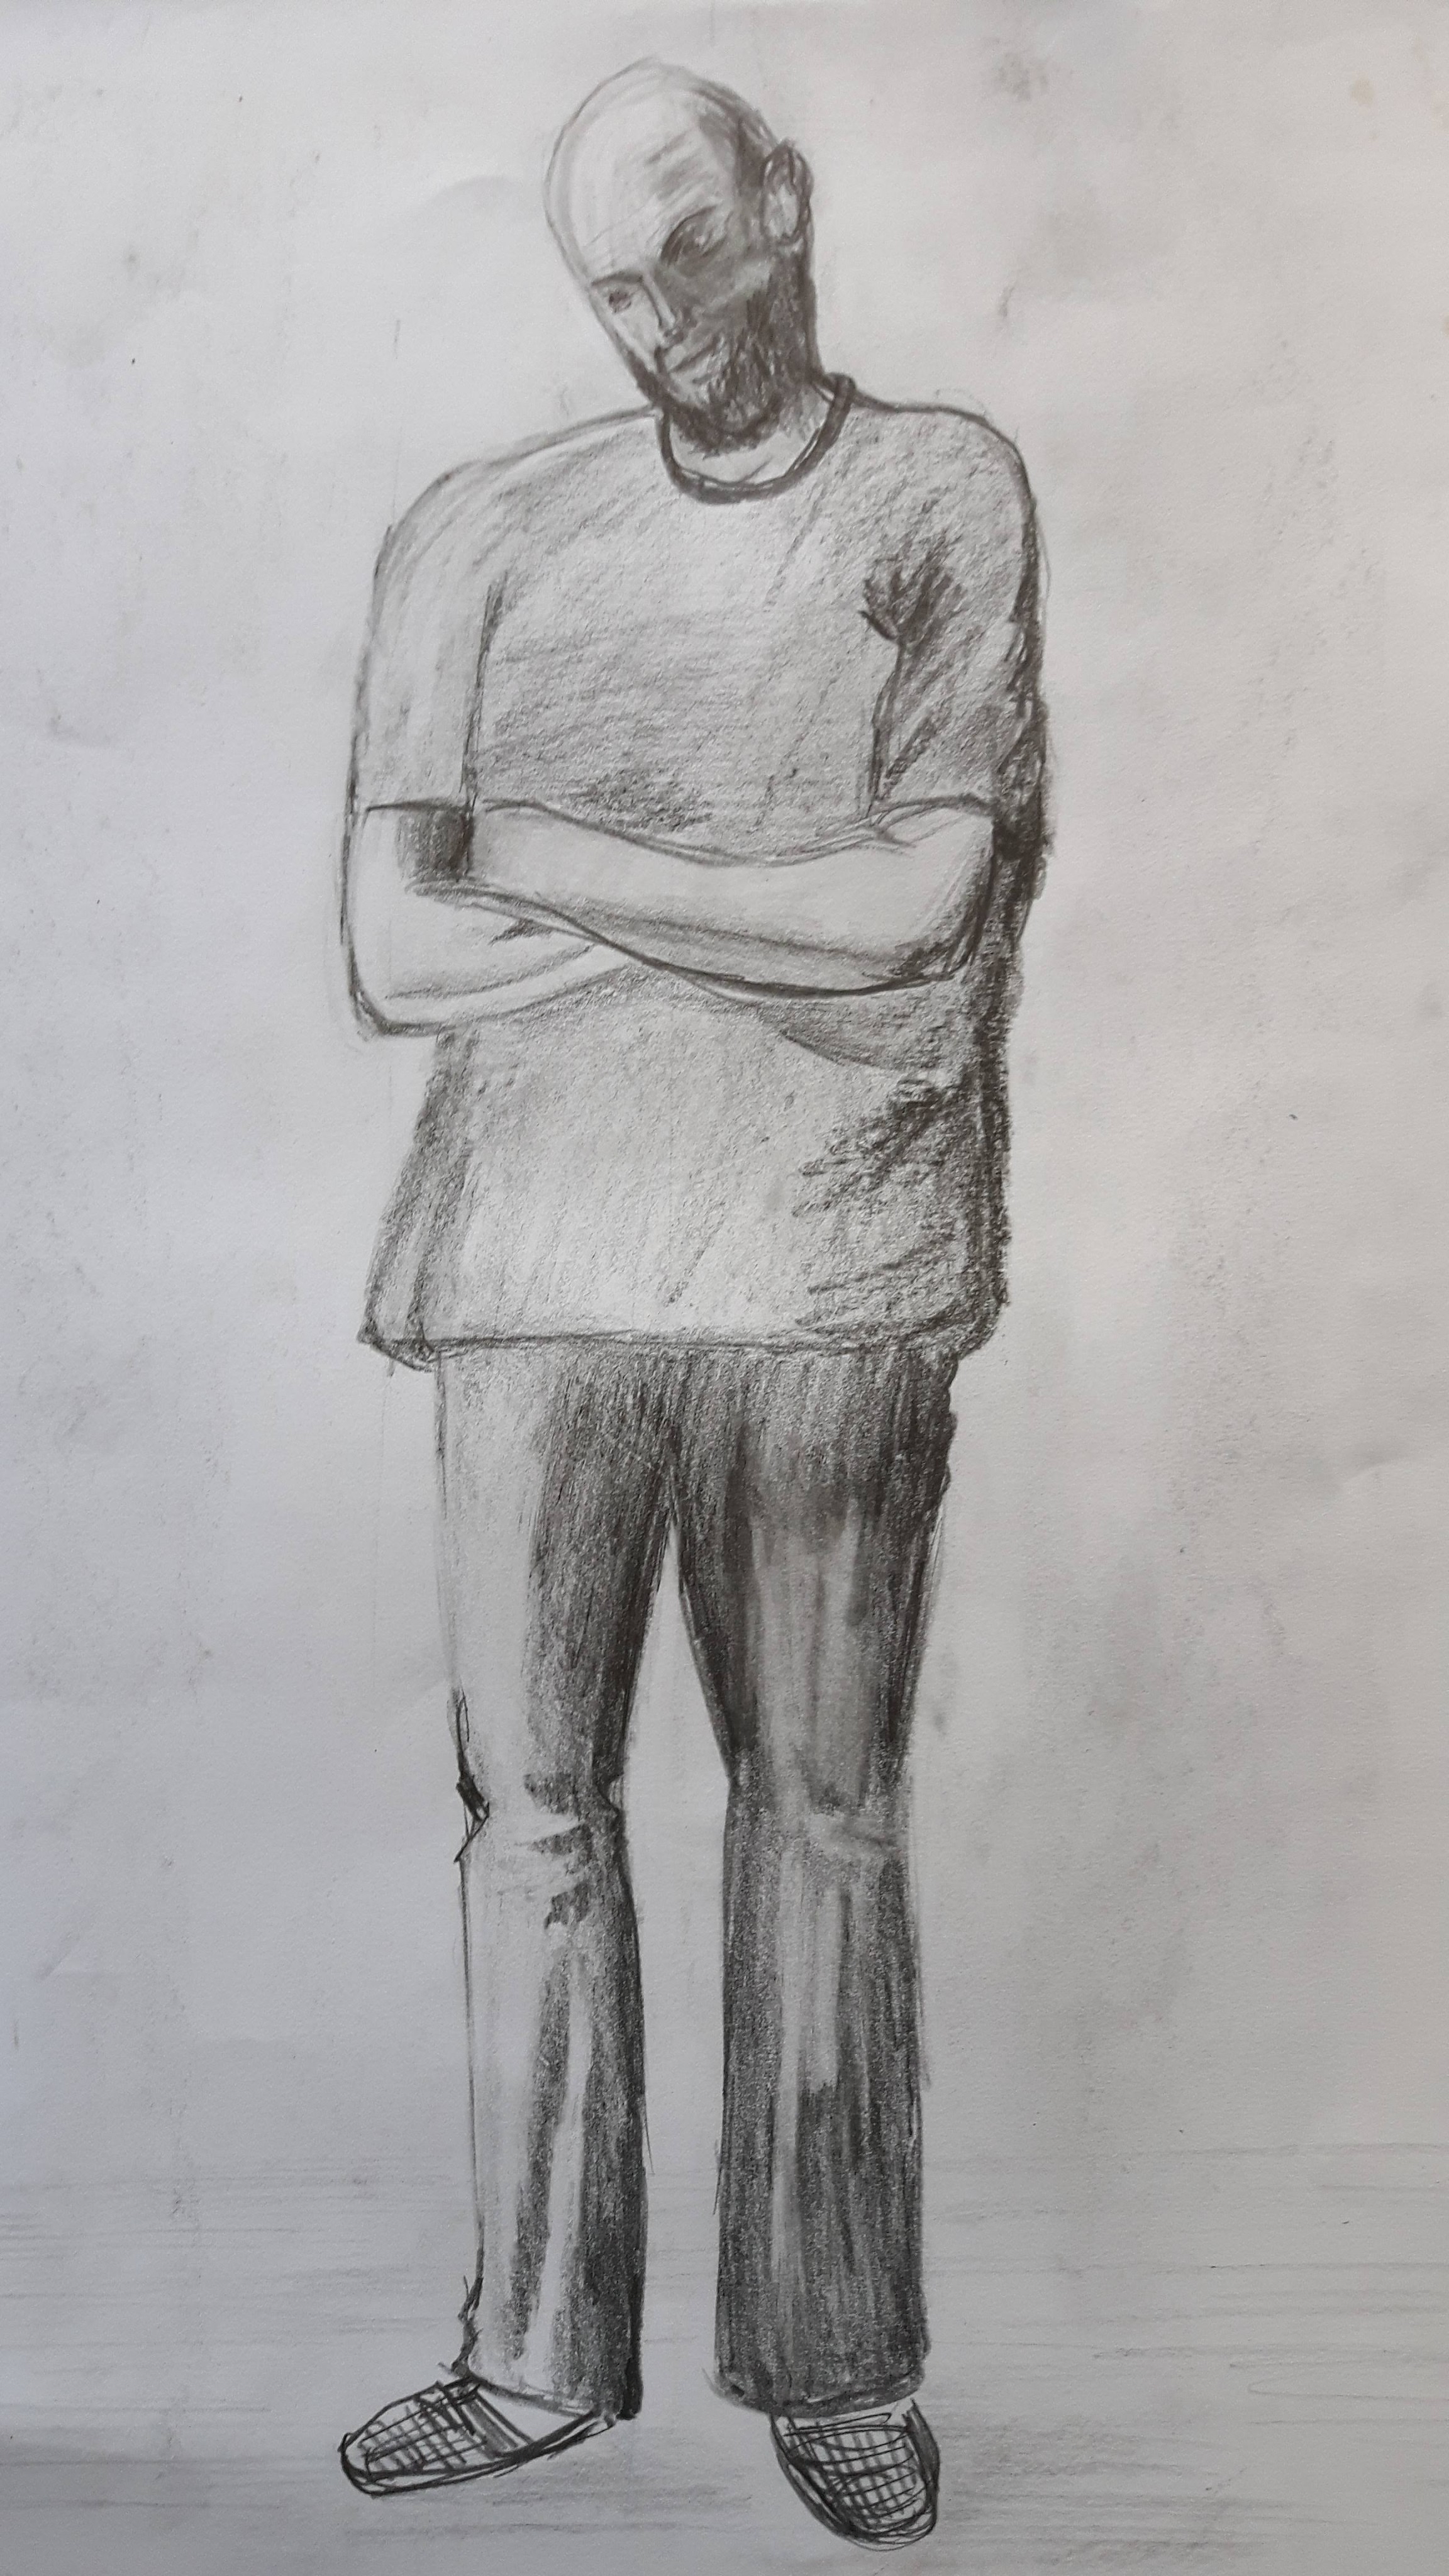
I was lucky to have a live model so I after a couple of quick sketches with pencil I was able to spend a longer time to draw him. The proportion looks good to me except the left upper arm.
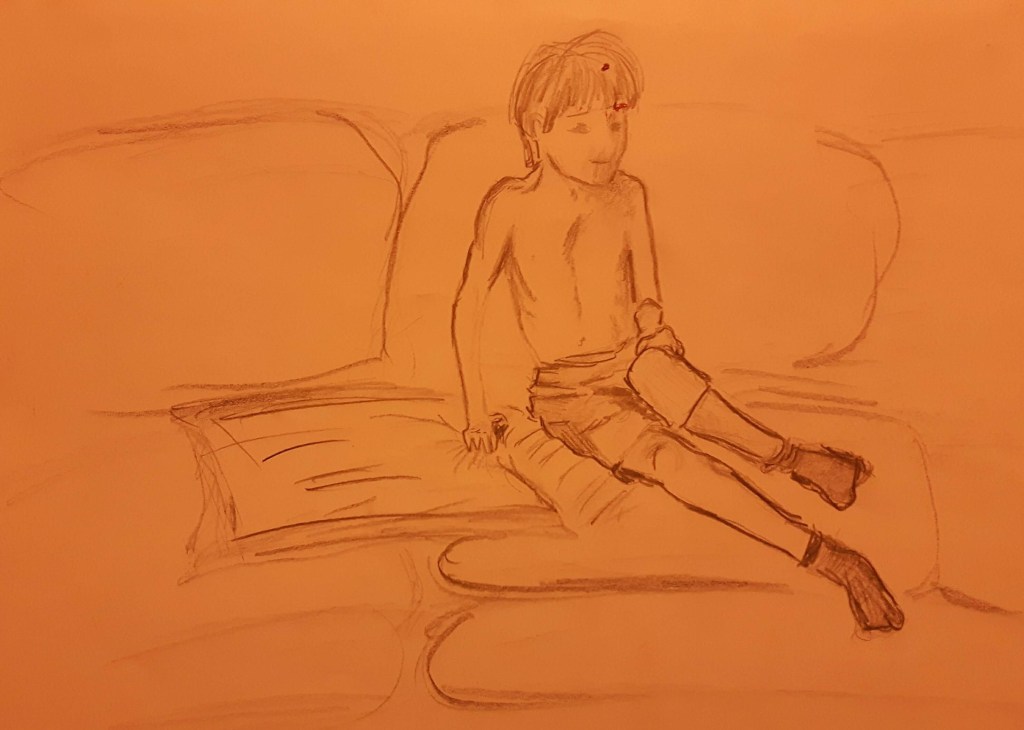
Seated
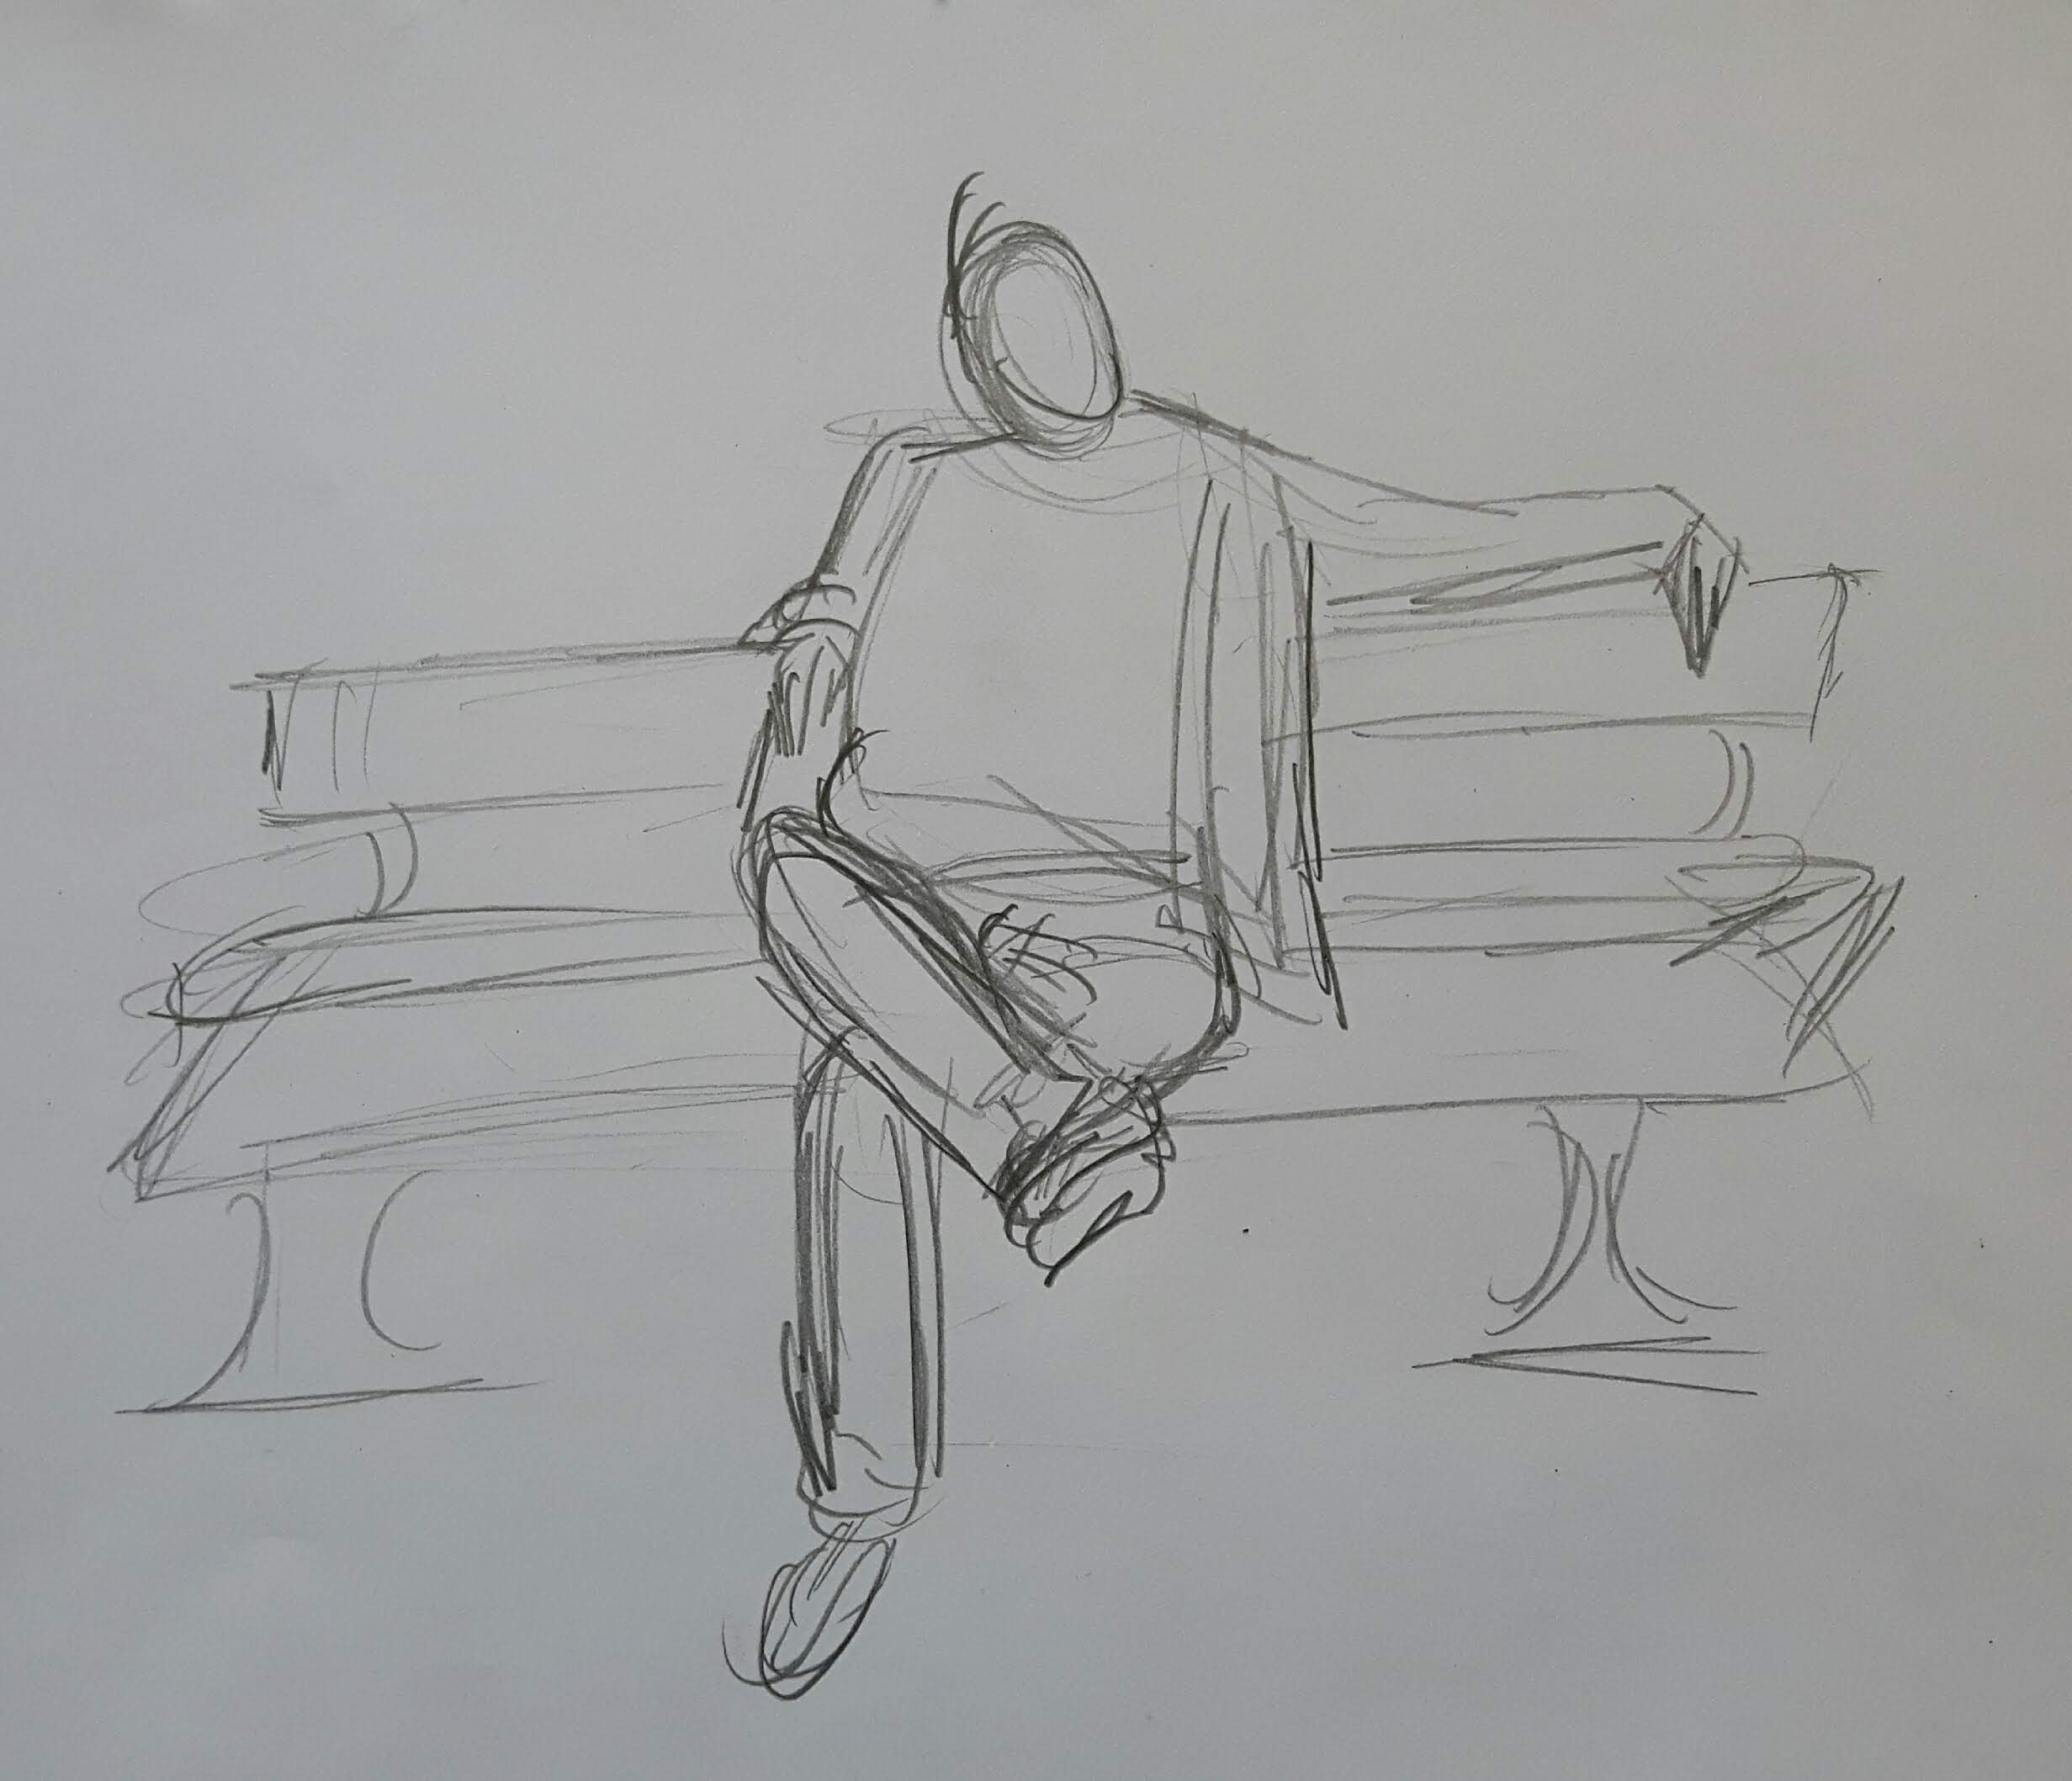
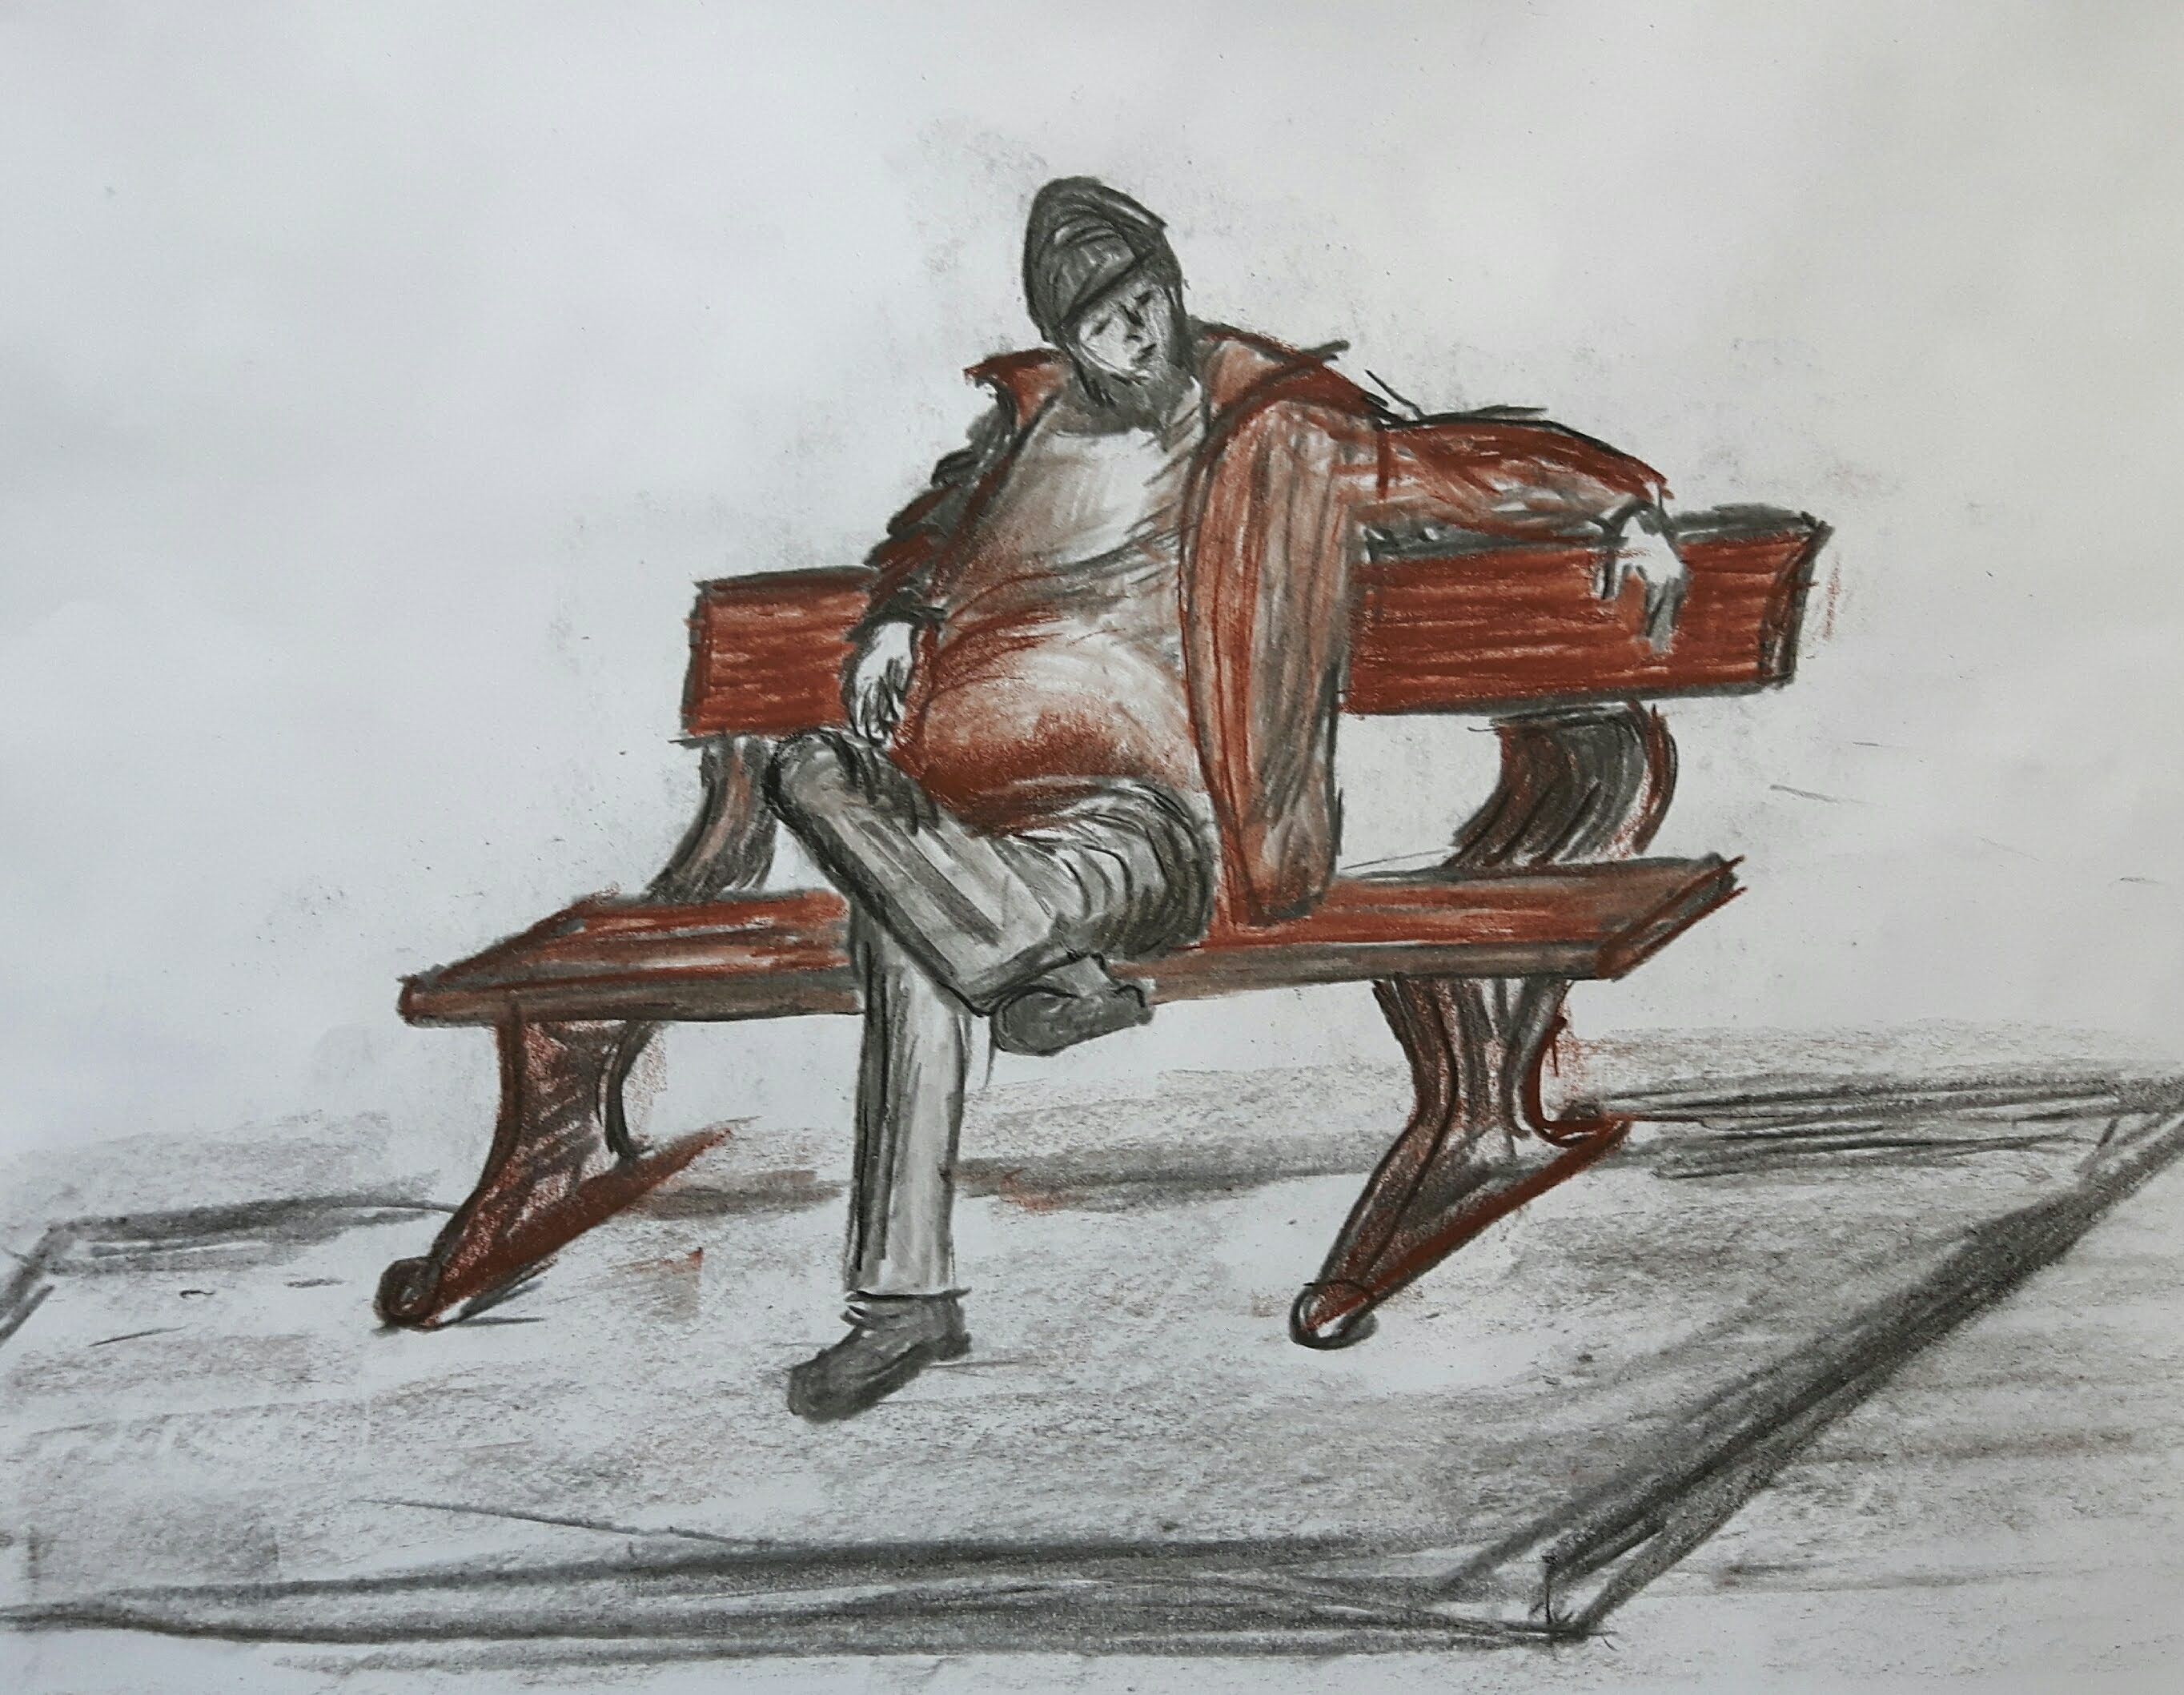
For the seated figure I had to use a photo. I used charcoal pencil and sanguine. The head is small a bit but the rest more or less is all right.
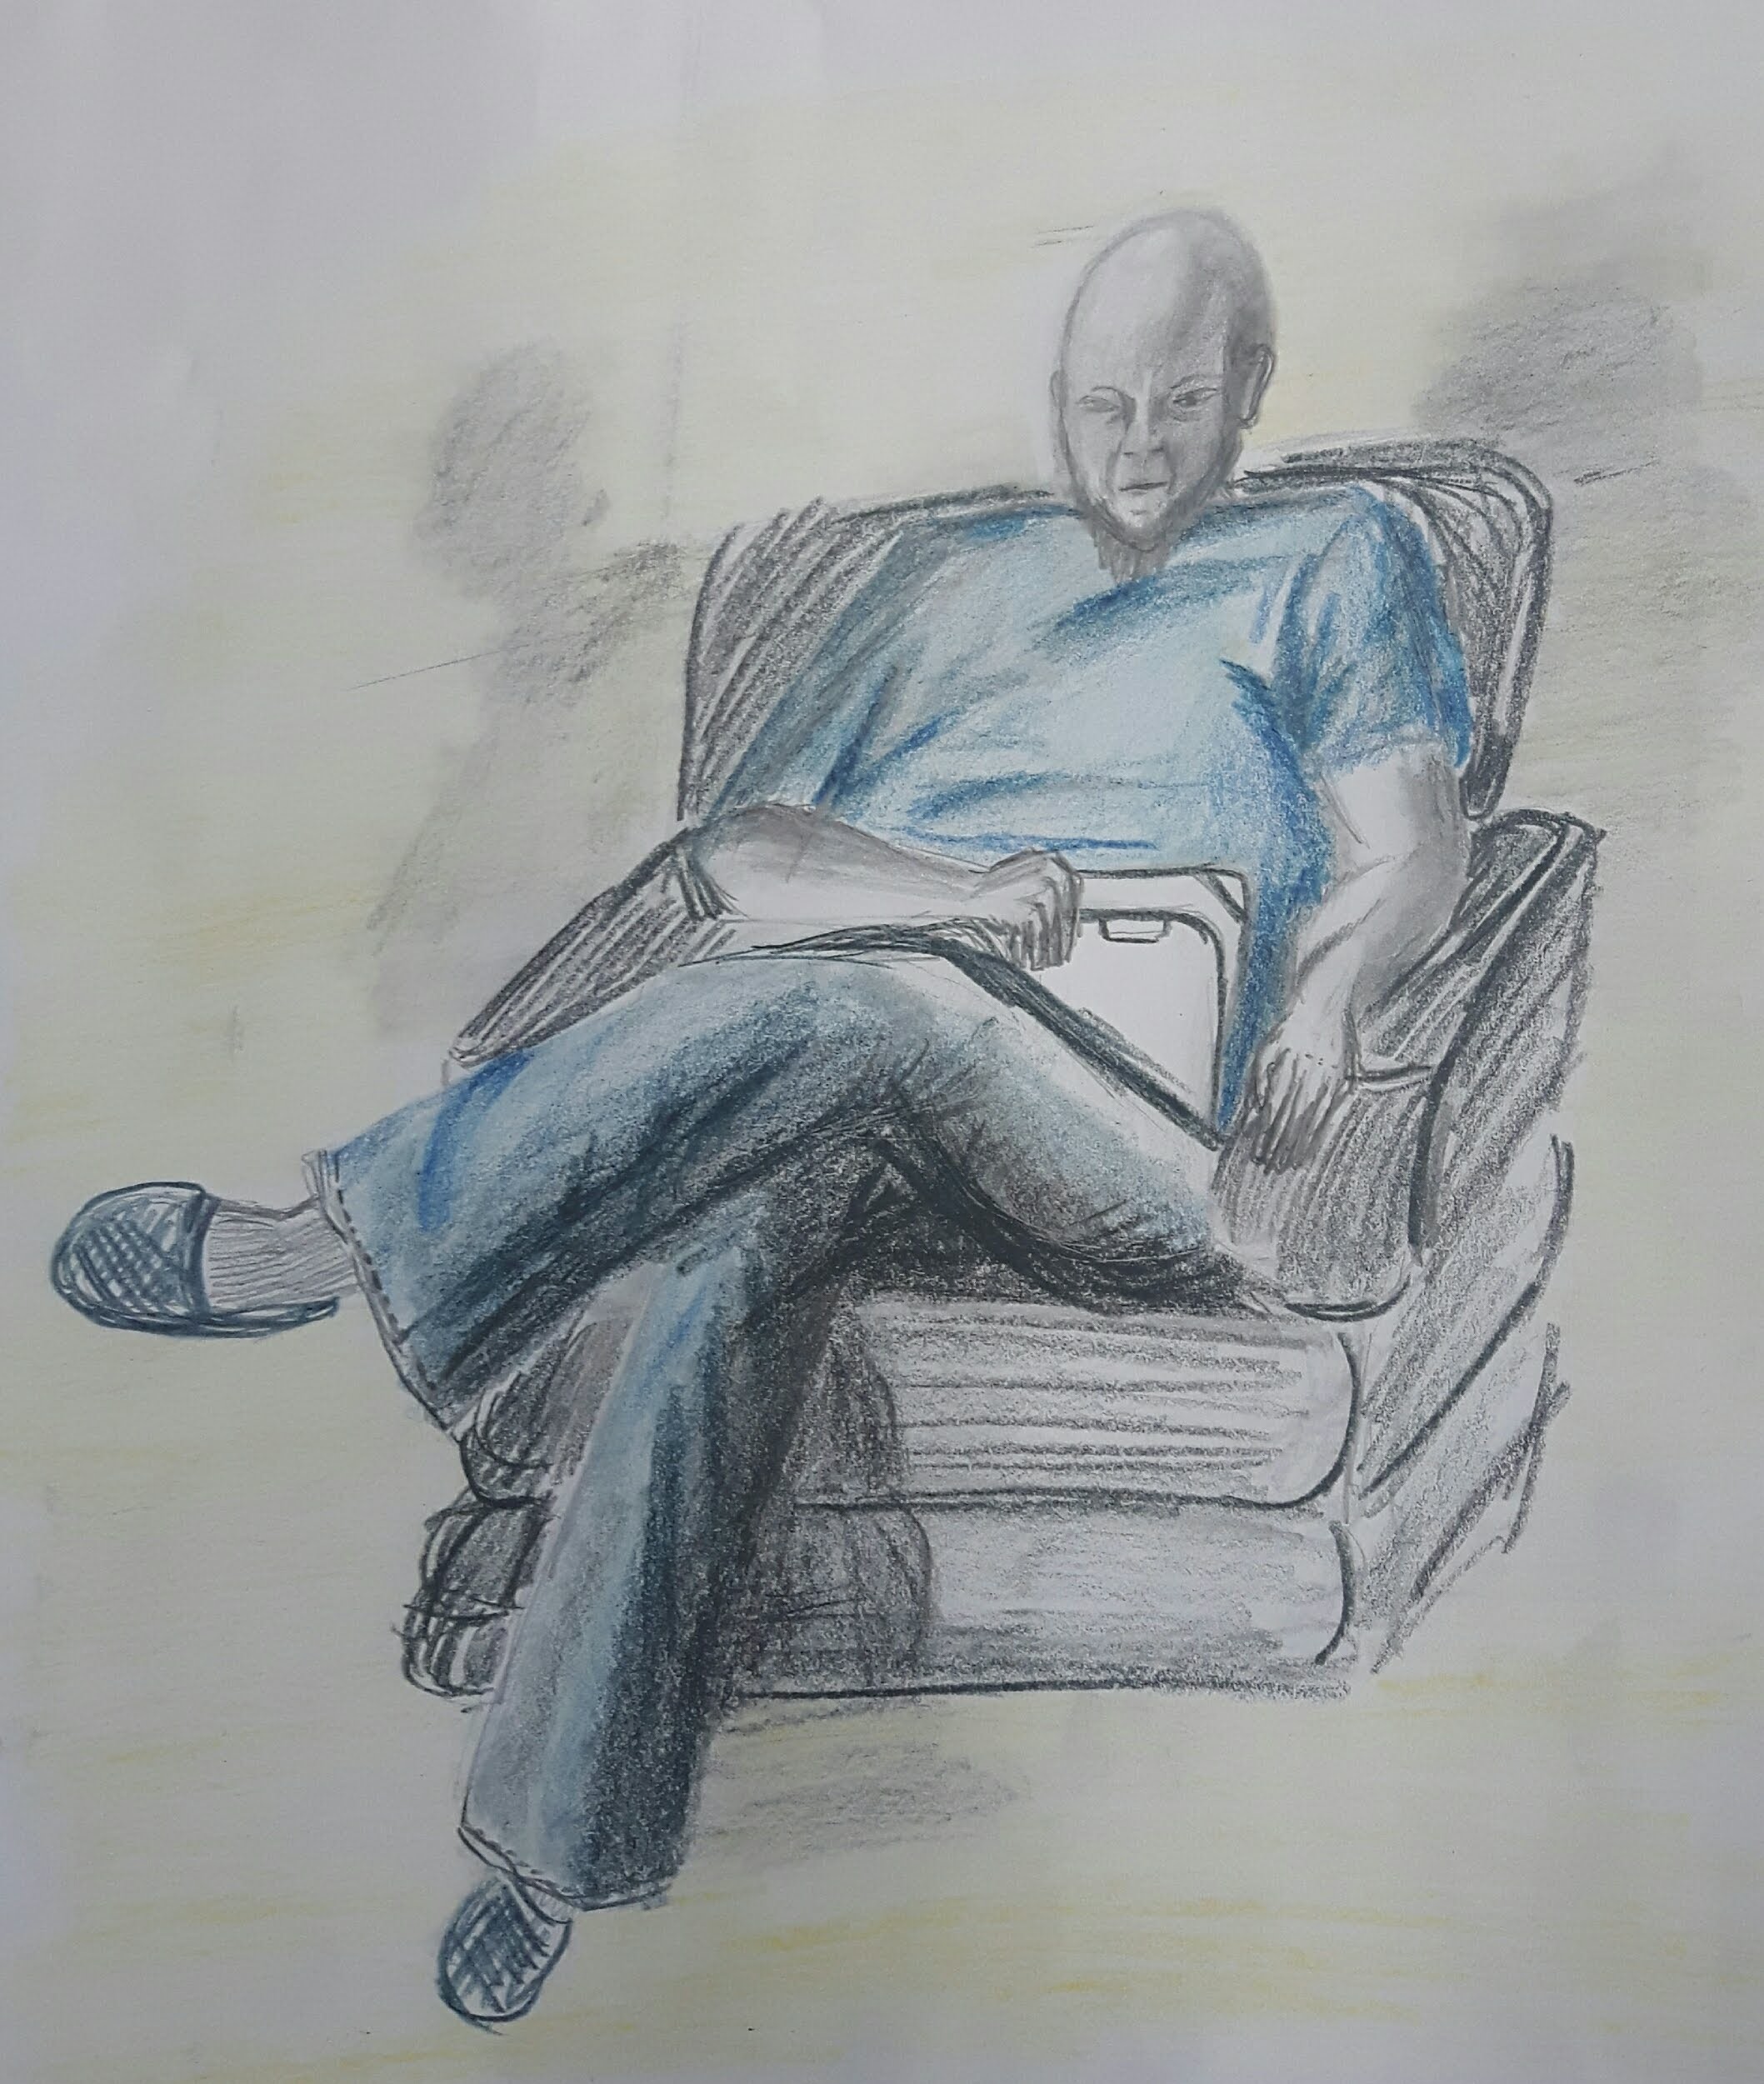
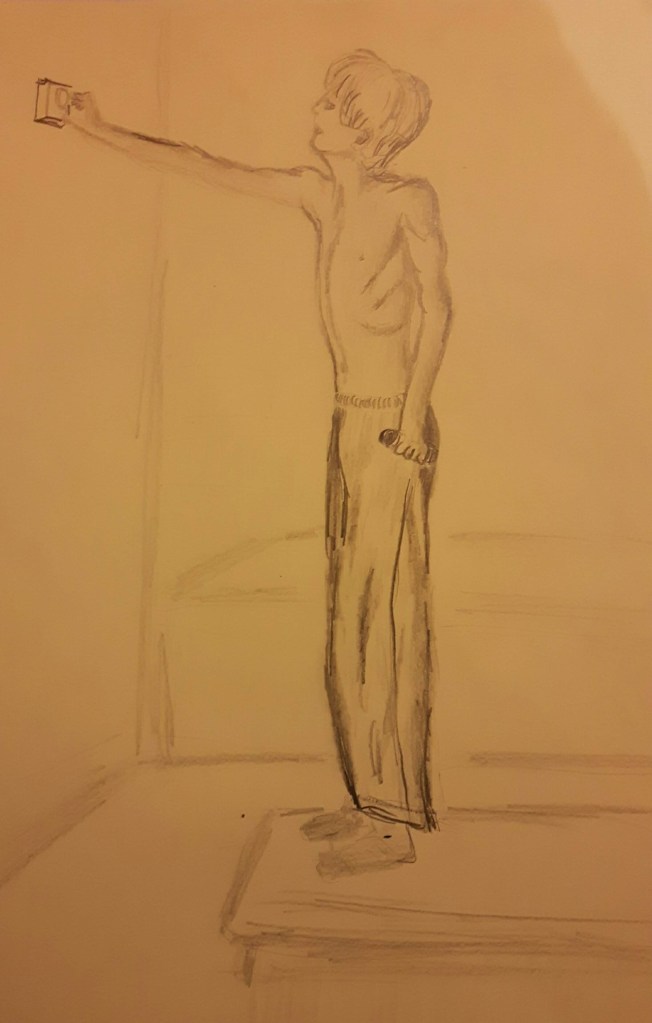
Lounging

For this exercise I was gonna use a different model because there were other opportunities and most of the time he is the only one to choose. I made sketches with pencil and pen but I did not like to outcome so I got back to my original plan and drew him.
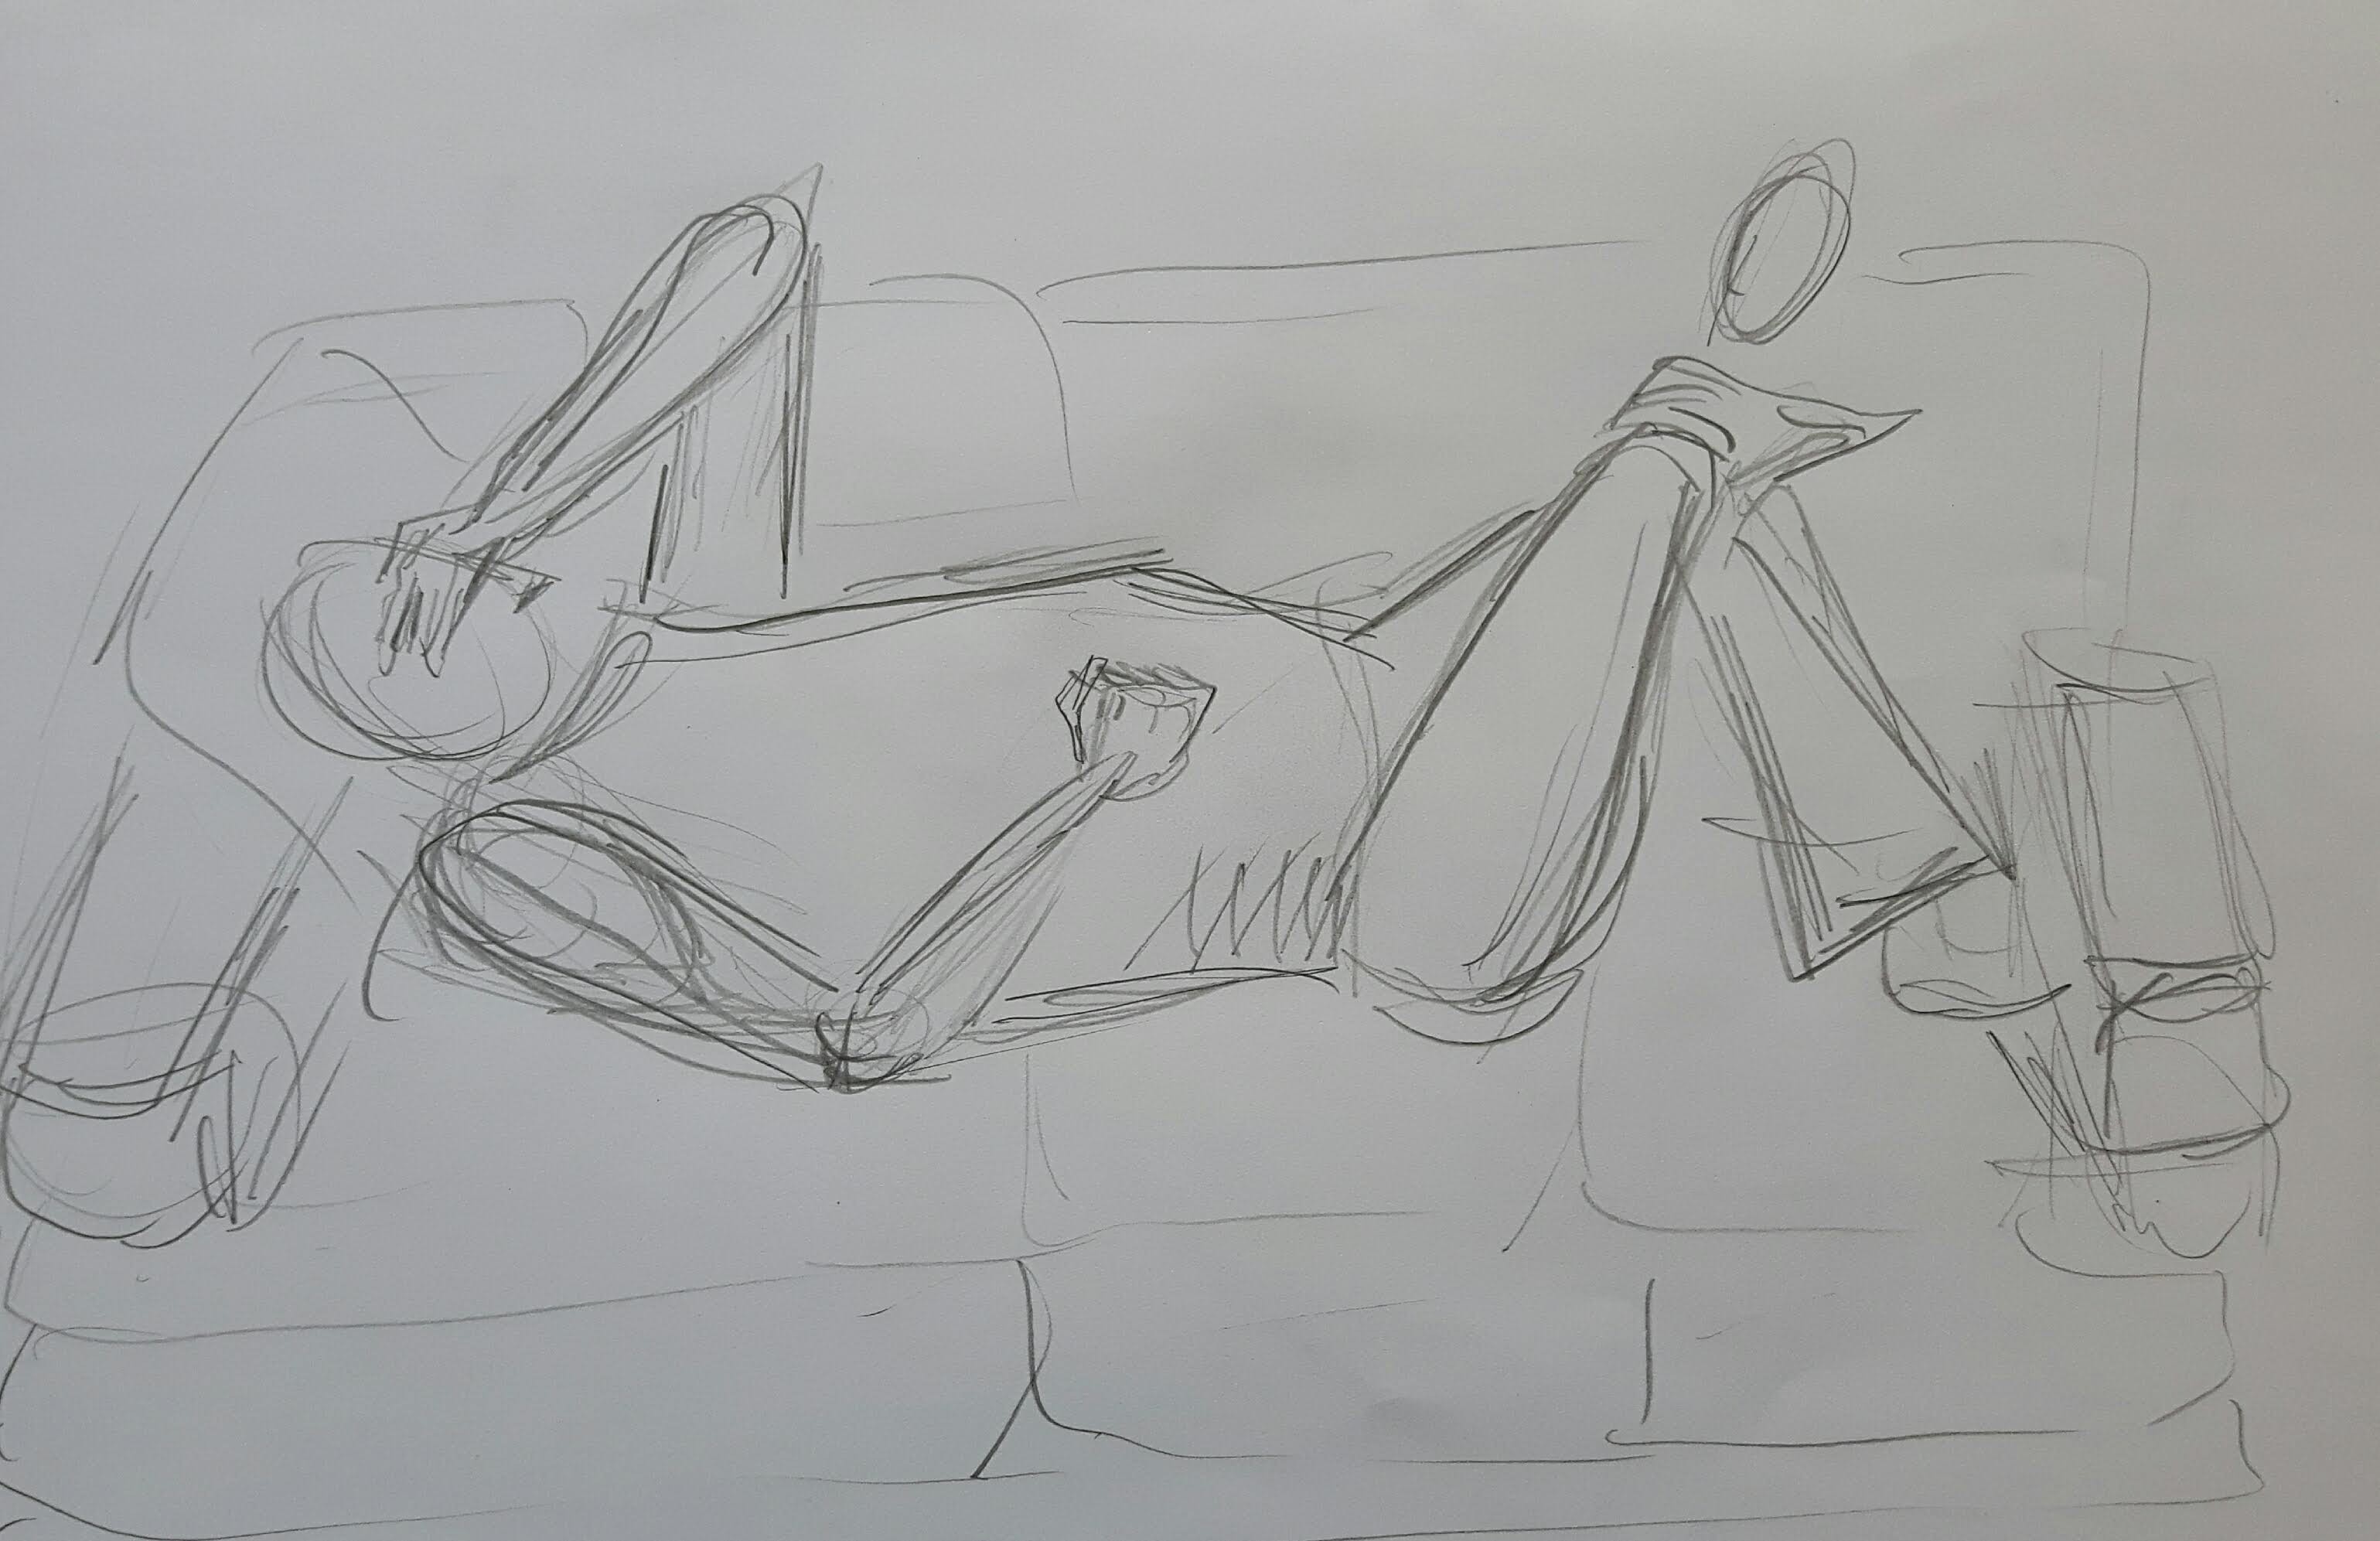
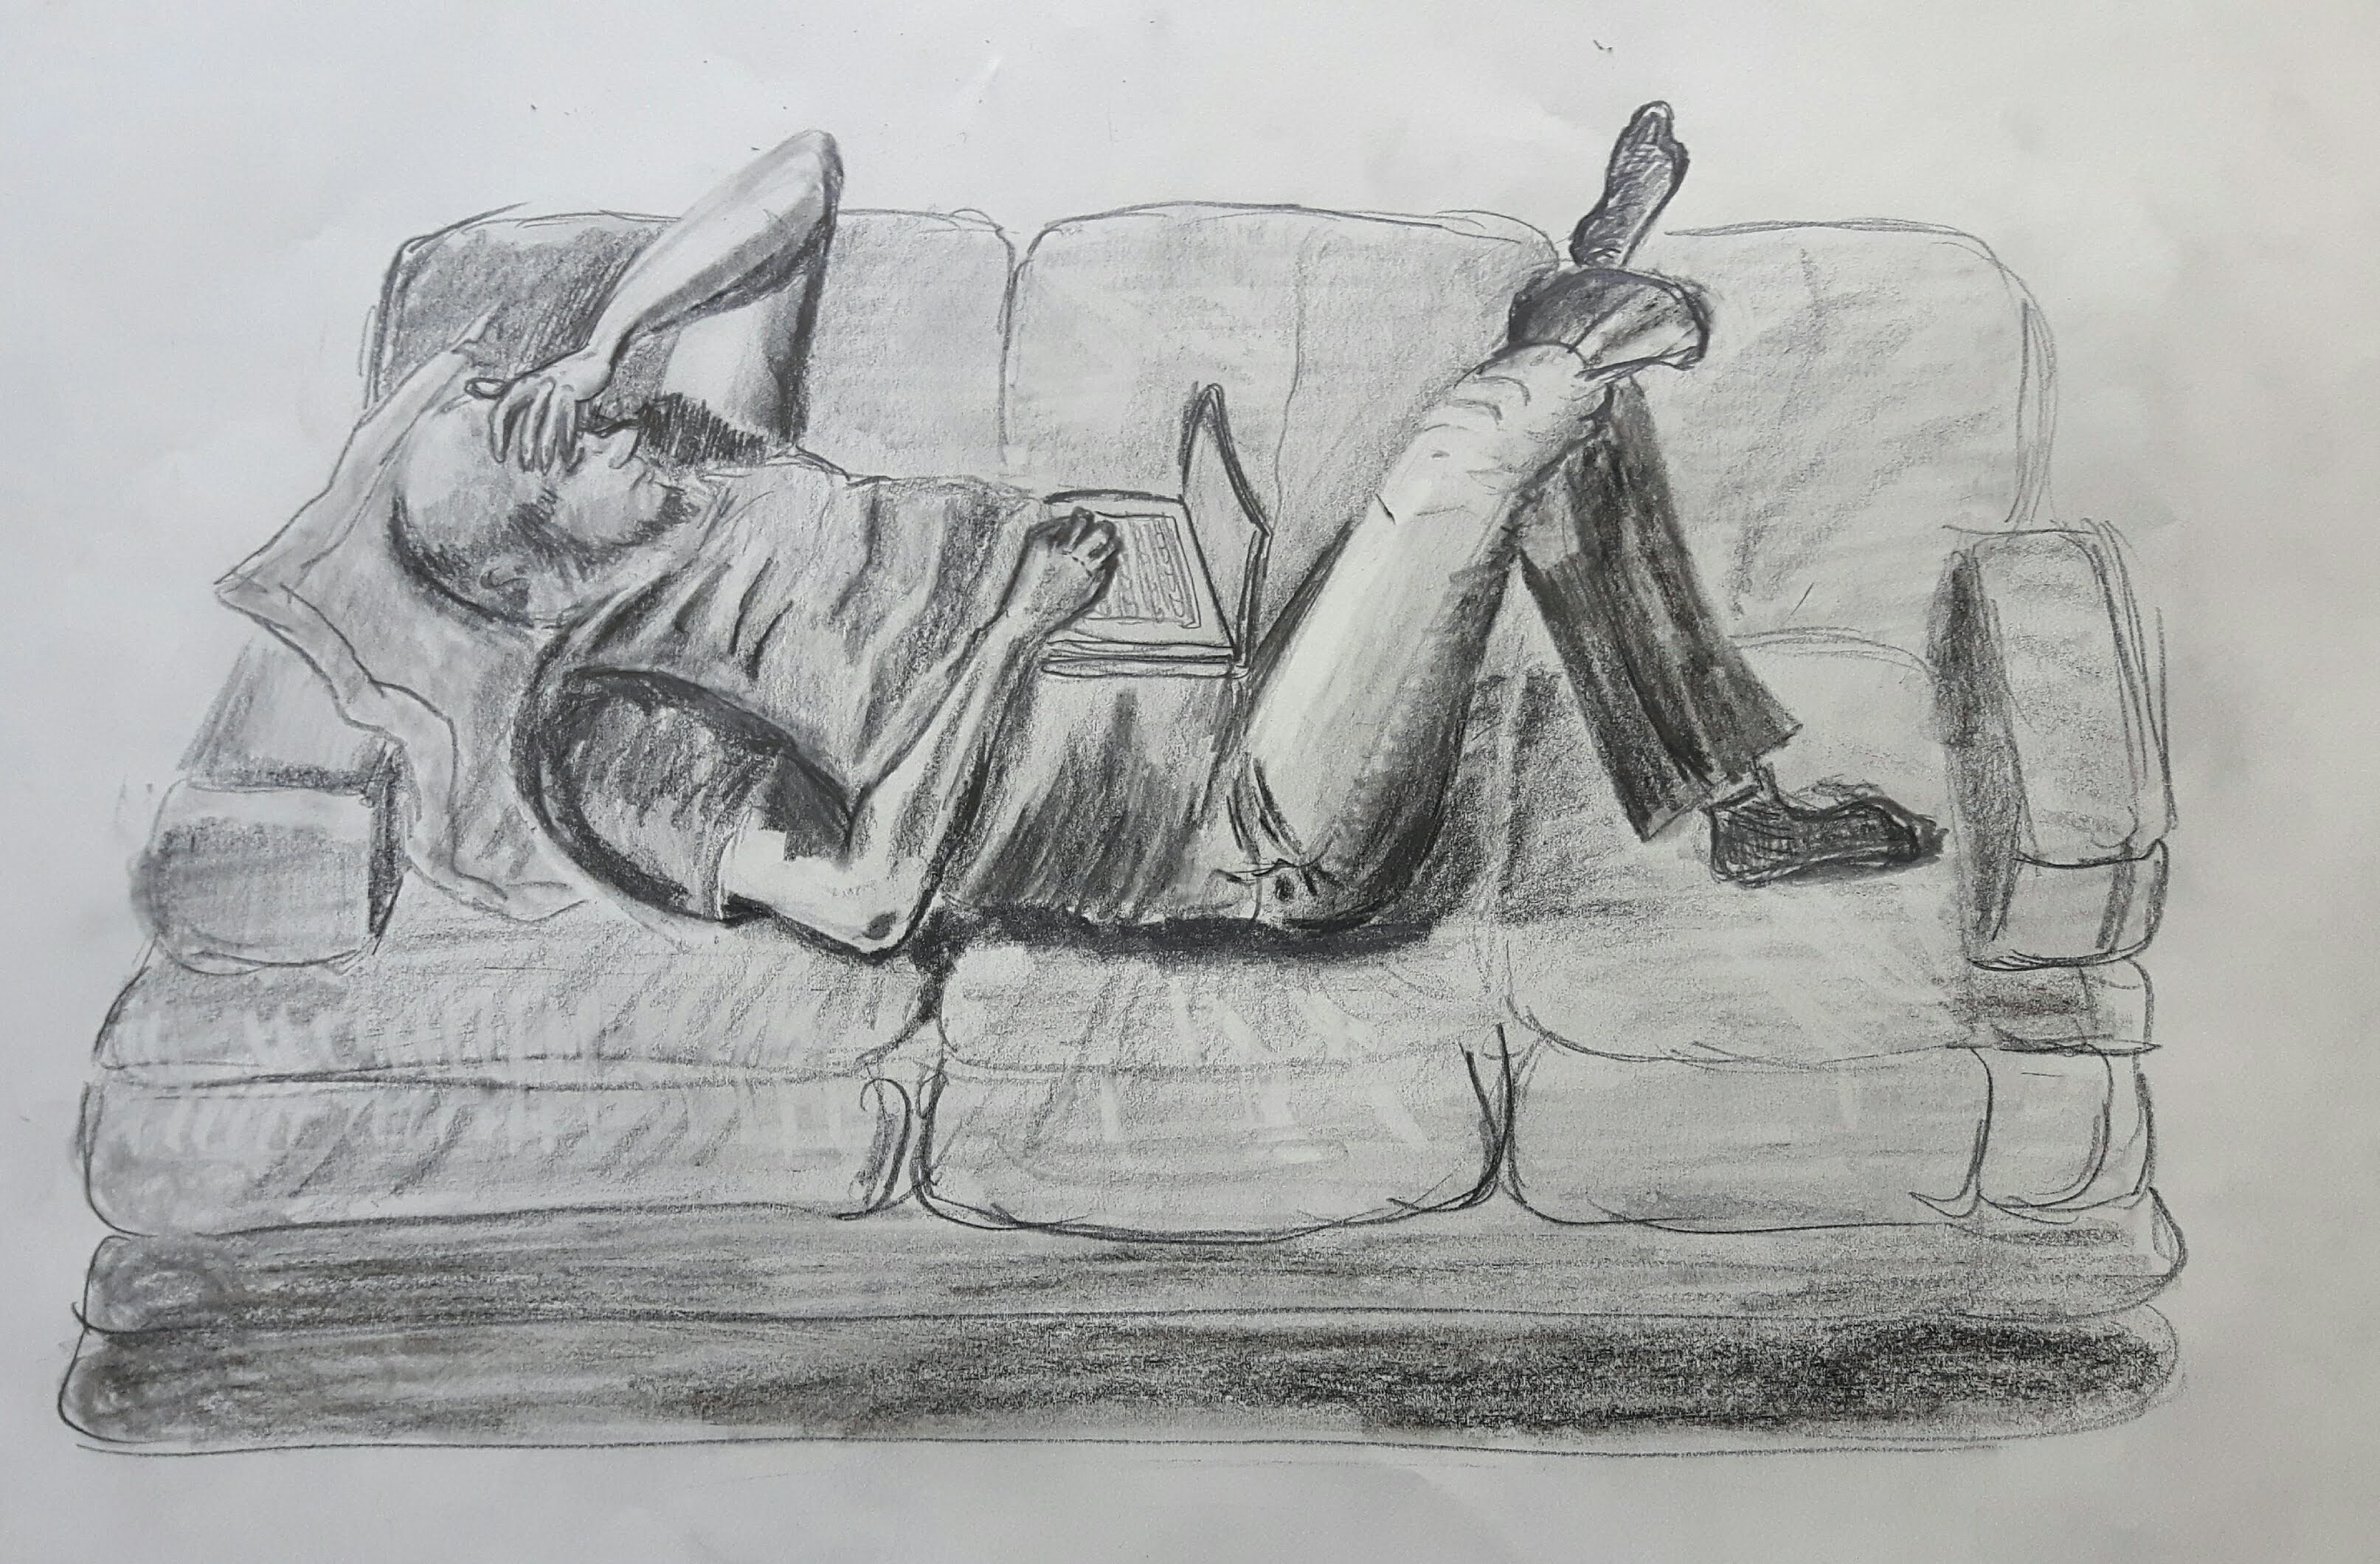
This drawing was not really successful and a bit overworked, too. The hands are too small and the right arm is very out of proportion.
Project 5 The moving figure
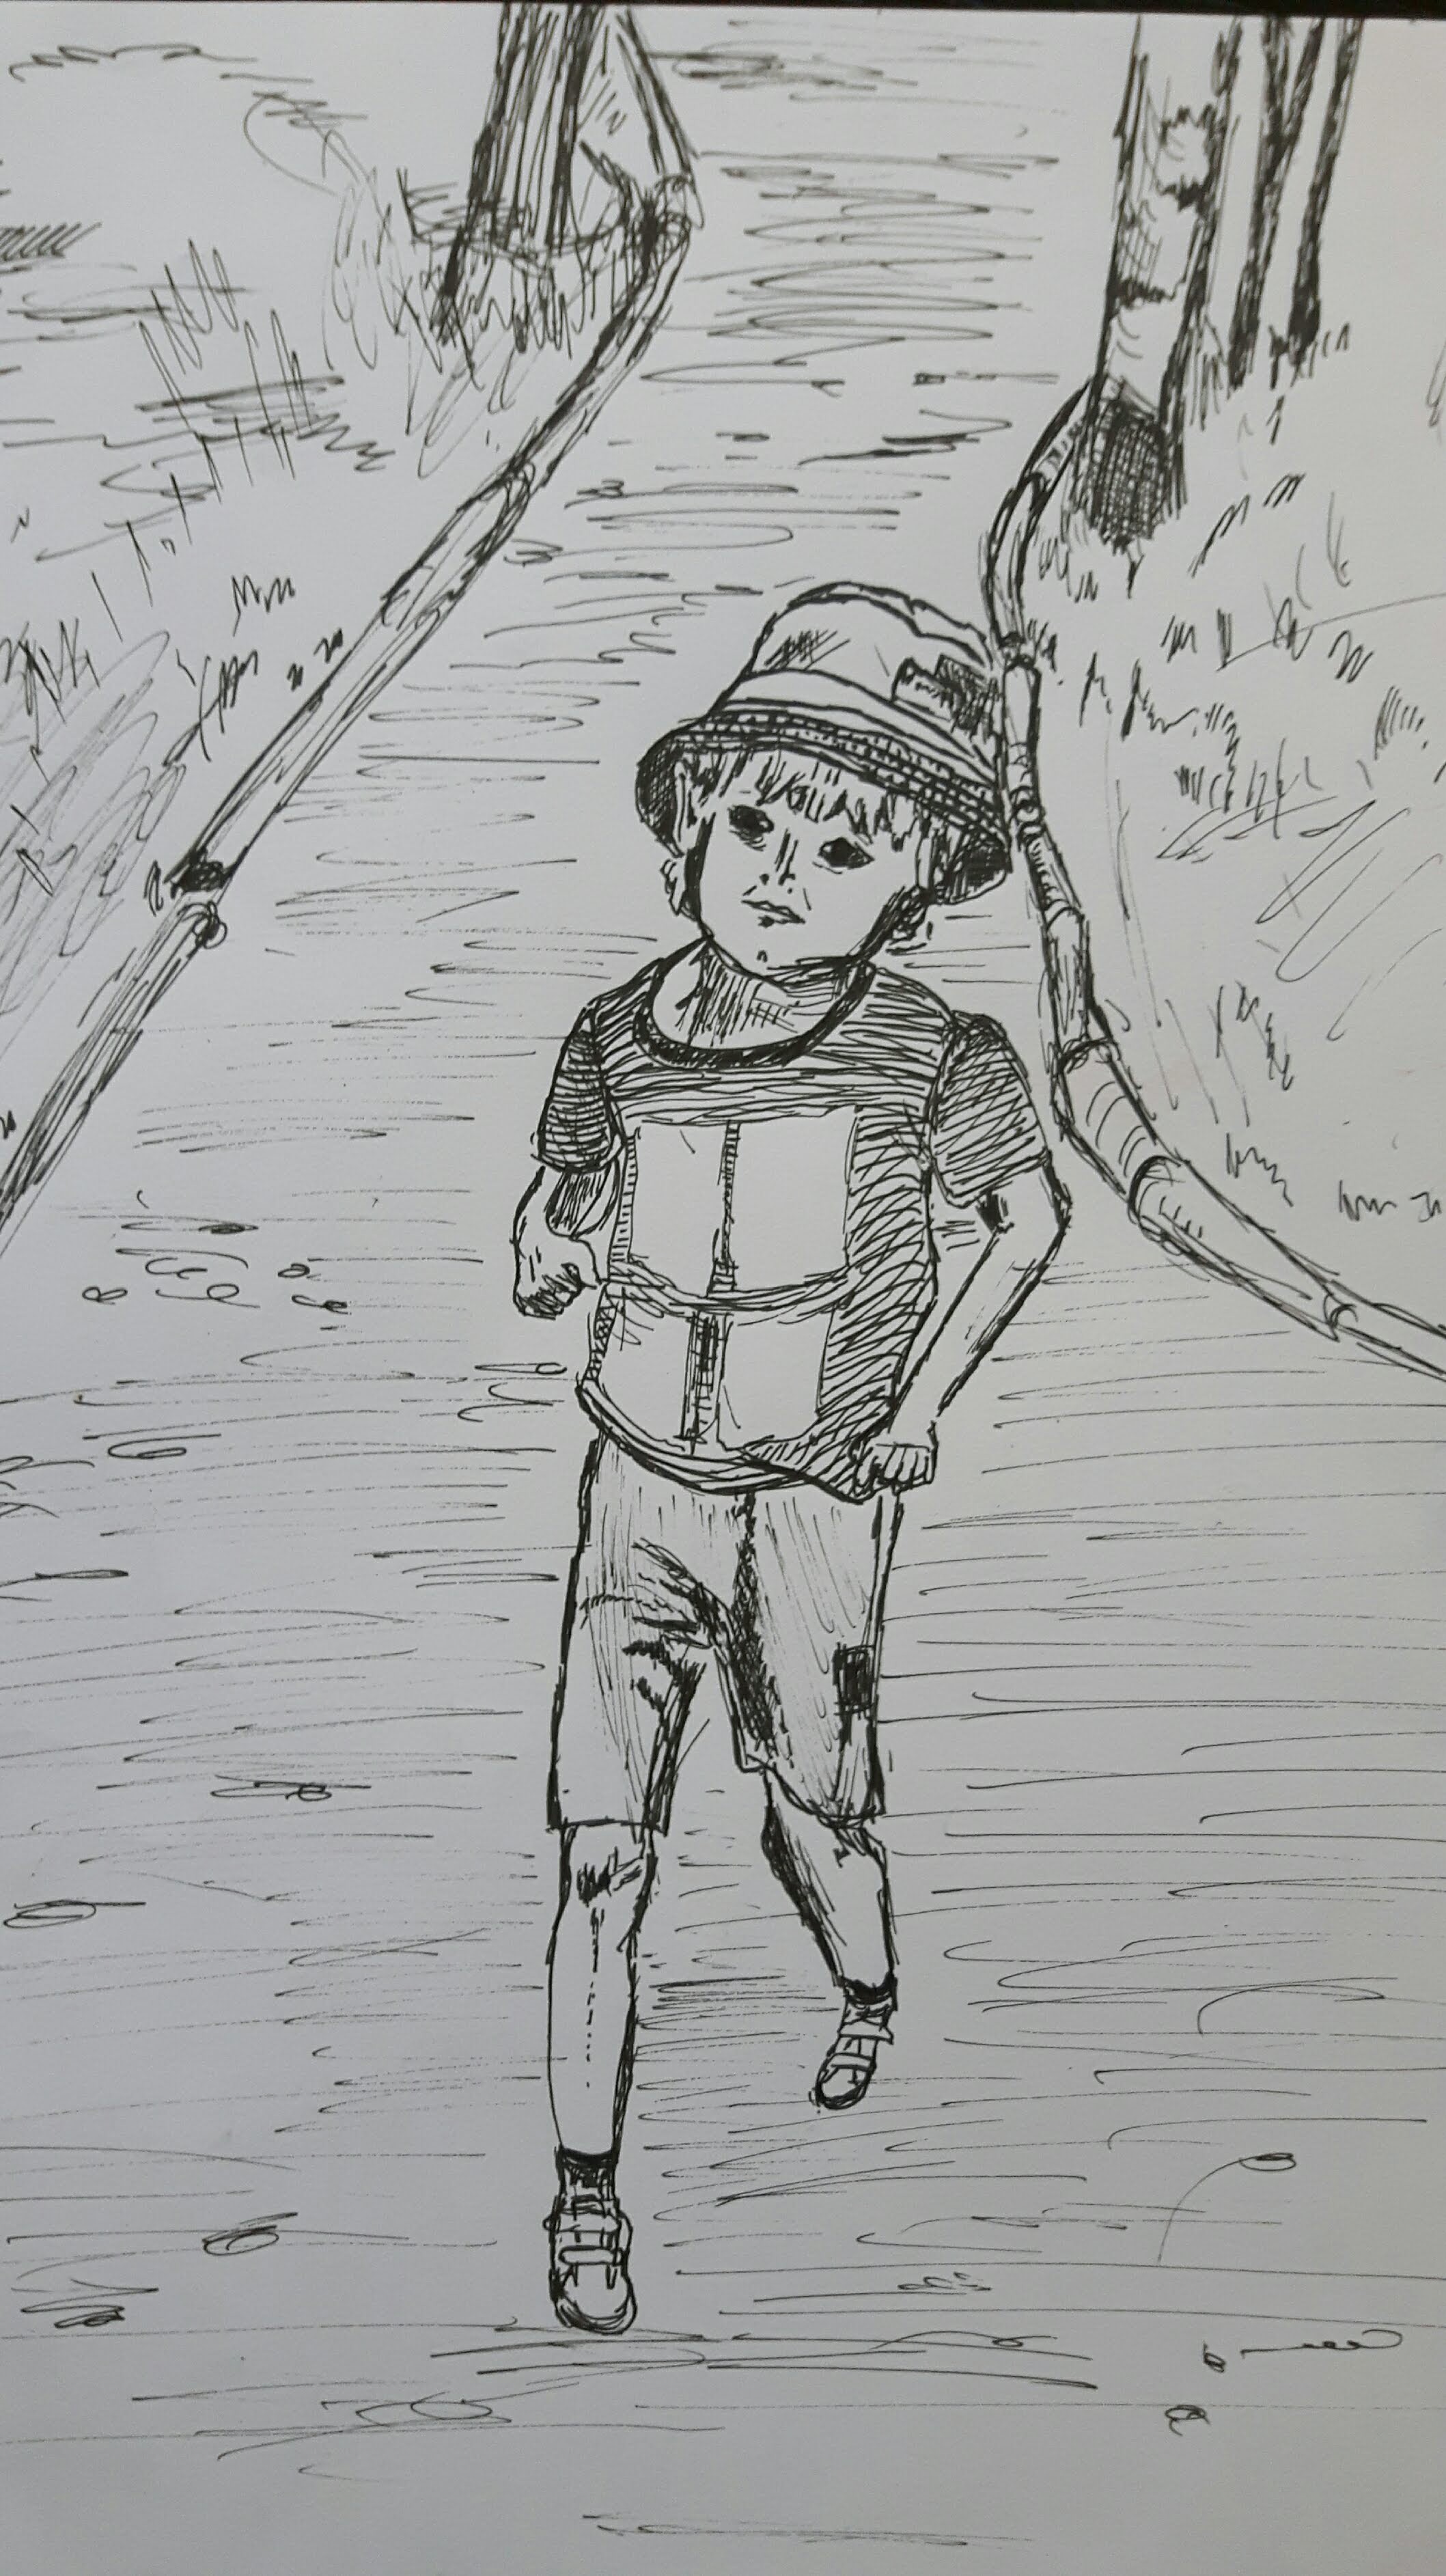
Exercise 1 Single moving figure
Keep drawing moving figures in your sketchbooks. For this exercise I thought the best would be to watch sportsmen or dancers. I found some useful videos on YouTube. I was not accurate at all, tried to scribble small segments of a flowing movement.
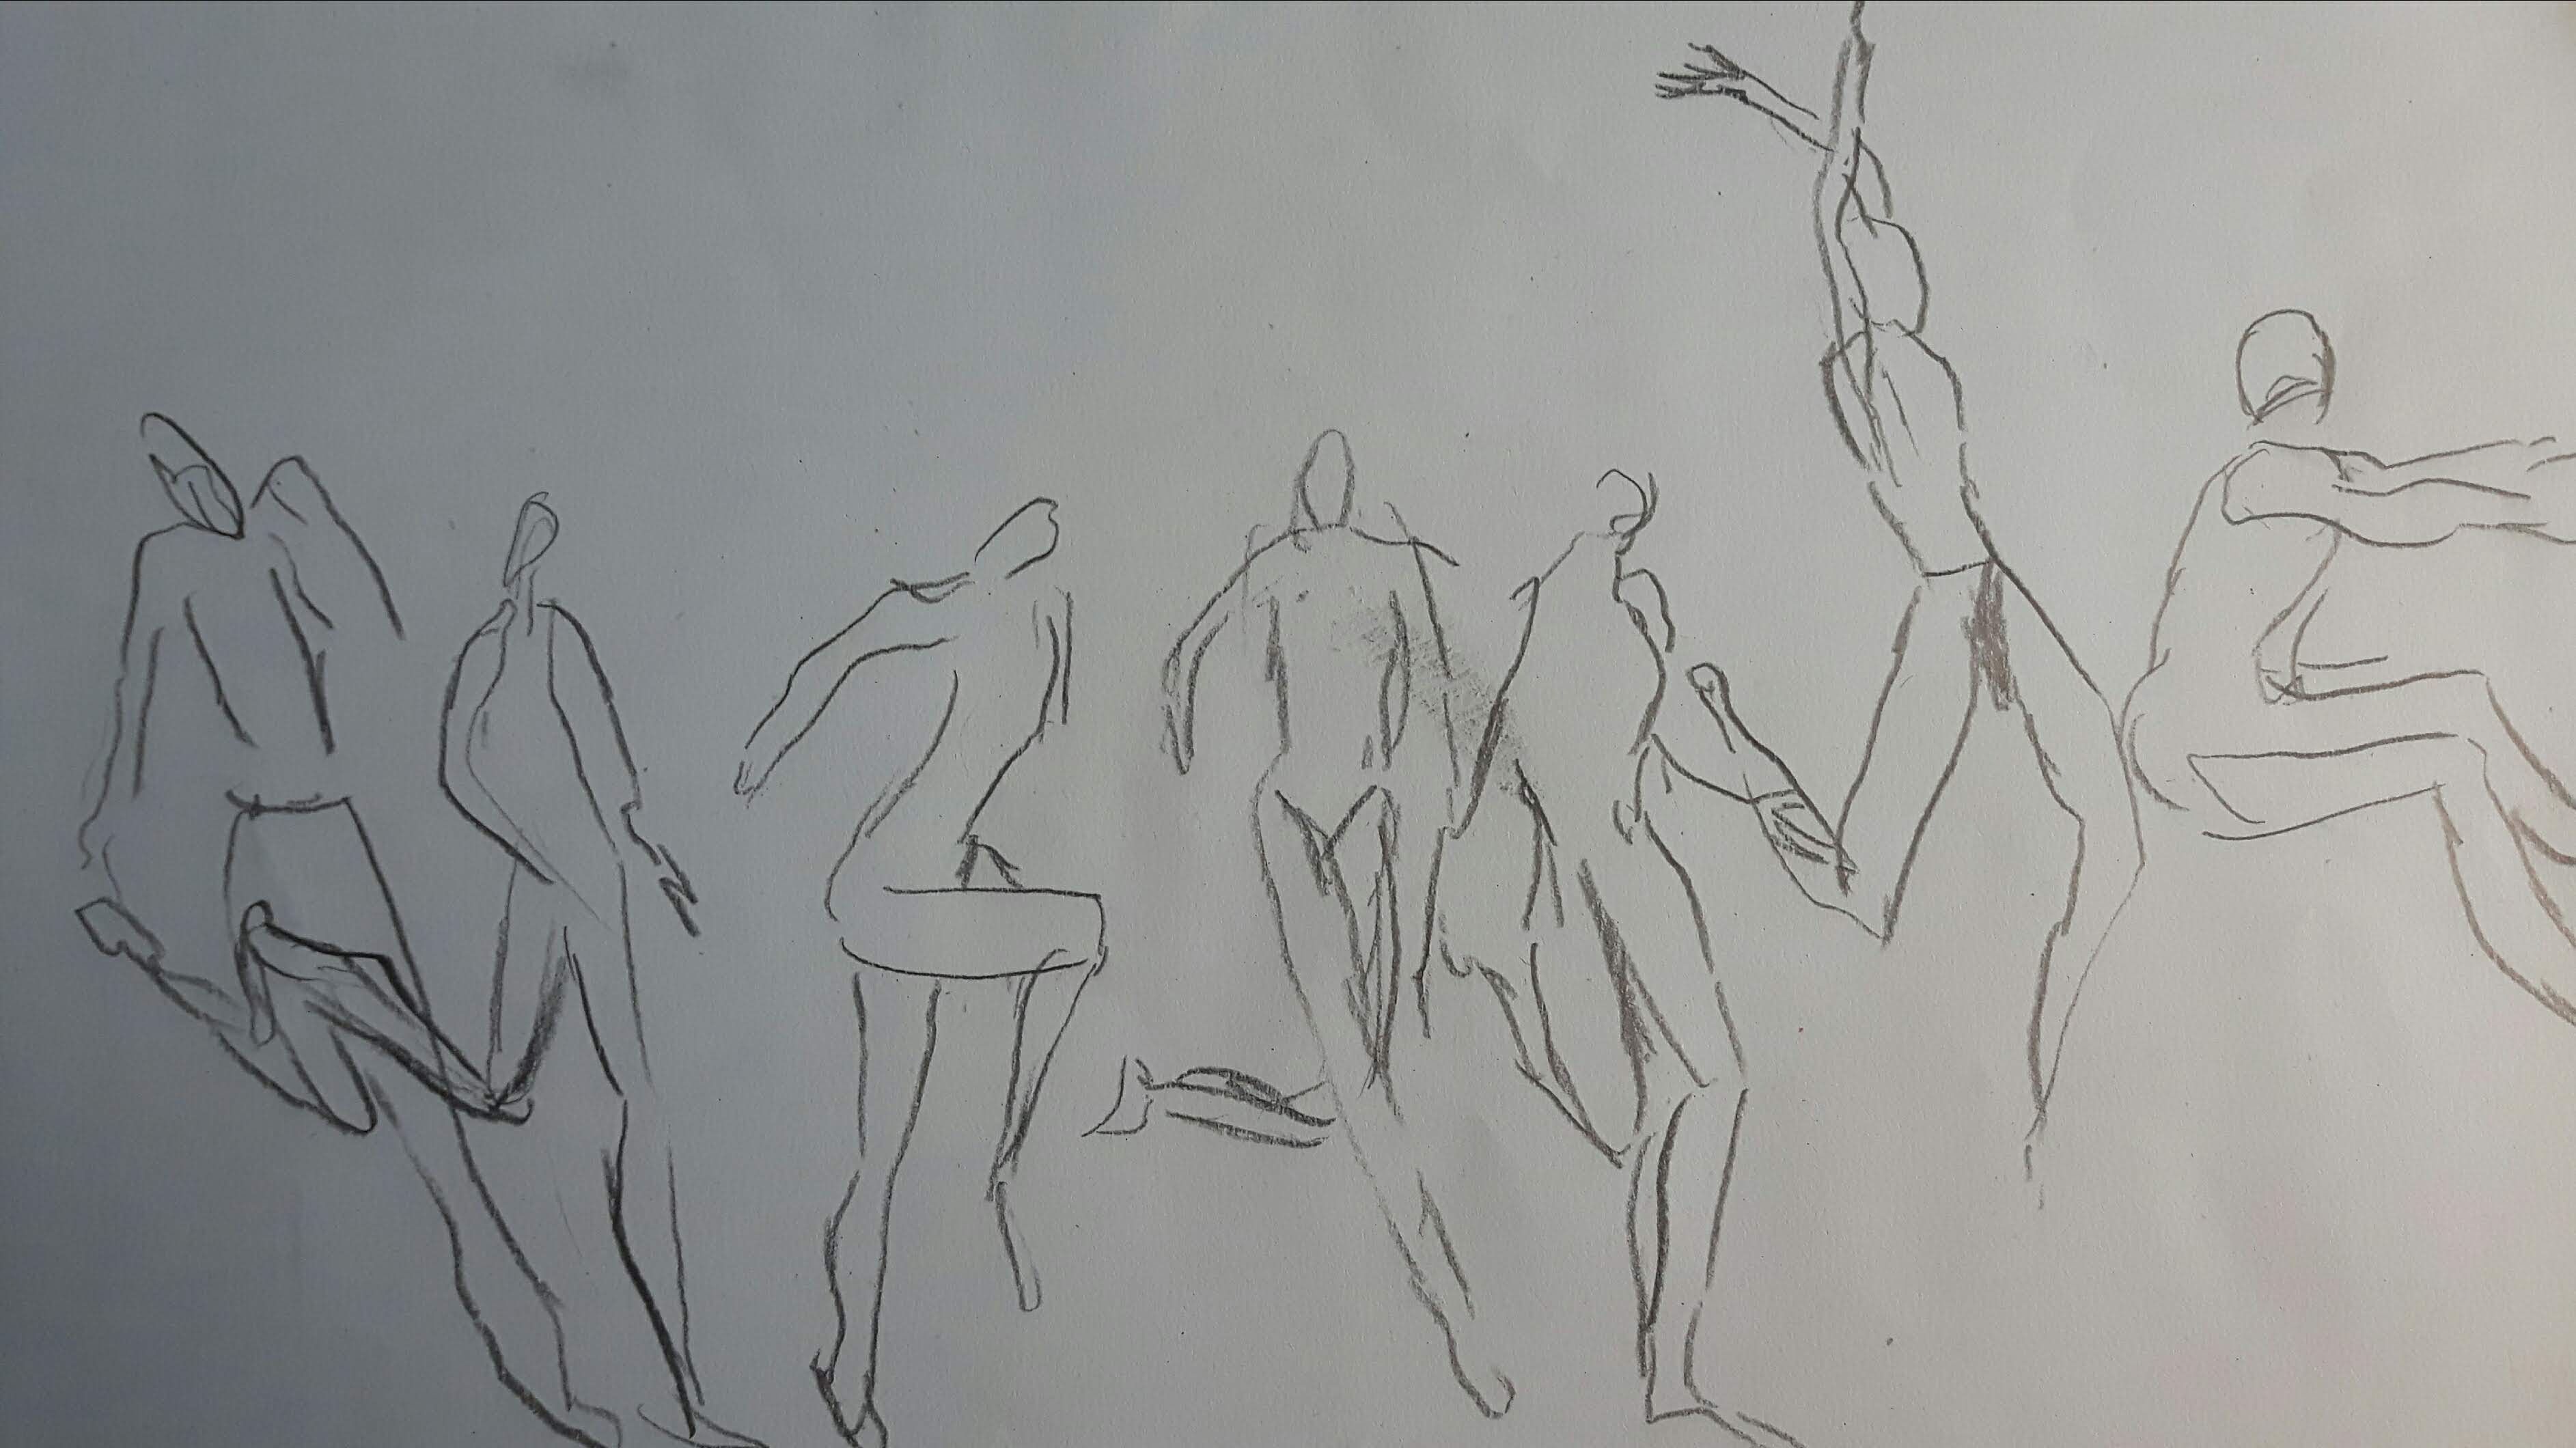
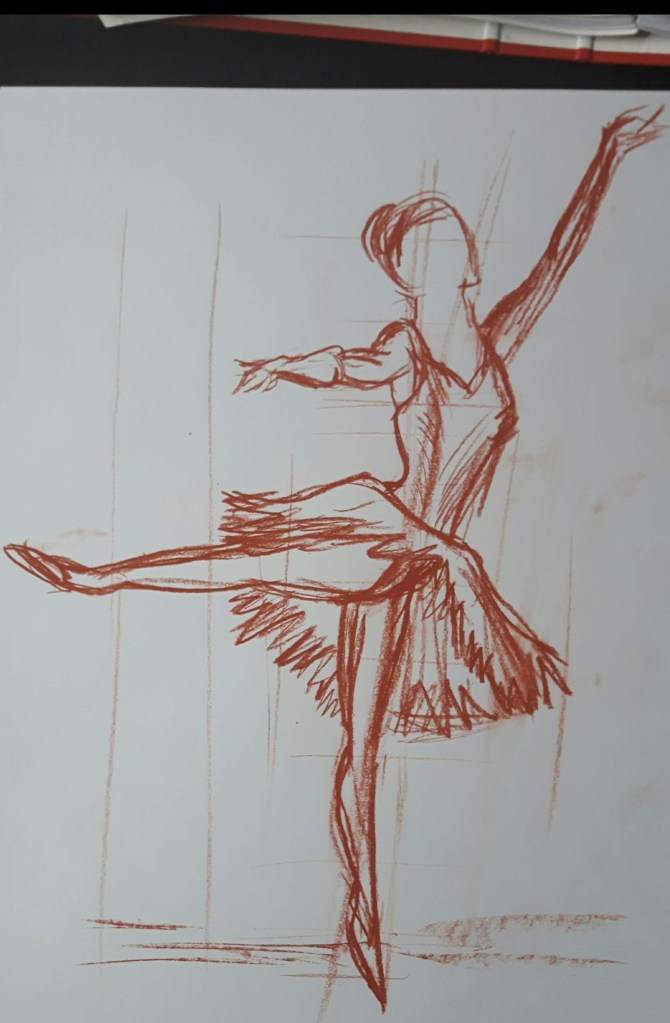
Dance 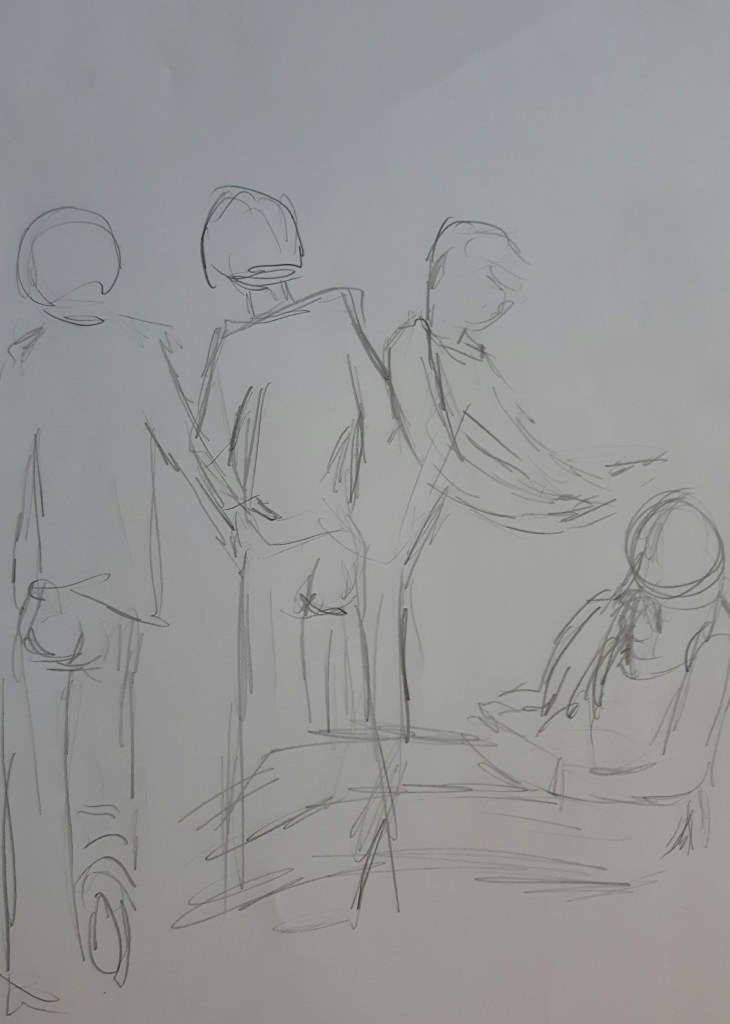
With some of them I think I managed to create the sense of a moving figure. I went back to the previous exercise about dynamic position to compare and I could see the difference probably because drawing quickly – avoiding to work on details – really helped to express the energetic movement.
Exercise 2 Group of figures
For this exercise I picked a busy supermarket and a bus stop. I did the first two from photos and the third from a video.
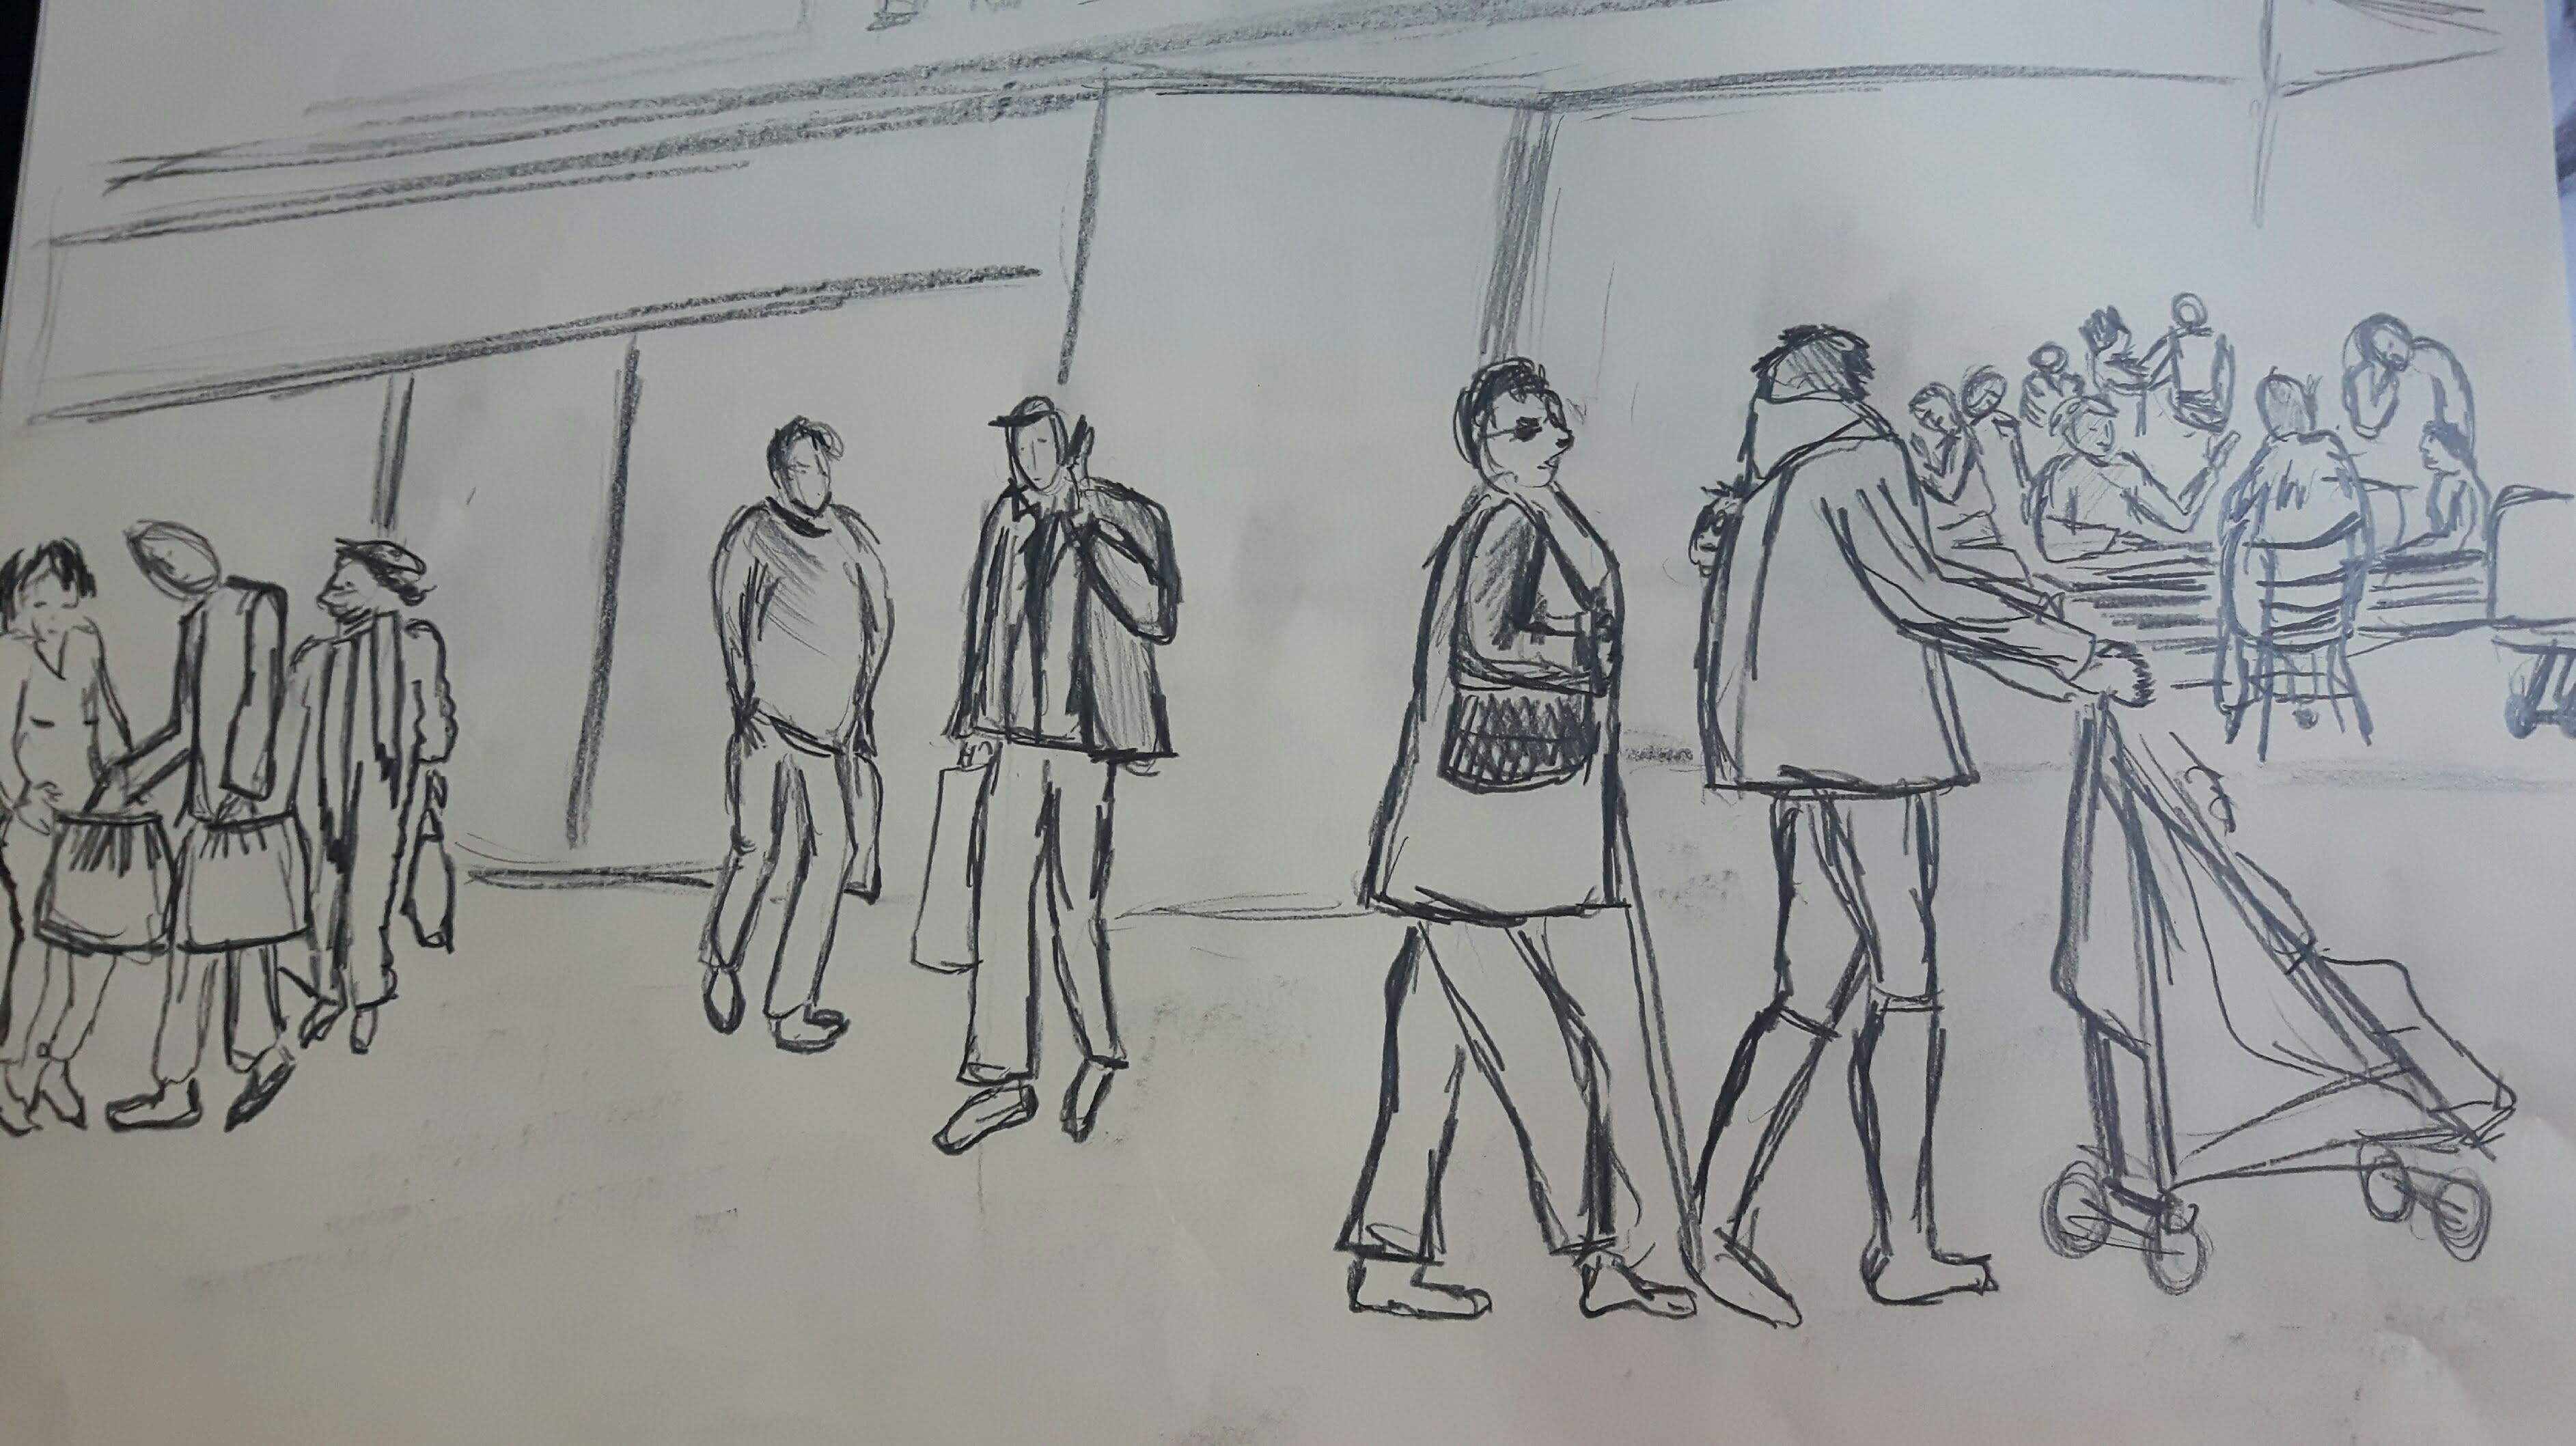
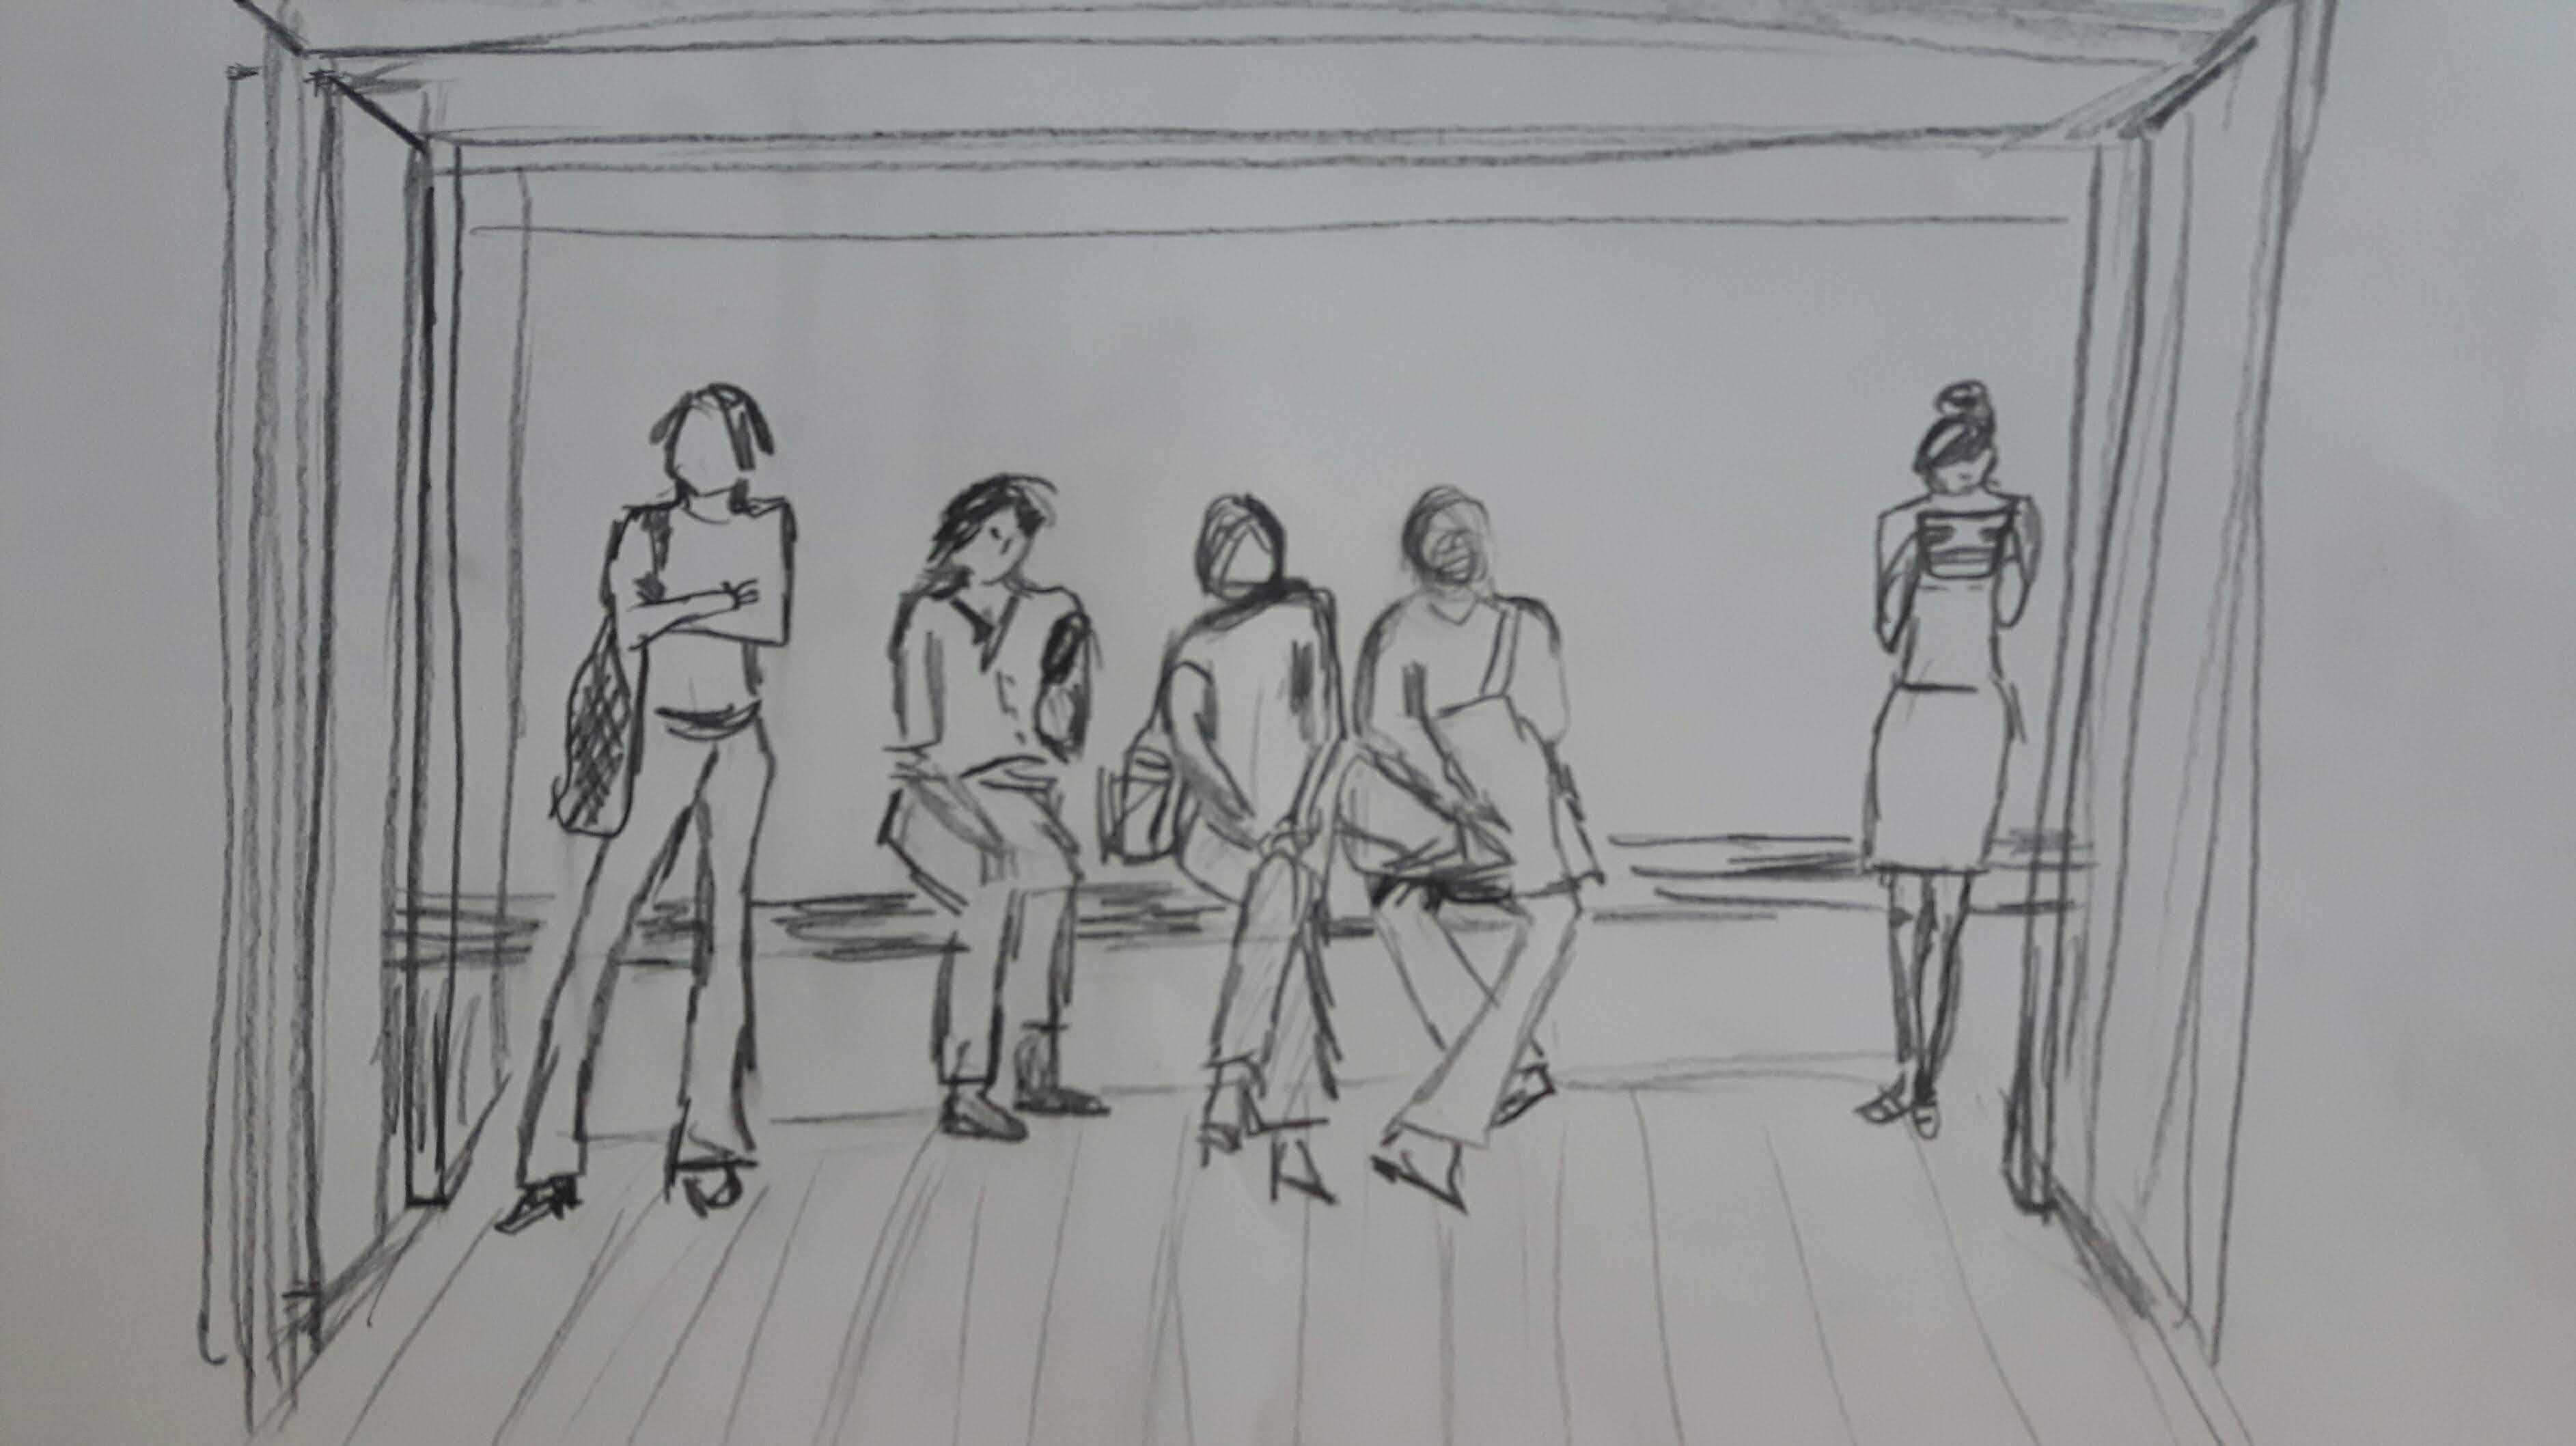
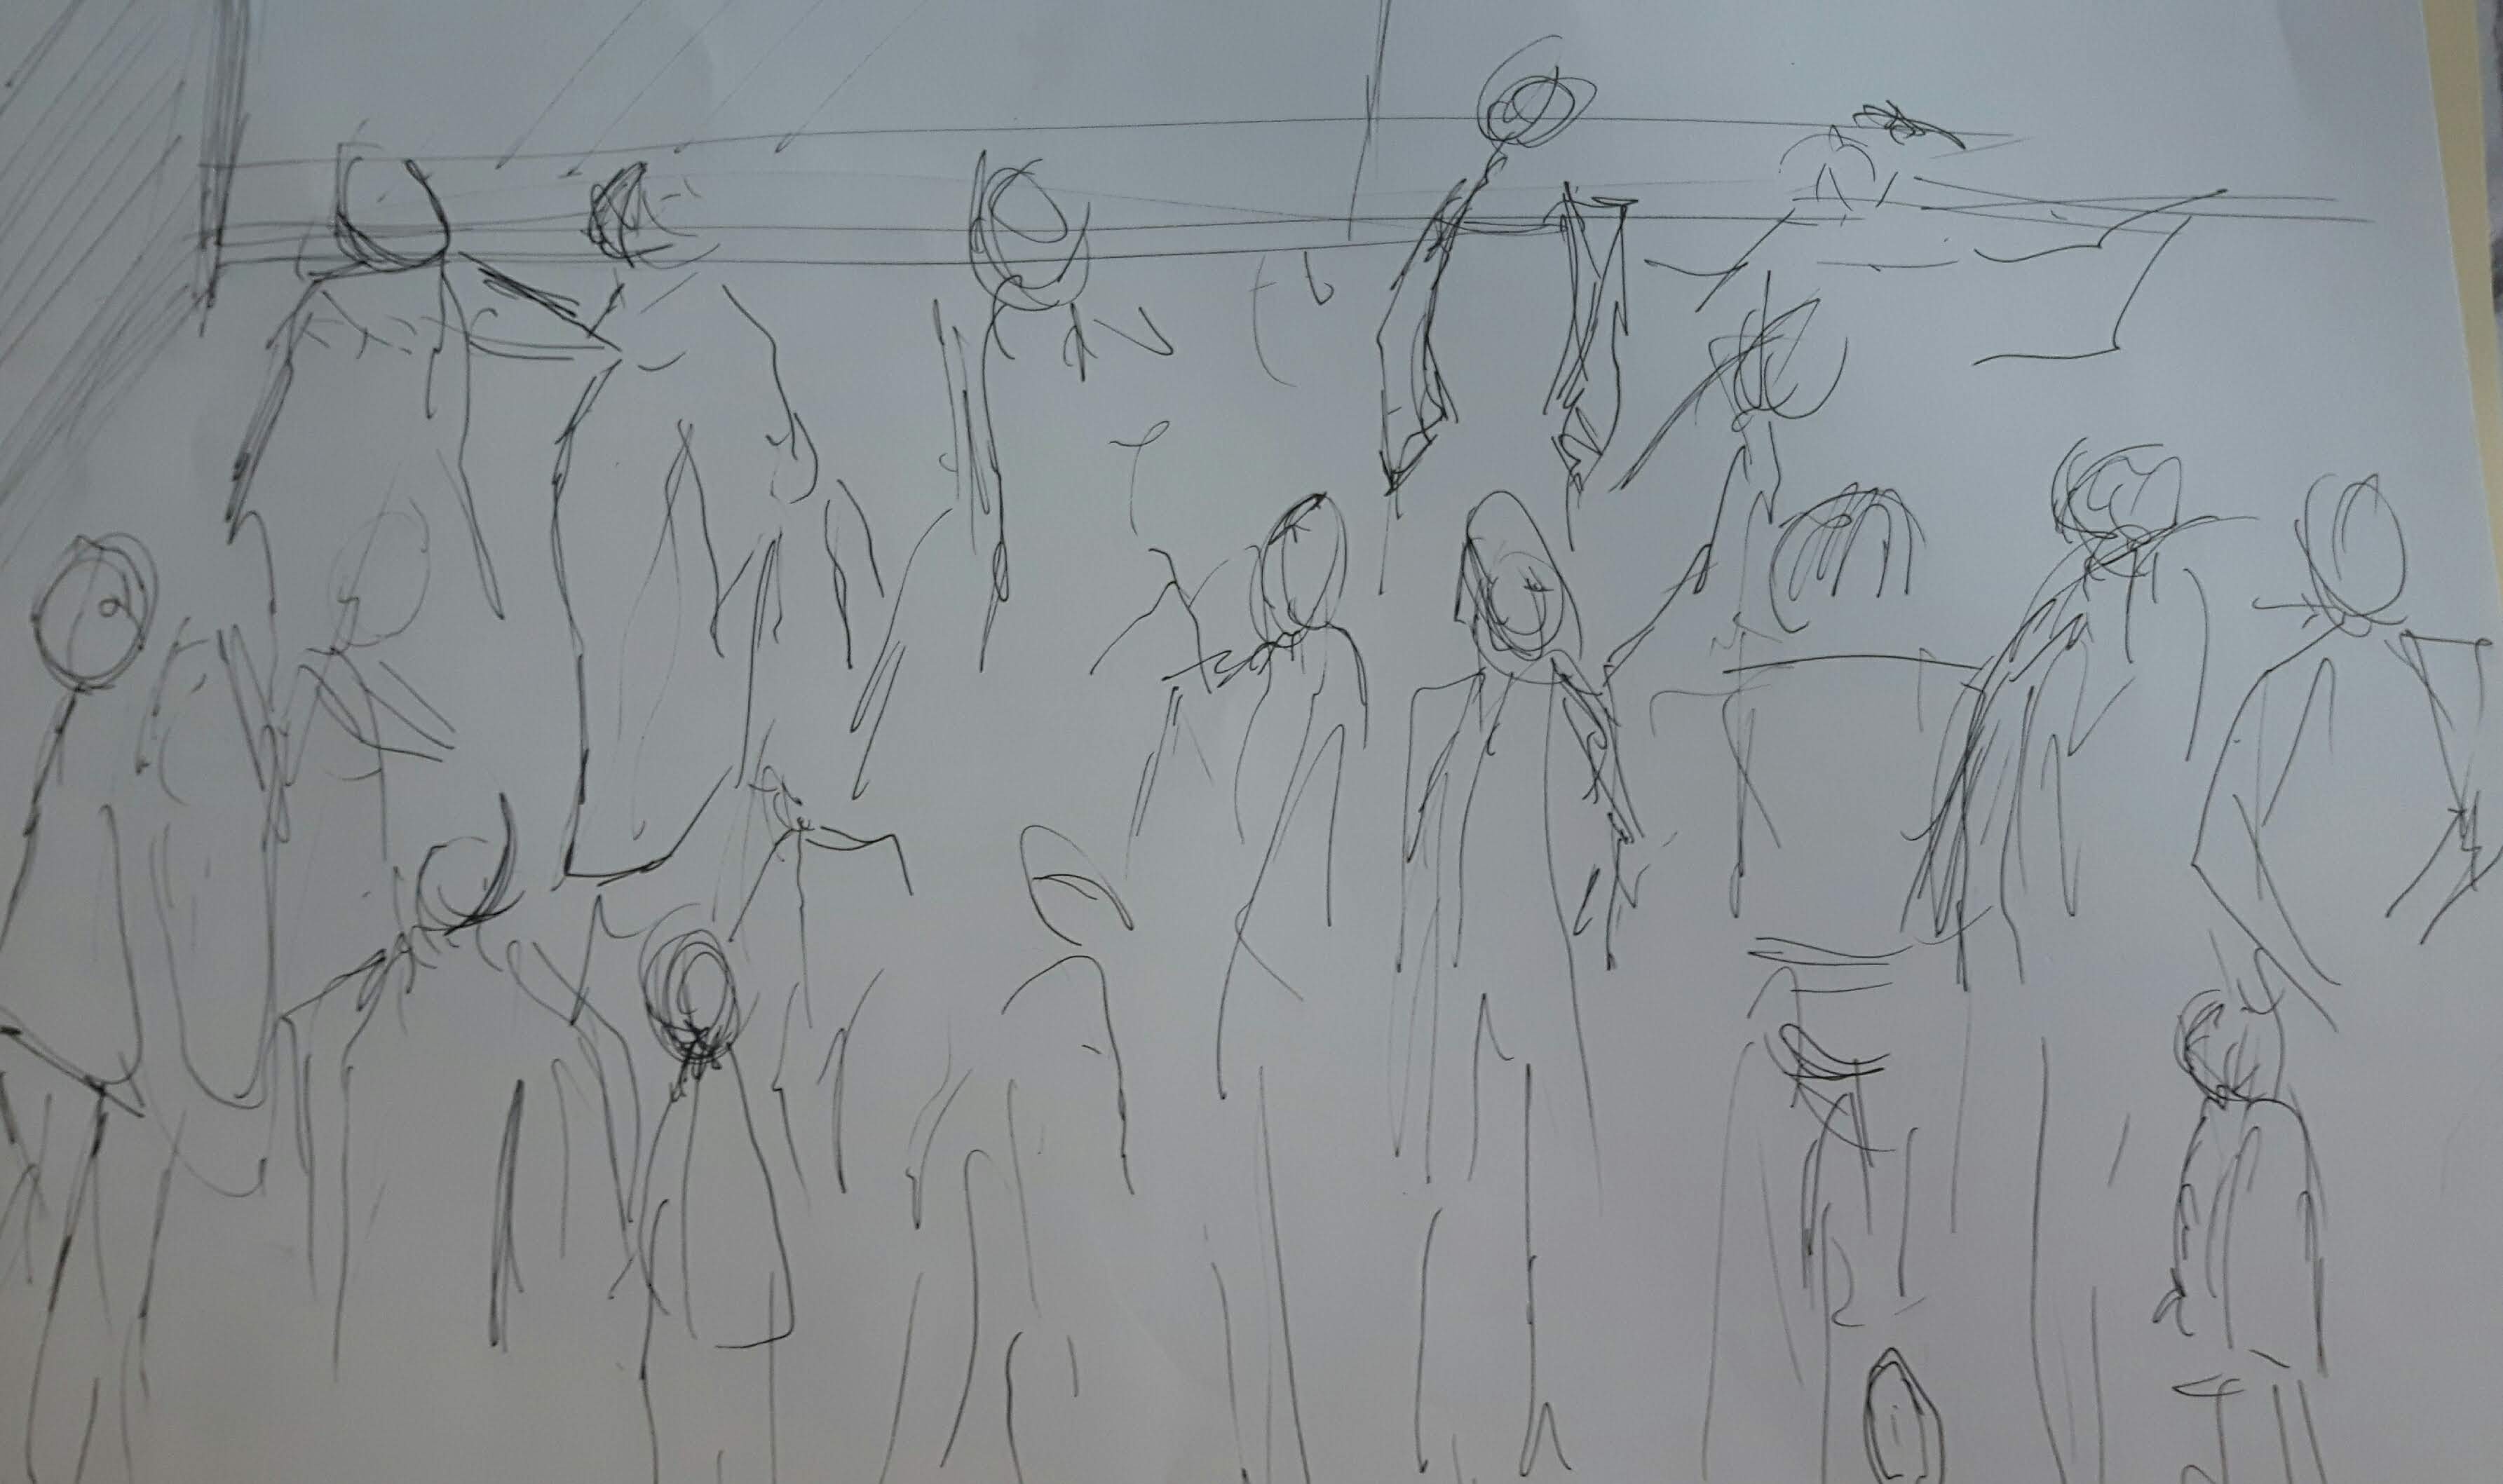
The difference is evident. While you can see the pictures of busy places on the first and second, on the third one I can feel the crowd therefore that is much more convincing to me. (However, I spent less time to draw it.)
Project 6 The head
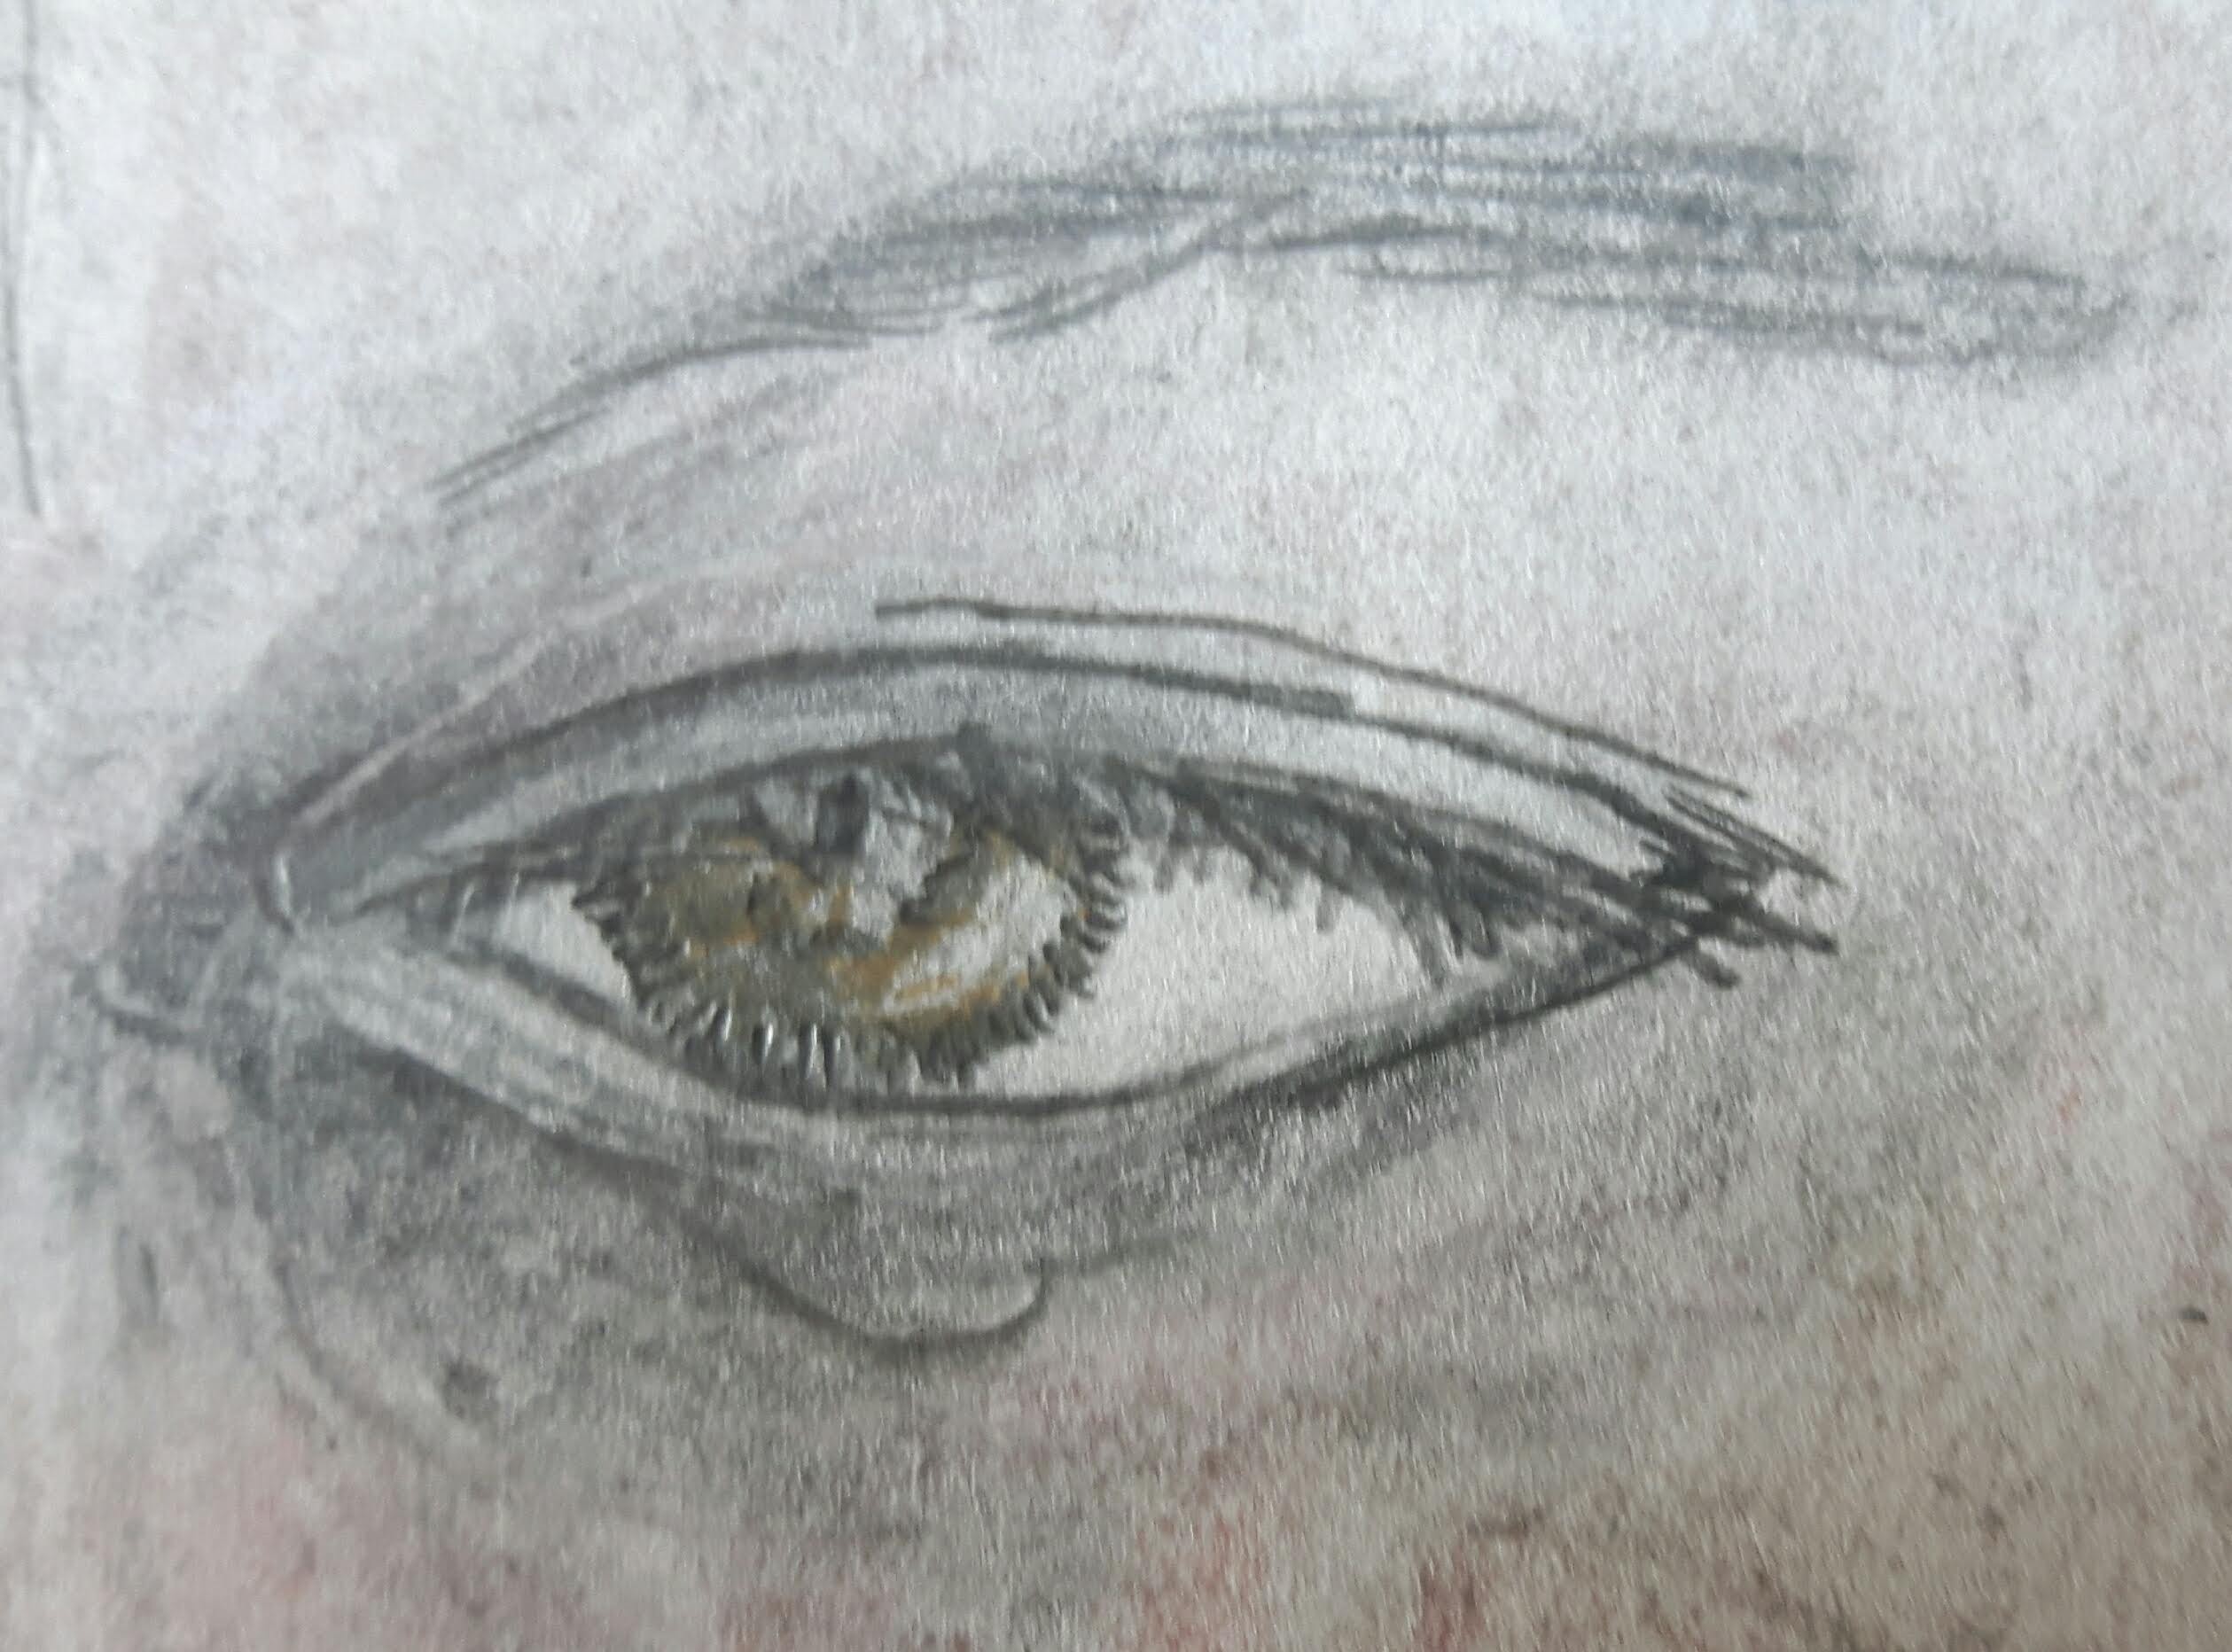
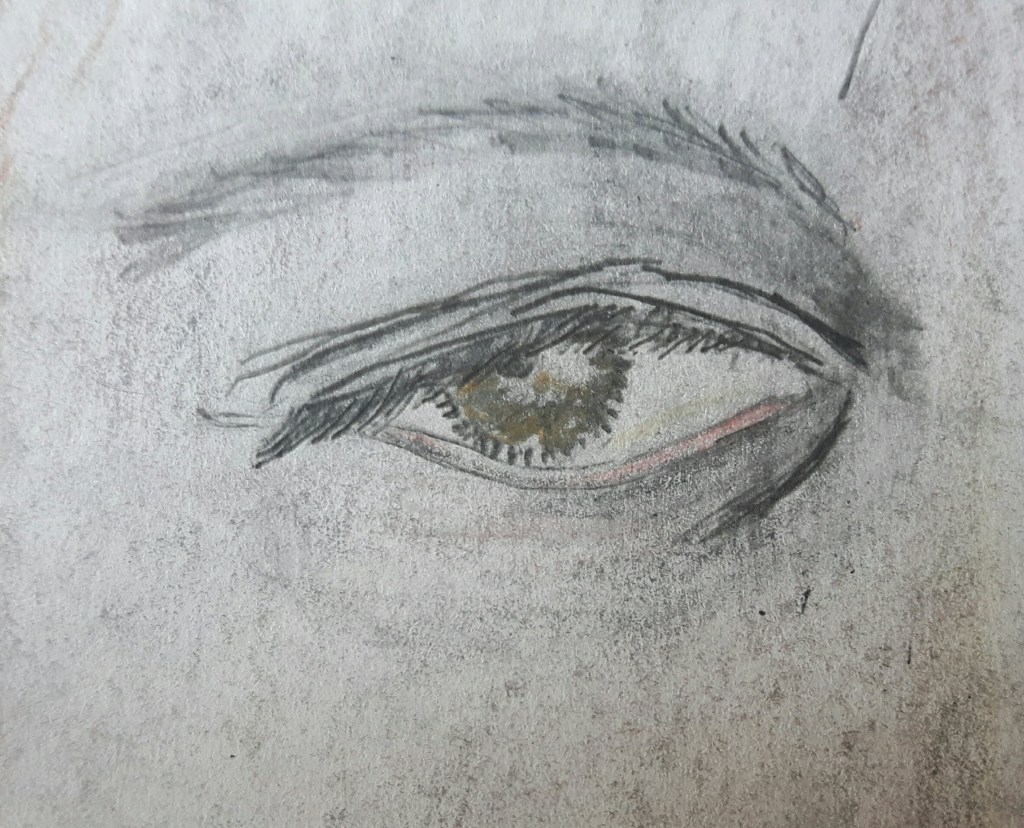
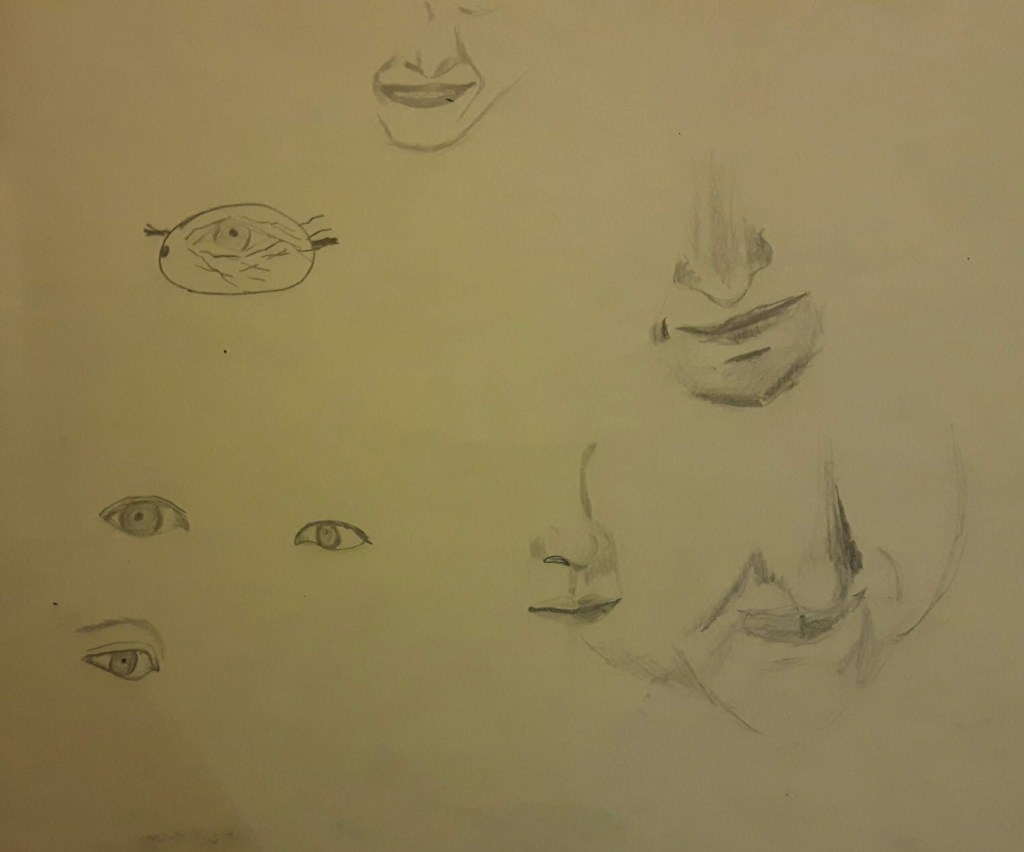
Exercise 1 Facial features
Somehow I always enjoyed to draw anything else (except landscape) than head. Surprisingly by the end of this exercise I felt I would like to do more – especially eyes.
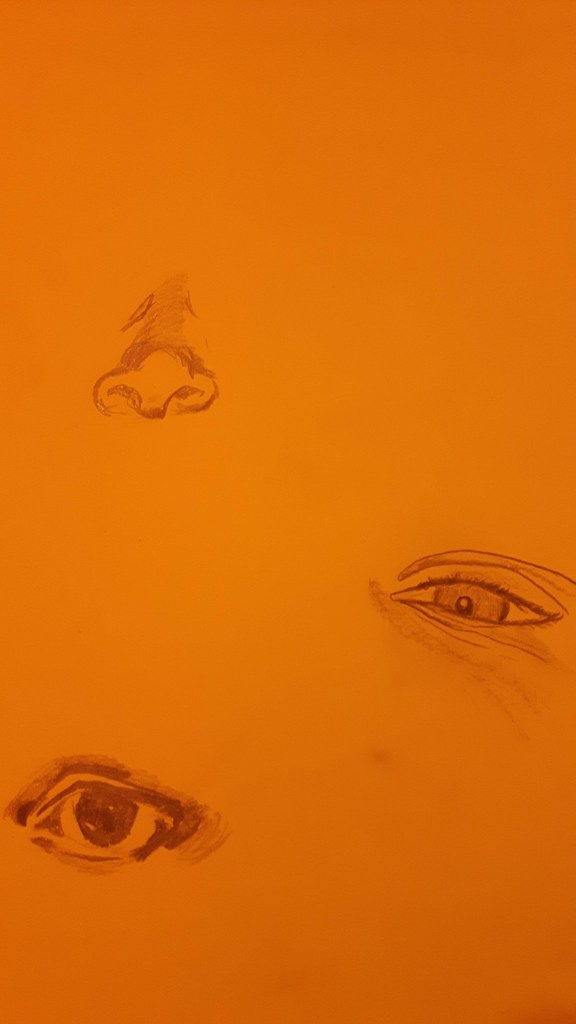
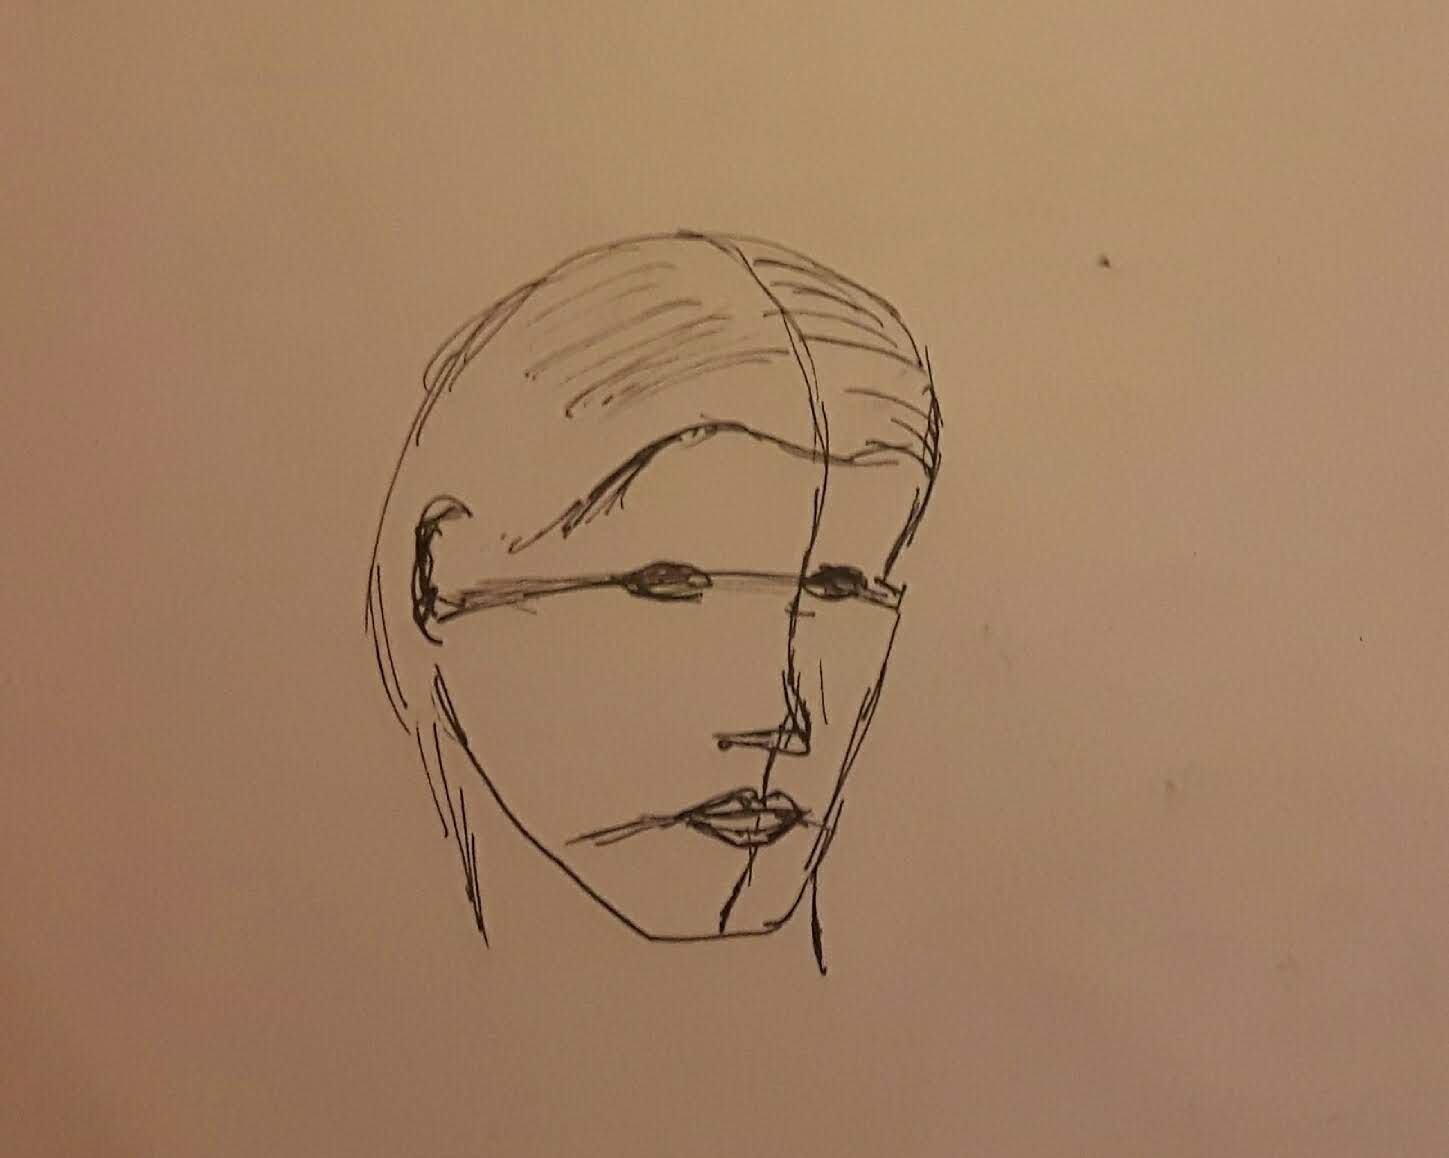
And finally the head I attempted to draw. I used pen to avoid the urge to erase the mistakes.
Exercise 2 Your own head
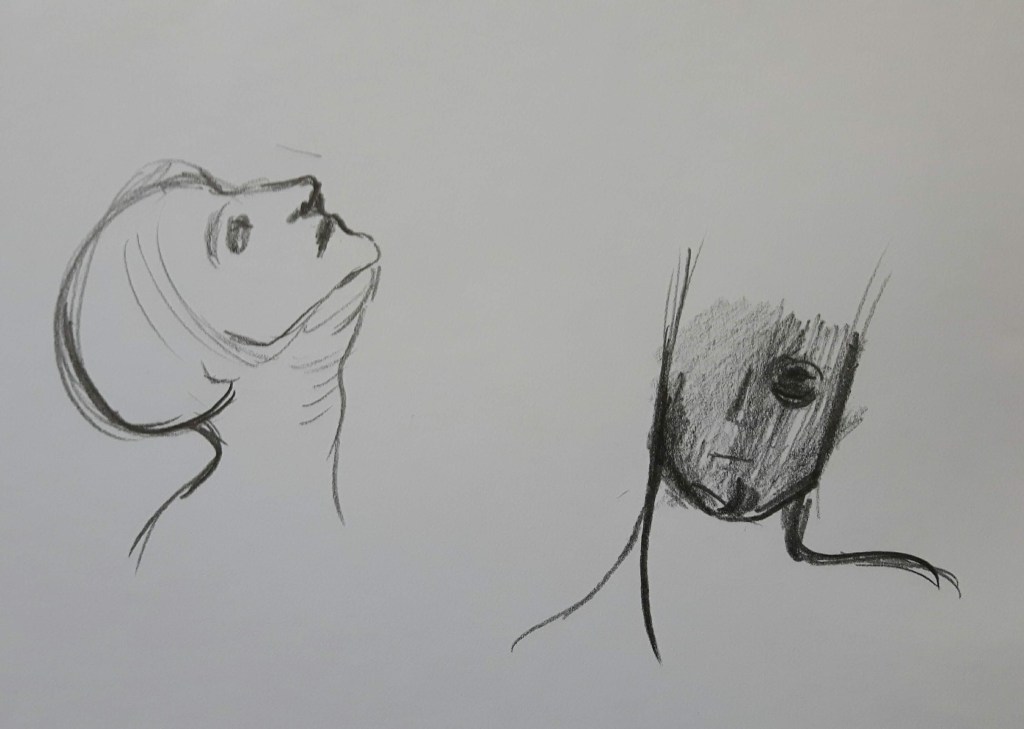
After a couple of quick sketches I decided to draw my profile. I used HB-3B pencils.
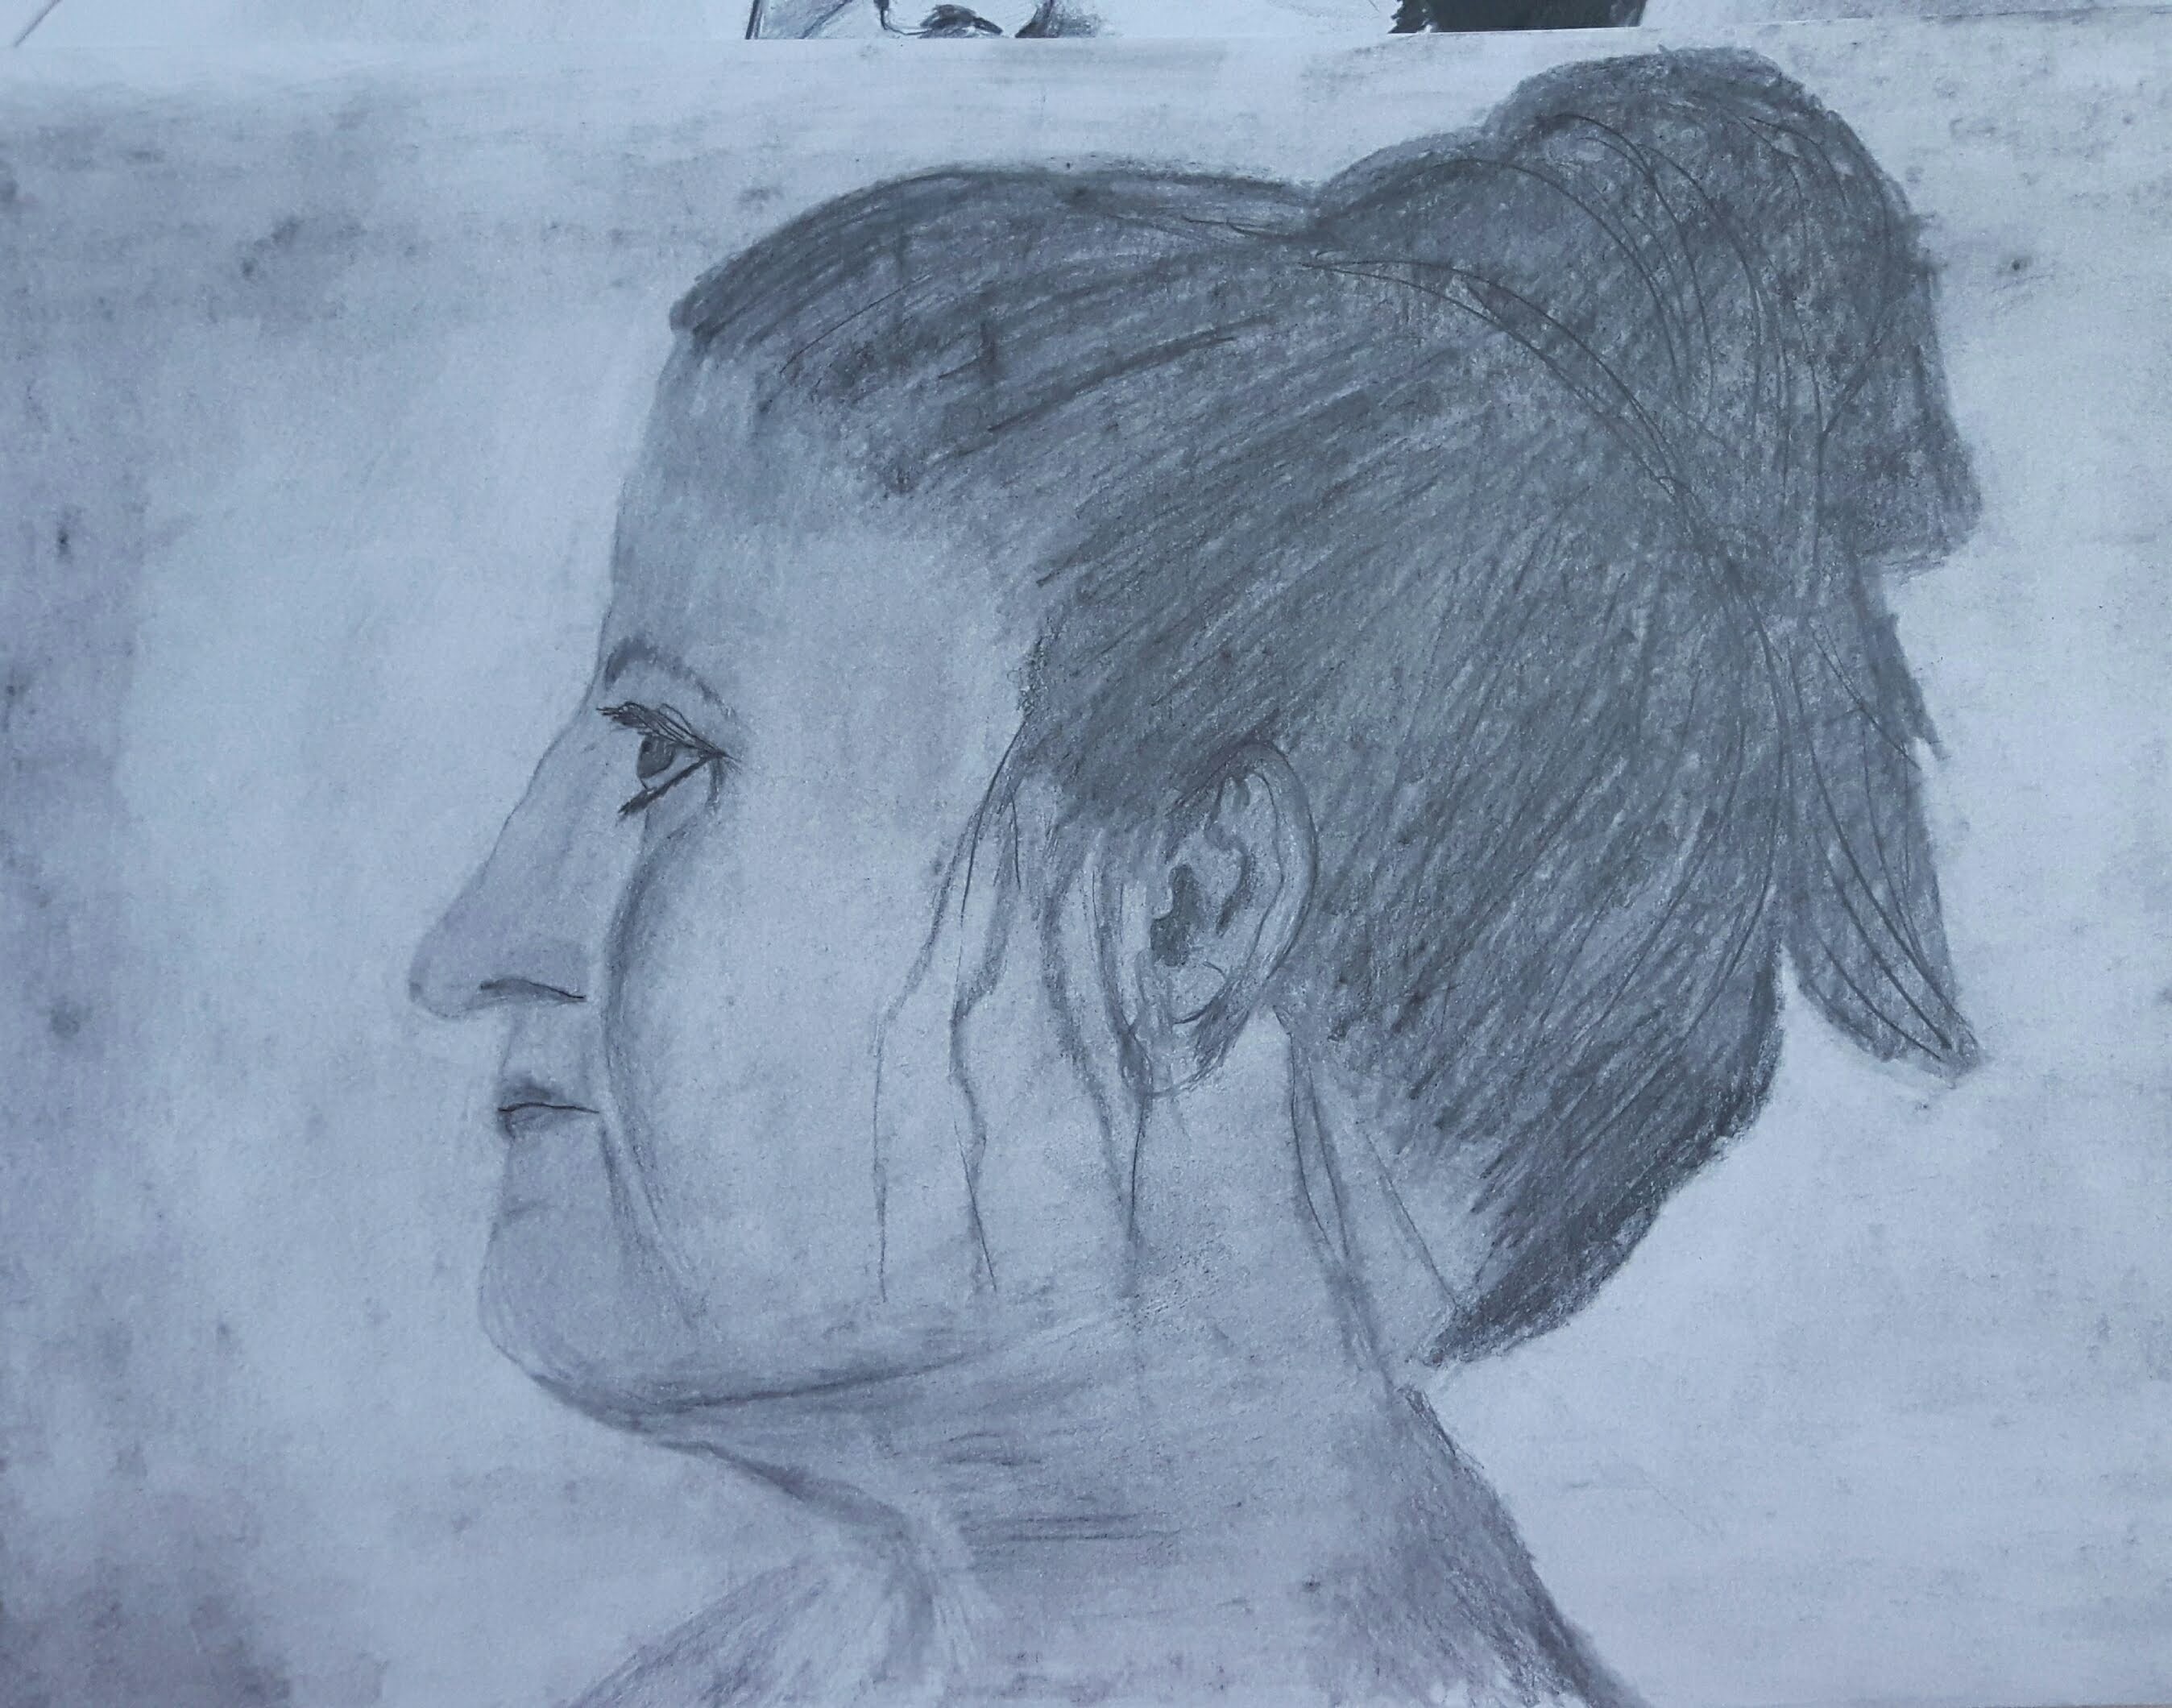
To my biggest surprise the picture actually bears a resemblance to me although my son said he never saw me that serious…I am happy with it, probably I could have emphasized dark shadows more, the image looks a bit flat. For the second image I got brave and tried to do something completely different. I decided to experiment with colours – inspired by a very useful book recommended by my tutor. Unfortunately it went utterly wrong so I just have to learn from it.
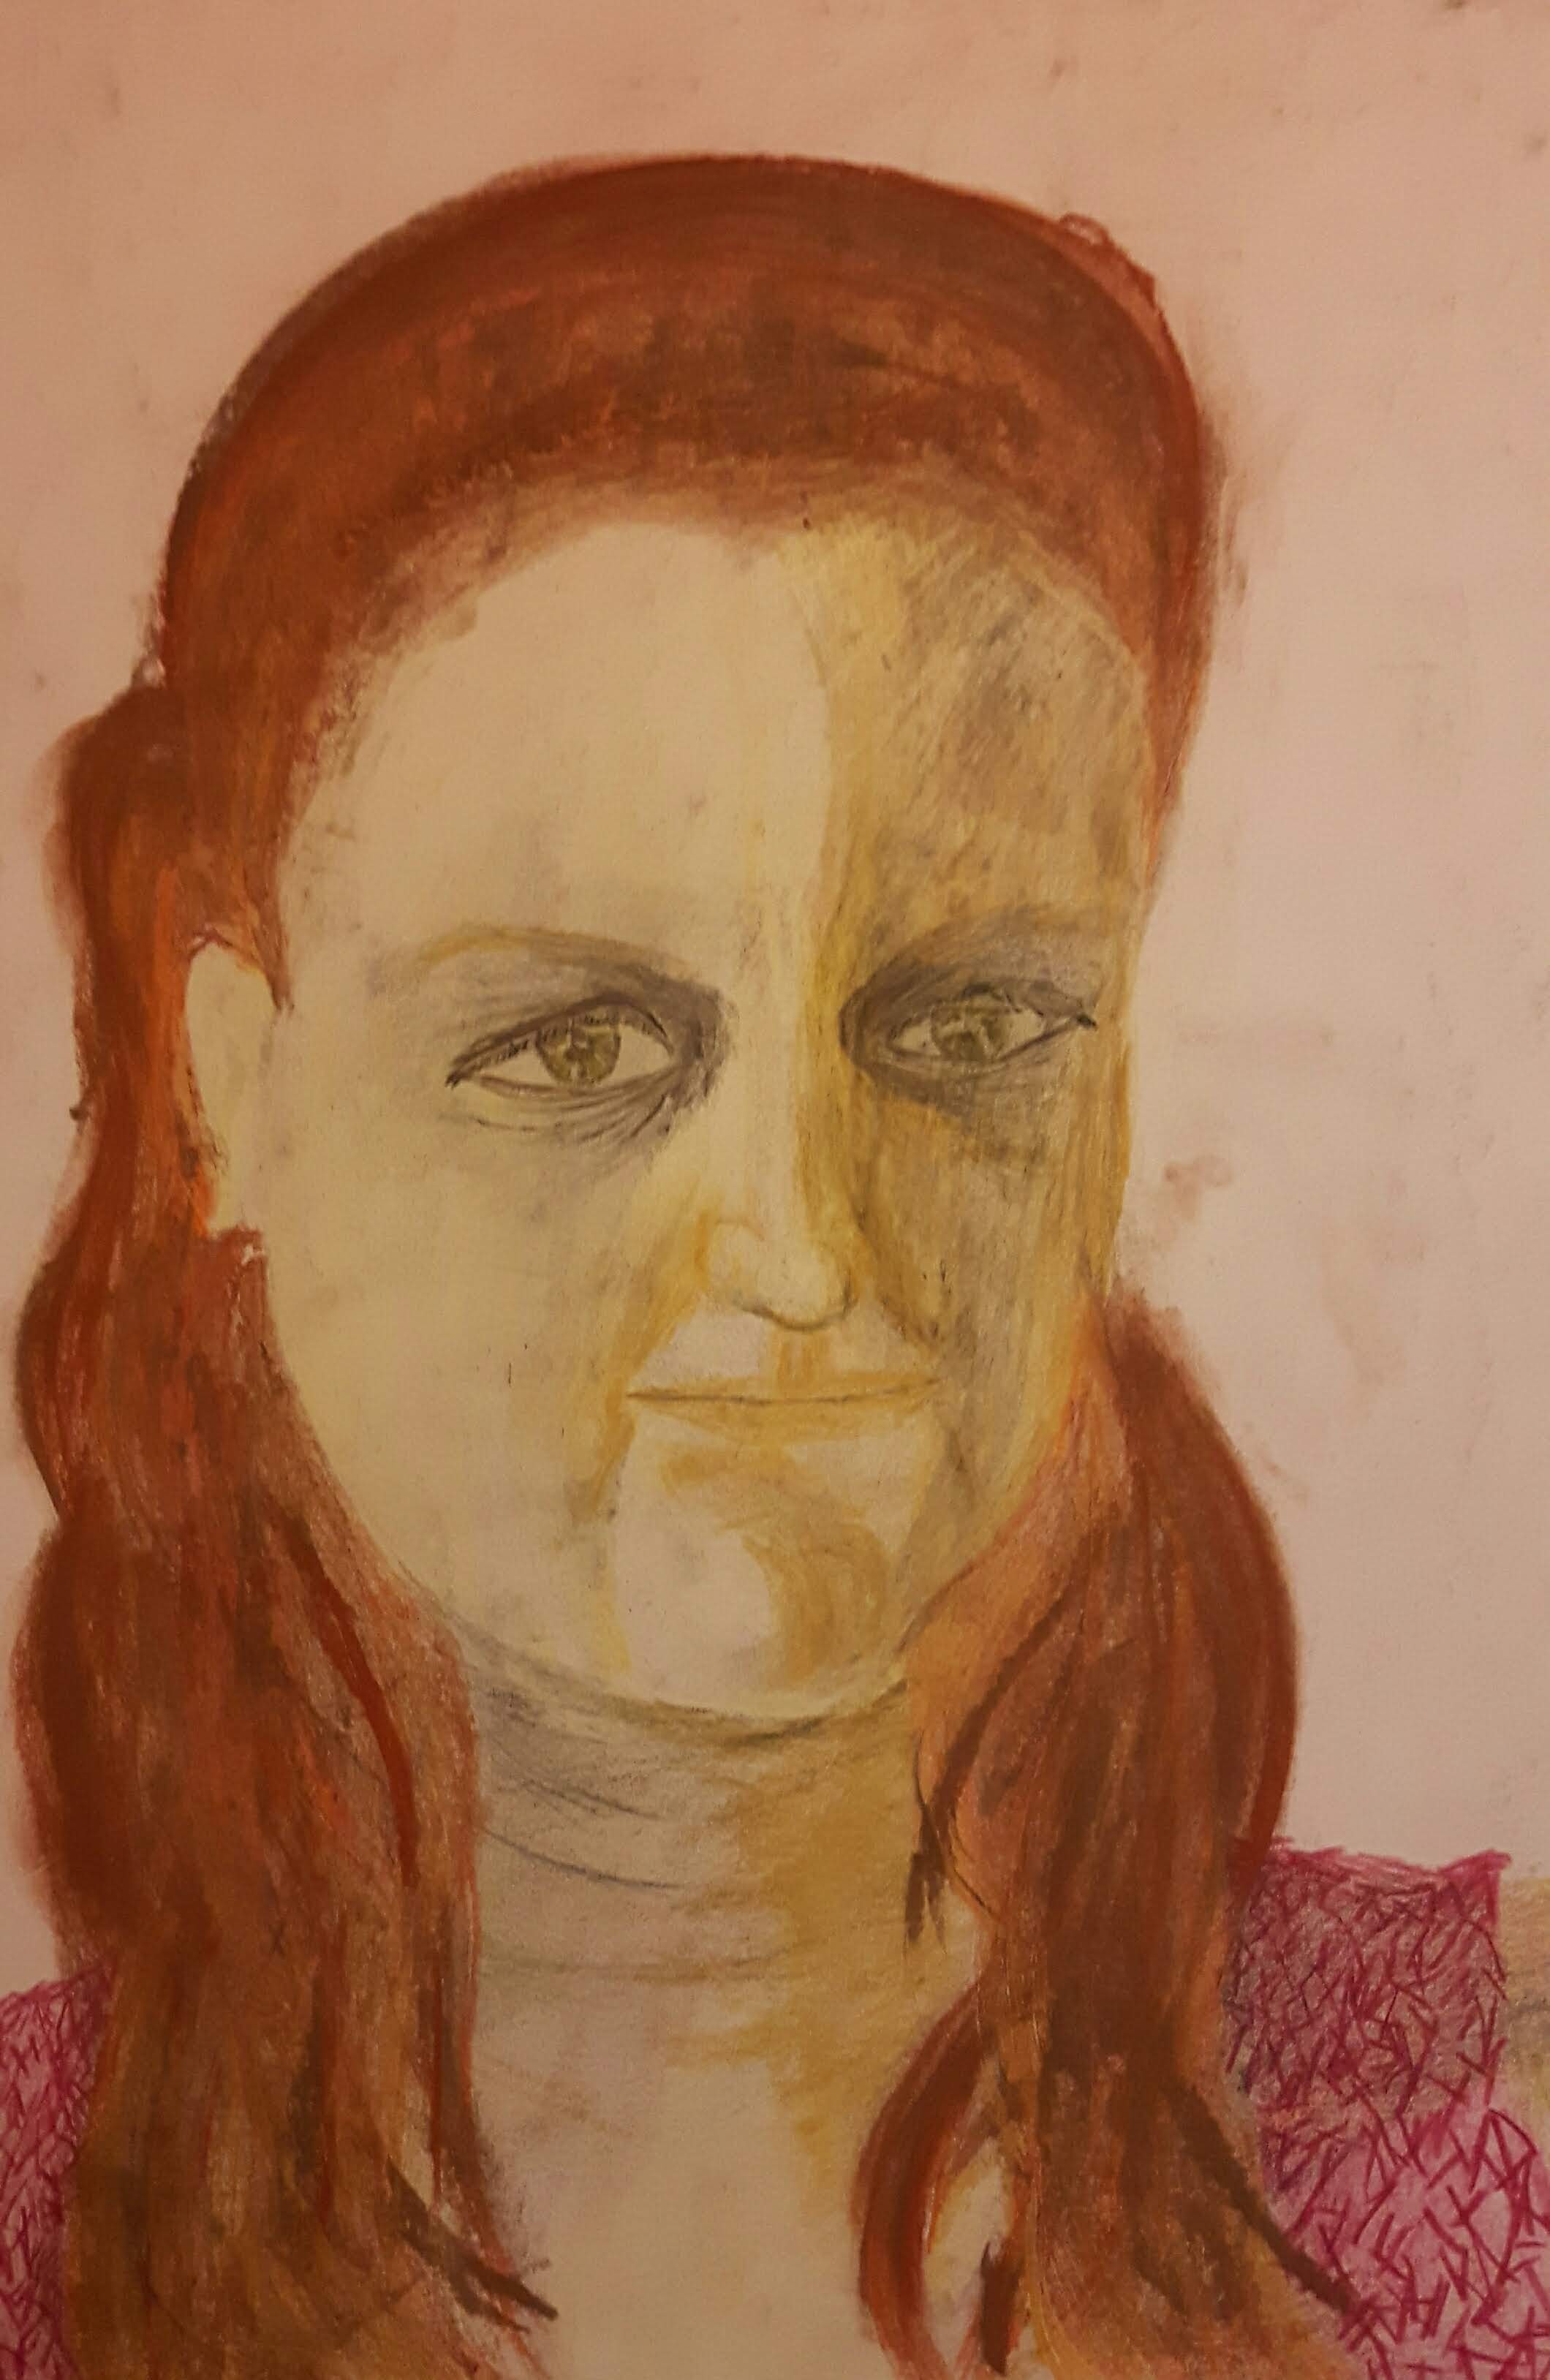
The image does not look like me at all but probably that’s the smallest problem among others. The nose is too small and the face looks distorted a bit because I look slightly to one side but the lips looks drawn from a different perspective.
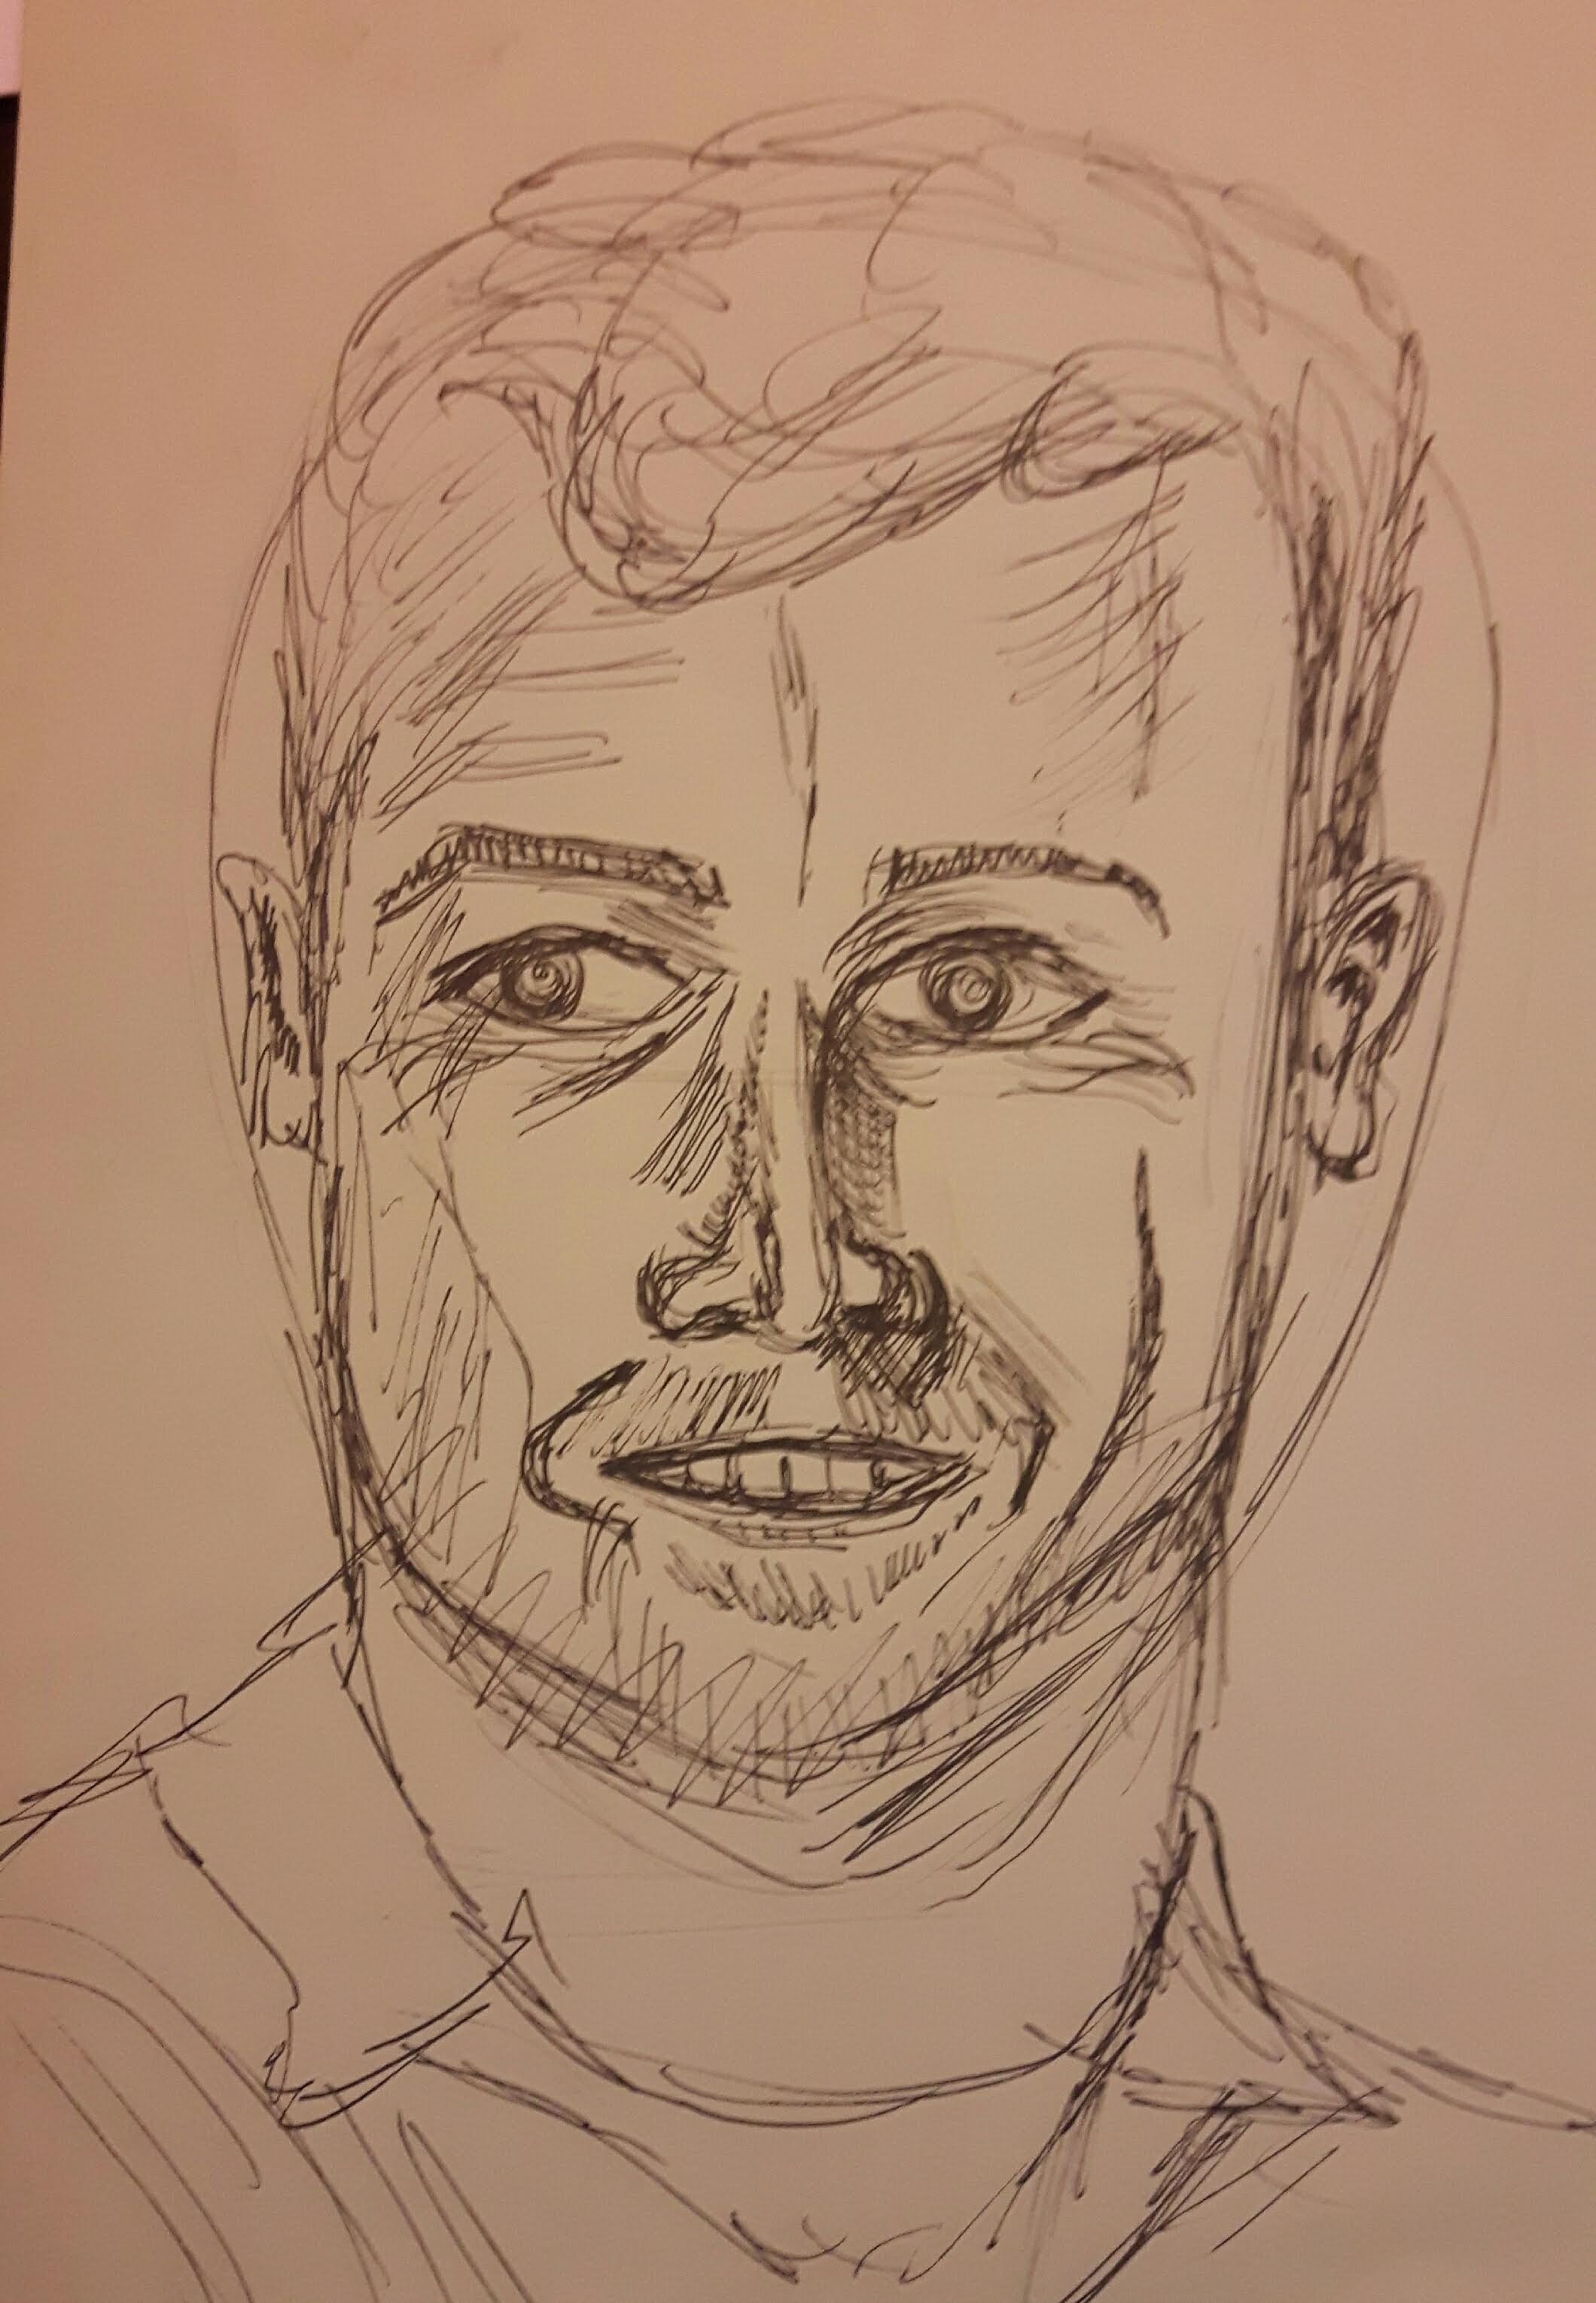
Exercise 3 Portrait from memory or the imagination
I wanted to draw someone to use my imagination. I had to find an interesting character so I thought I would pick someone from Oliver Twist. (my very first thought was Heathcliff from Emily Bronte but I recently watched The wuthering heights with a very talented actor and I didn’t want any picture to influence me) Luckily I have never seen any Oliver Twist adaptation so I choose Bill Sikes.
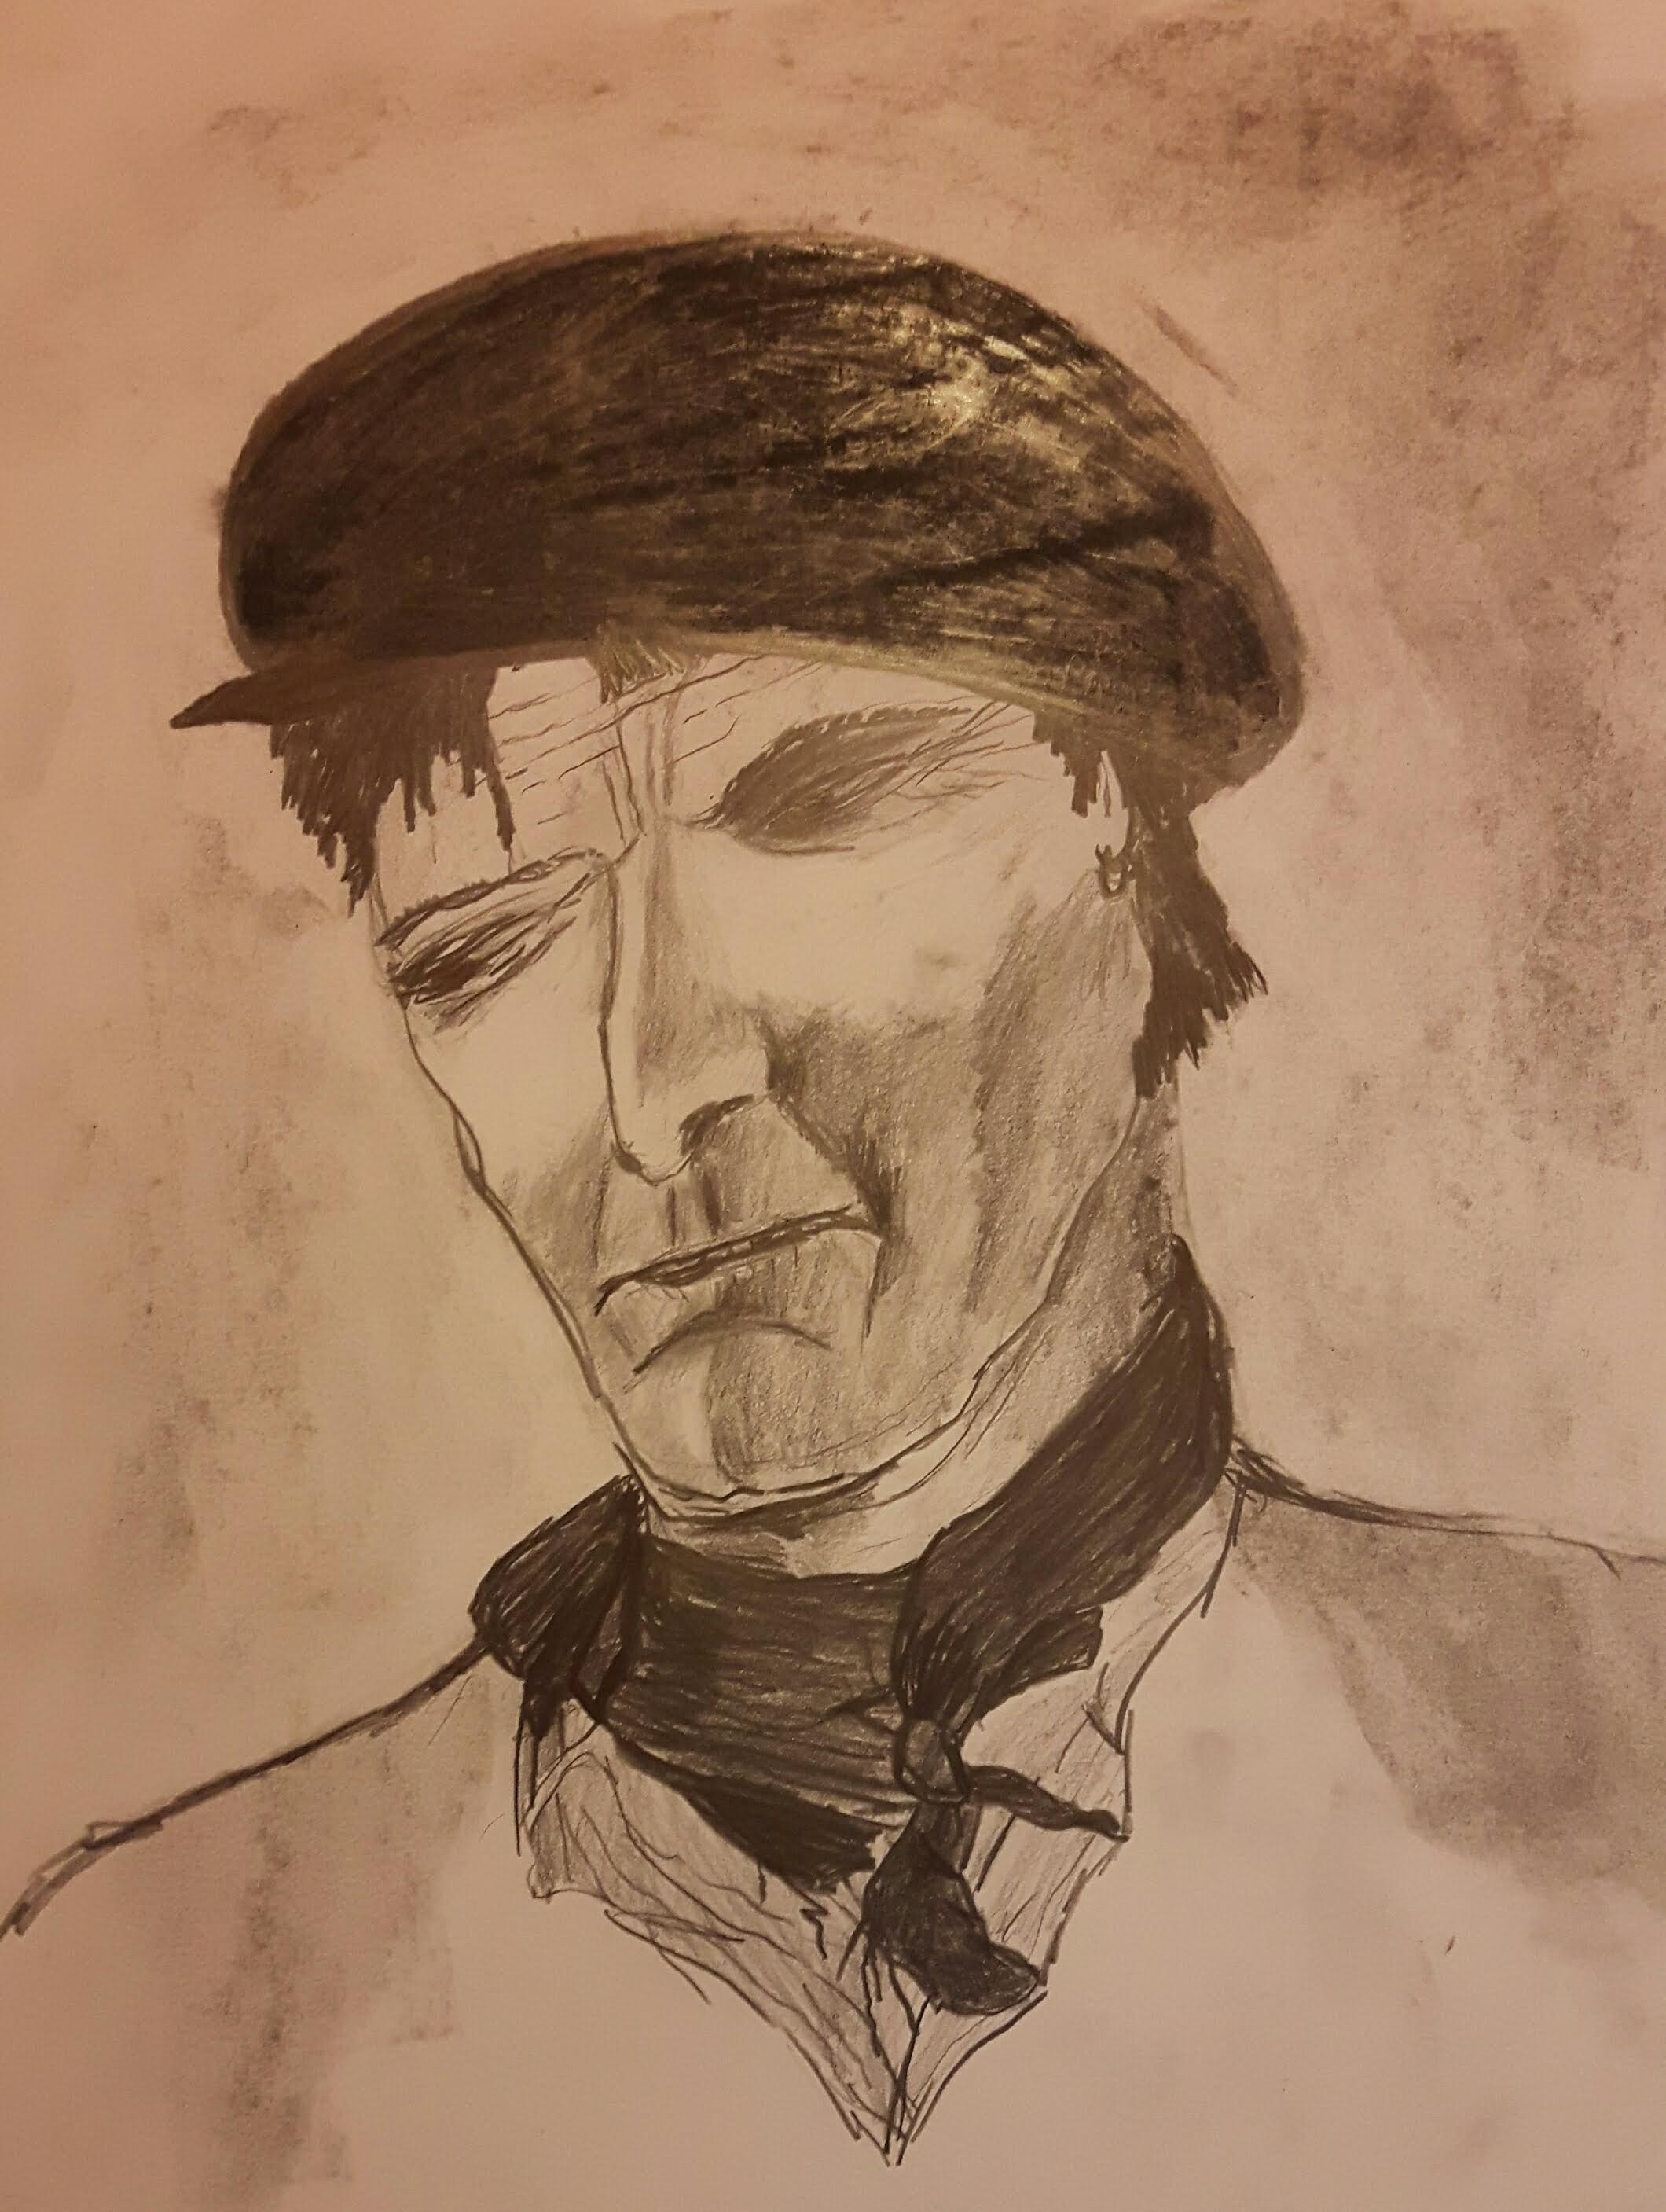
I see him as a lost, bitter and angry man with dirty handkerchief about the neck, greasy dark hair (cut by knife), stubbly face with an oily, old flat cap on his head. After I finished I checked the images of him online and for my true delight there was no resemblance at all. They usually picturing him more gentleman-like.
